
Most websites have a specific goal. Yours may be to collect emails, make sales, promote services, or something else entirely. All of these are examples of ‘conversions,’ and the best way to make them happen is with a strong Call To Action (CTA).
CTAs come in many types, from simple text to buttons and forms. Either way, getting your own CTAs just right is one of the most useful things you can do to increase conversions. That usually means making your CTAs stand out visually, and using language that encourages visitors to take notice.
In this article, we’re going to talk a bit more about the importance of CTAs. Then we’ll teach you how to use Uncode to add an effective CTA to your WordPress site. Let’s get to work!
What CTAs Are (And Why Their Design Matters)
As we mentioned before, a CTA can take a variety of forms. However, in this article, we’re going to focus on their most common iteration – buttons. Here’s an example of what this kind of CTA might look like:

The goal of any CTA is prompting visitors to take a specific action. What a lot of successful websites do is use various content to convince users that making a purchase or signing up for a membership is worthwhile. Then, they display a prominent CTA that serves as the final ‘push’.
From a technical standpoint, creating a CTA is very straightforward. However, everything from the colors you use to the words you include in your CTAs can impact your conversion rates. That means it’s not enough to quickly design a button and call it a day. Instead, you’ll need to put real effort into making sure your CTA stands out.
For instance, here’s a CTA we think could do with a makeover:
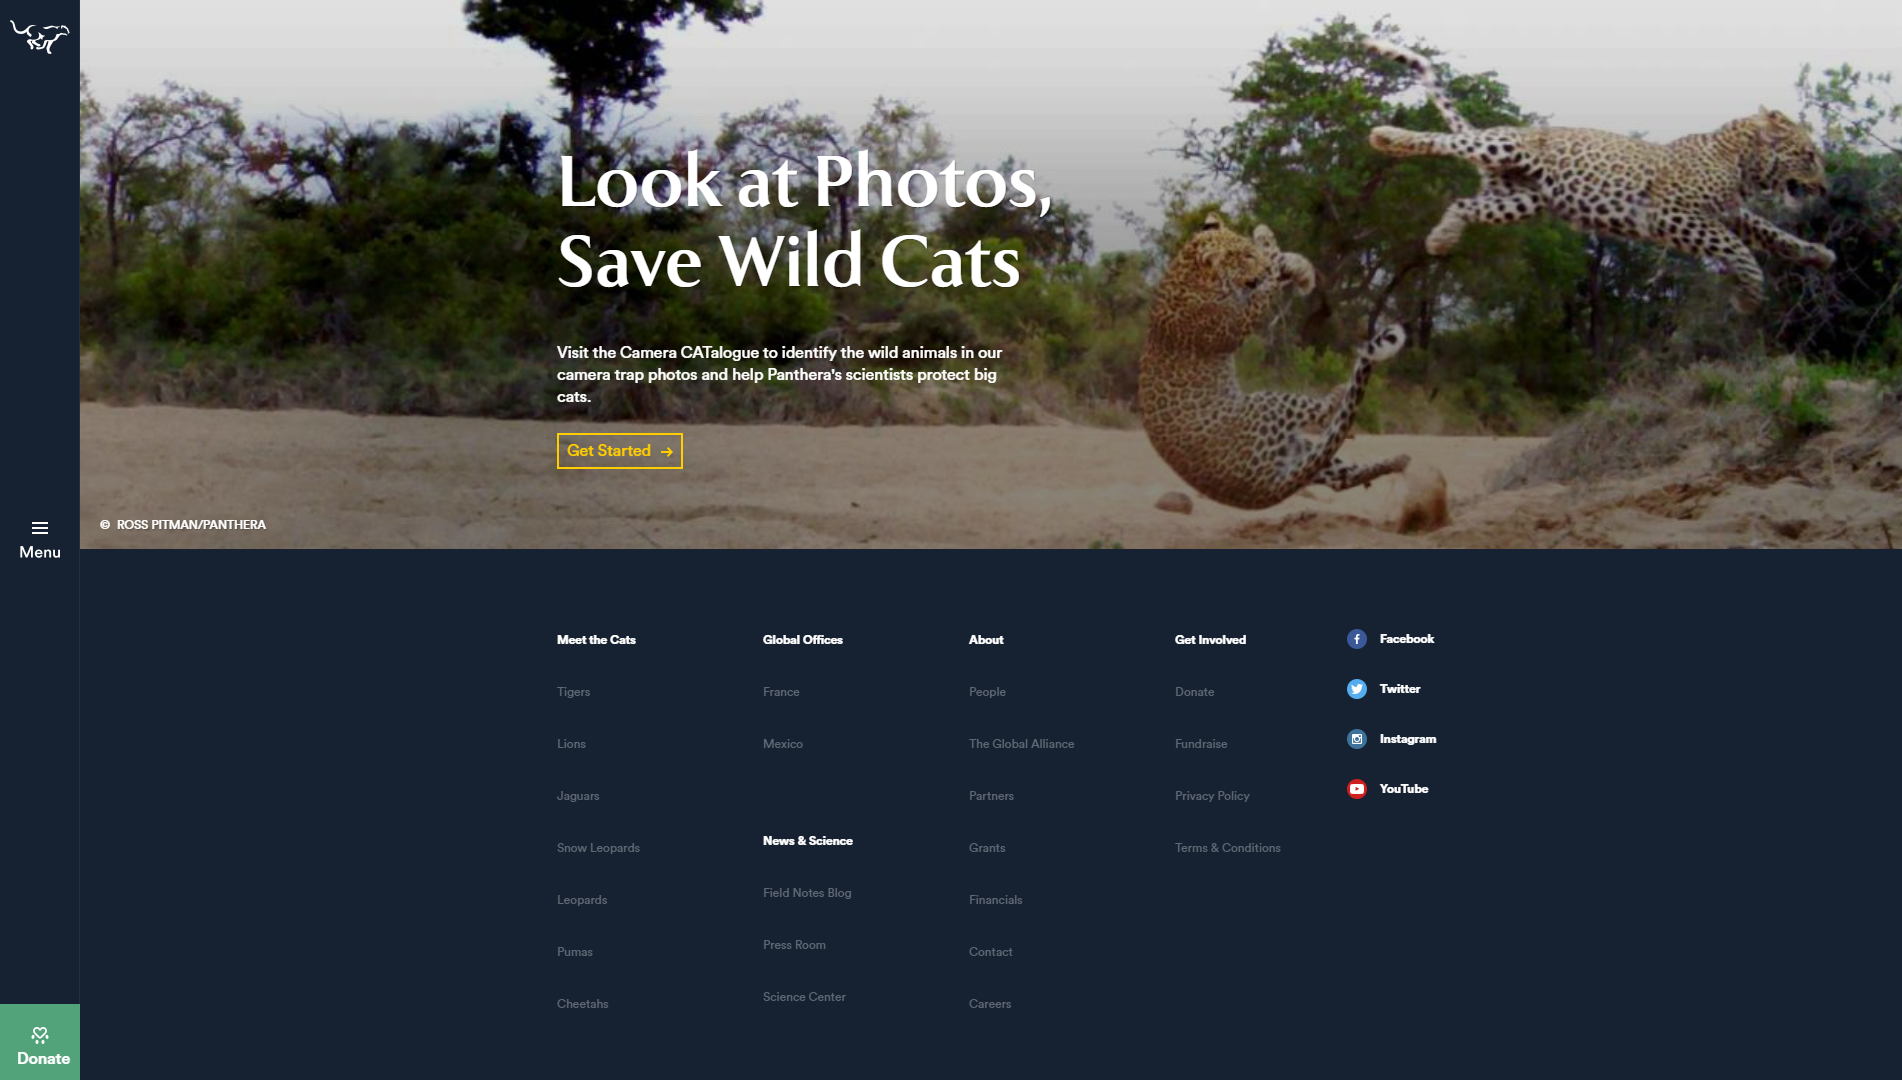
The Get Started button is too small and subtle to grab a visitor’s attention effectively. While it does use a contrasting color, it blends in with the rest of the site a little too well. What’s more, the text on the button is too vague.
In contrast, here’s another CTA that’s more eye-catching, and is likely to result in a higher conversion rate:
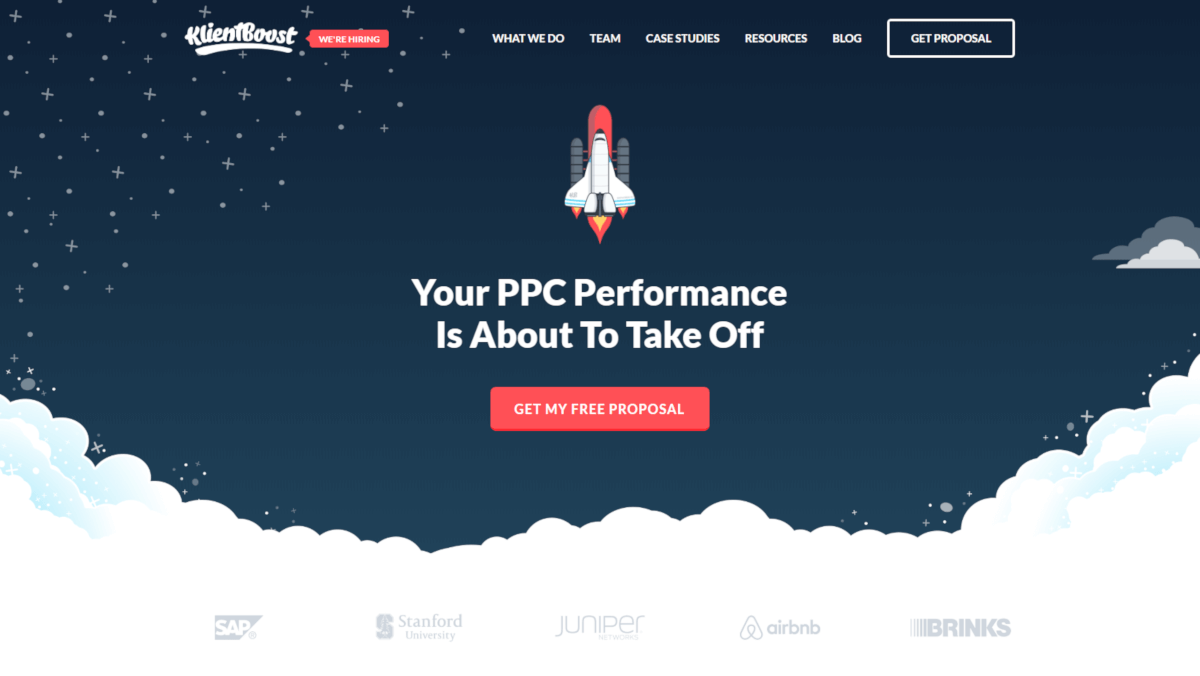
Designing successful CTAs for your WordPress site requires you to have both a good eye for design and decent copywriting skills. Fortunately, there are some simple techniques you can employ to improve your CTAs, no matter what your experience level might be. It all starts with using the right theme.
How to Create Attractive CTA Buttons Using Uncode (In 4 Steps)
As you may know, the Uncode theme comes with its own visual page builder, which replaces the default WordPress editor. Over the following four steps, we’ll show you how to use that builder to create an attention-grabbing CTA for your WordPress website.
Step 1: Set Up Uncode
First things first, you’ll need to purchase and install the Uncode theme. While the process isn’t too complex, Uncode does come with several other tools bundled in, so let’s quickly look at how to set everything up.
After you upload and activate the Uncode theme, you’ll be prompted to install the Uncode Core and Uncode Page Builder plugins. These are required for the theme to work properly. You can set both up by navigating to the Uncode > Install Plugins tab in your dashboard:
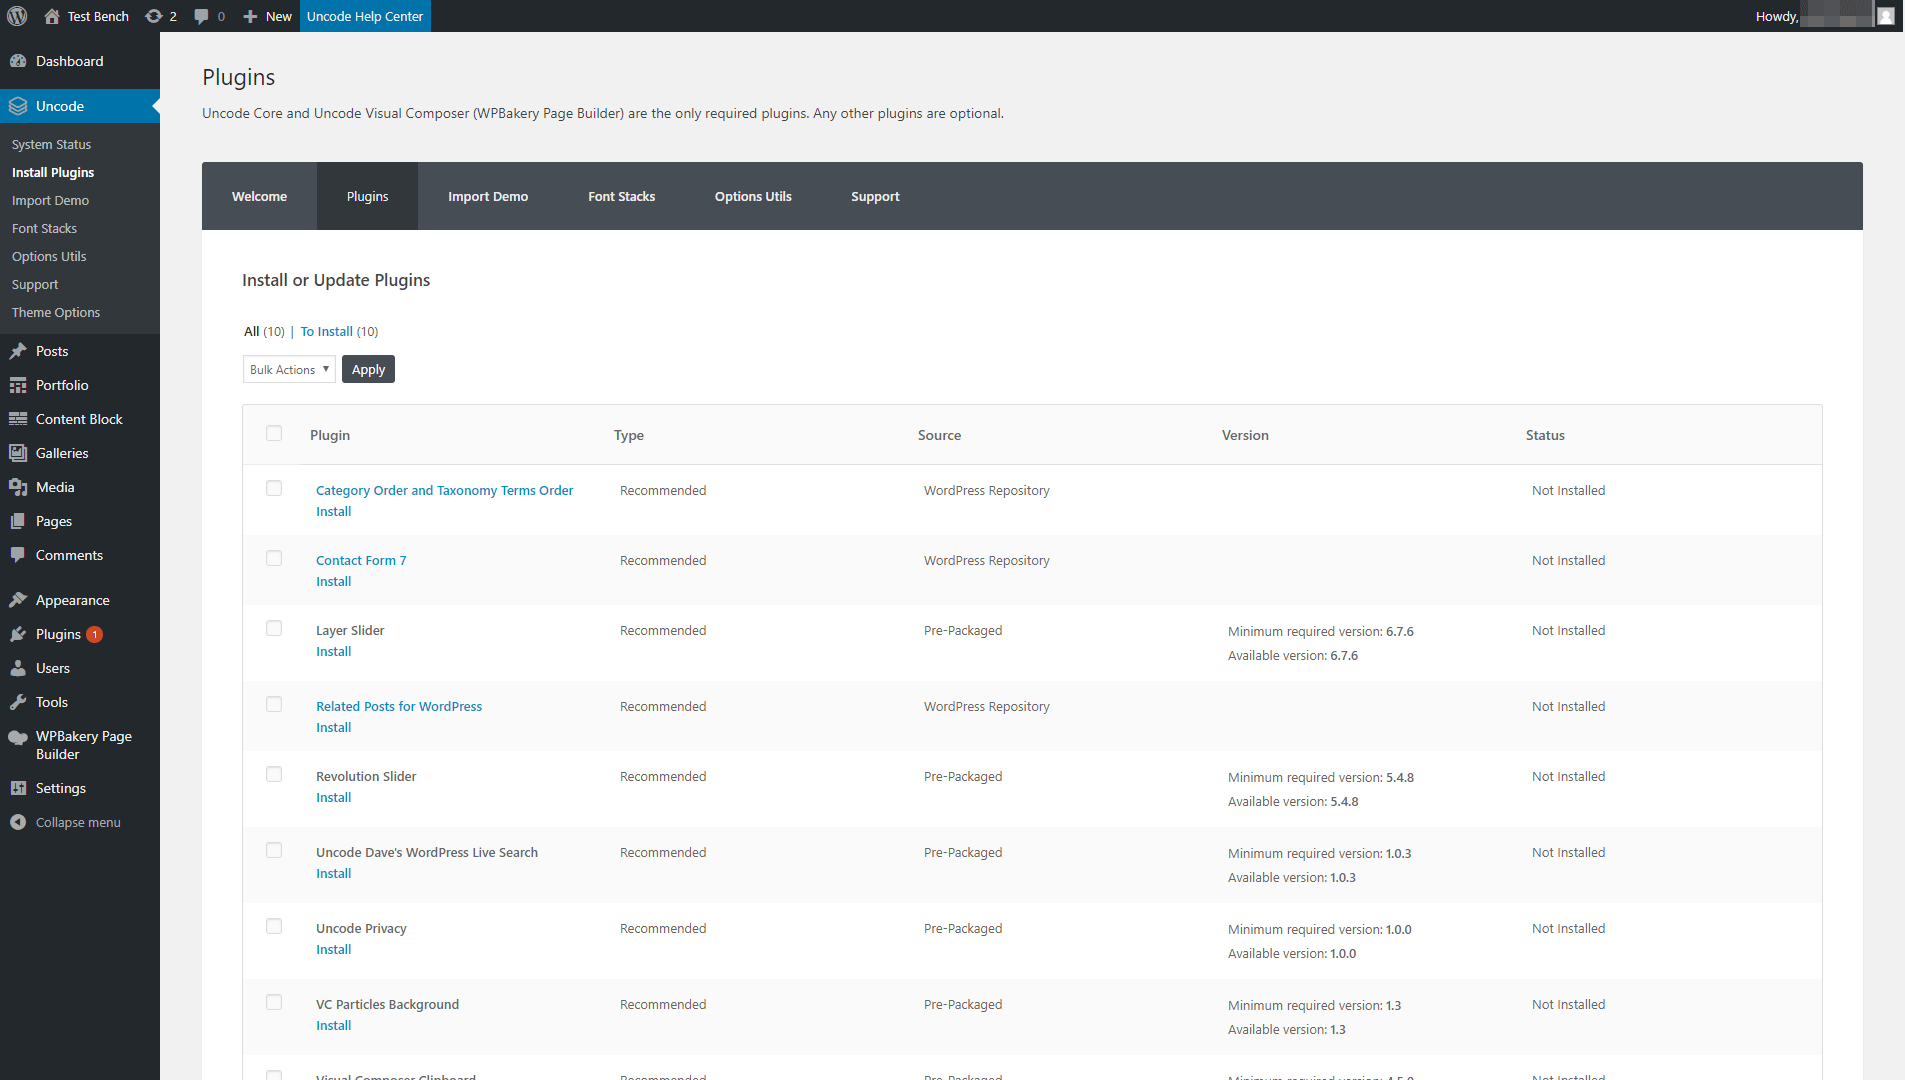
Out of the box, Uncode includes twelve additional plugins that you can install alongside the theme. Everything else on this list is optional, although if you want to get the most out of the theme, we recommend that you install all of them. In any case, after you activate the Uncode page builder, you can move on to the next stage.
Step 2: Add a Button Element to Your Page
As we mentioned earlier, in this tutorial we’ll be showing you how to create a button CTA. Creating and adding new buttons to your pages using Uncode is simple, and you can customize them as much as you’d like.
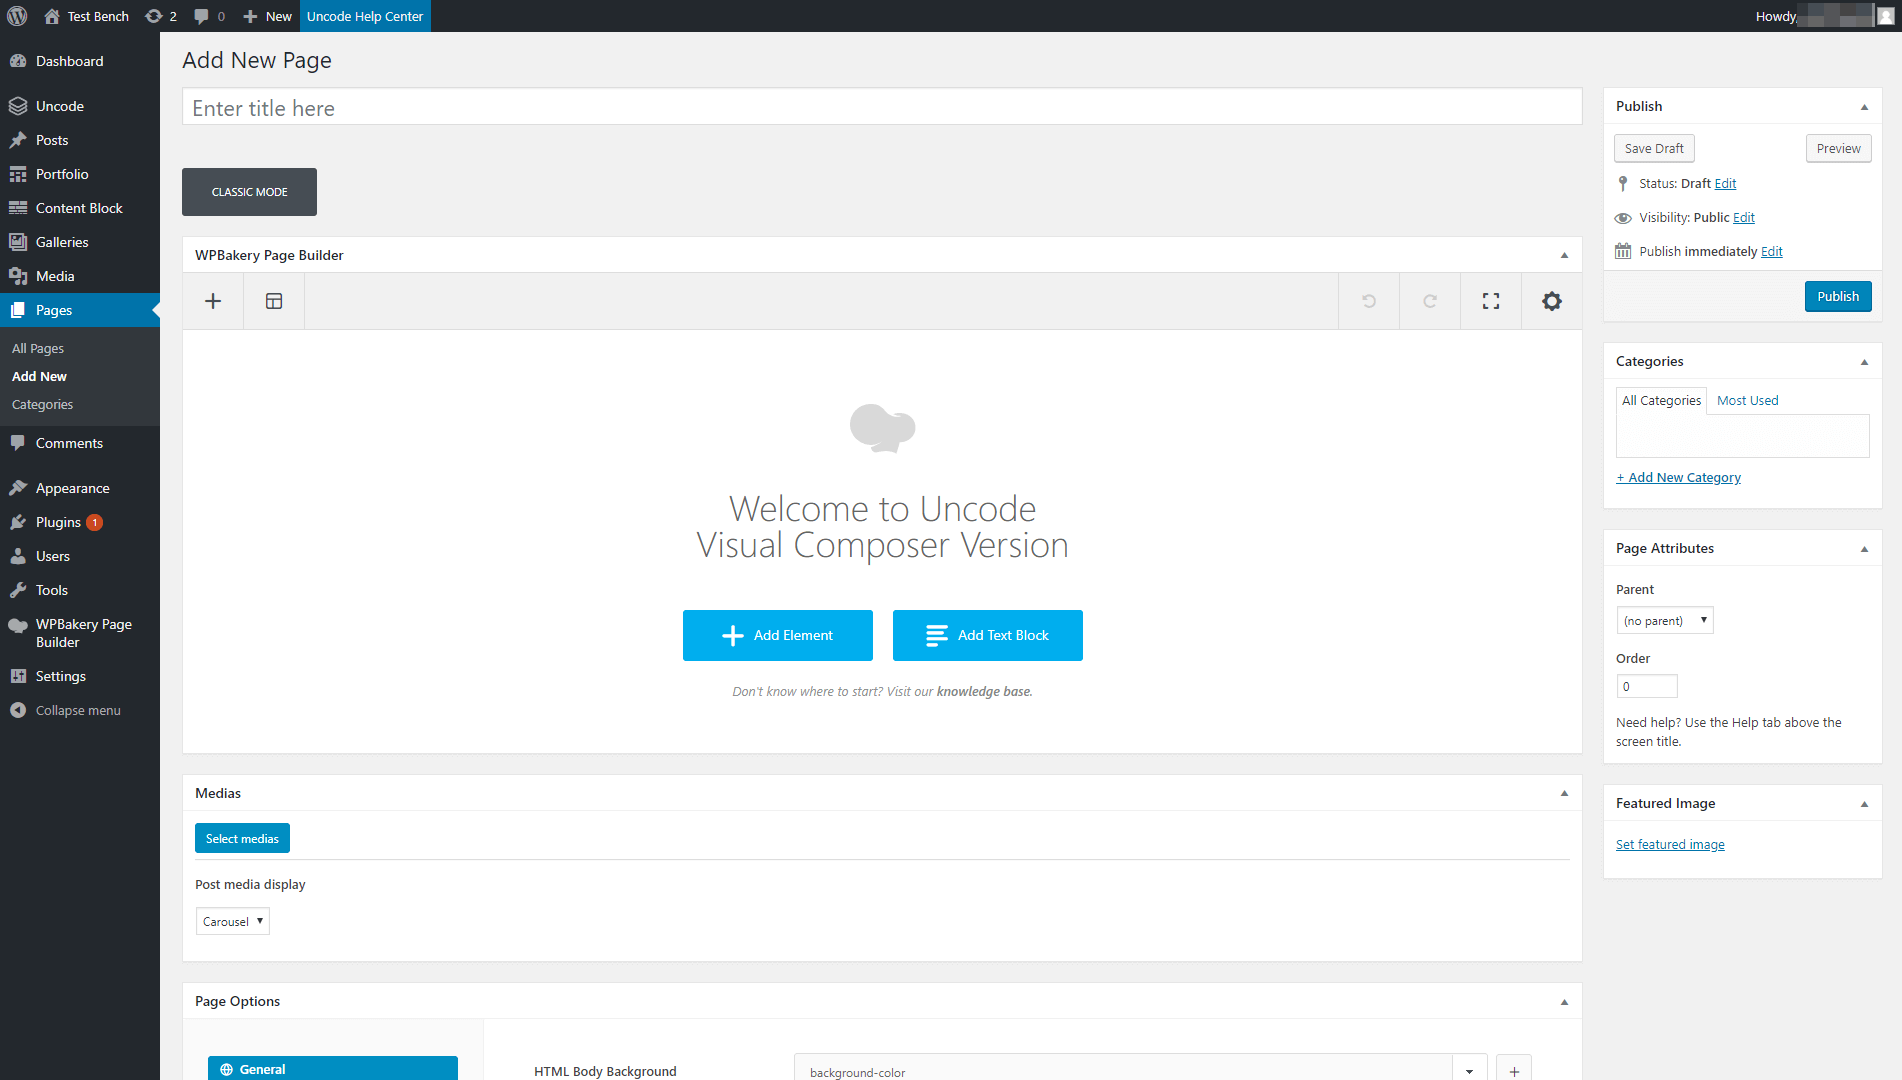
To get started, open the page where you’d like to place your CTA, and make sure you’re editing in the visual builder (if you’re not, select the Backend Editor button to switch over).
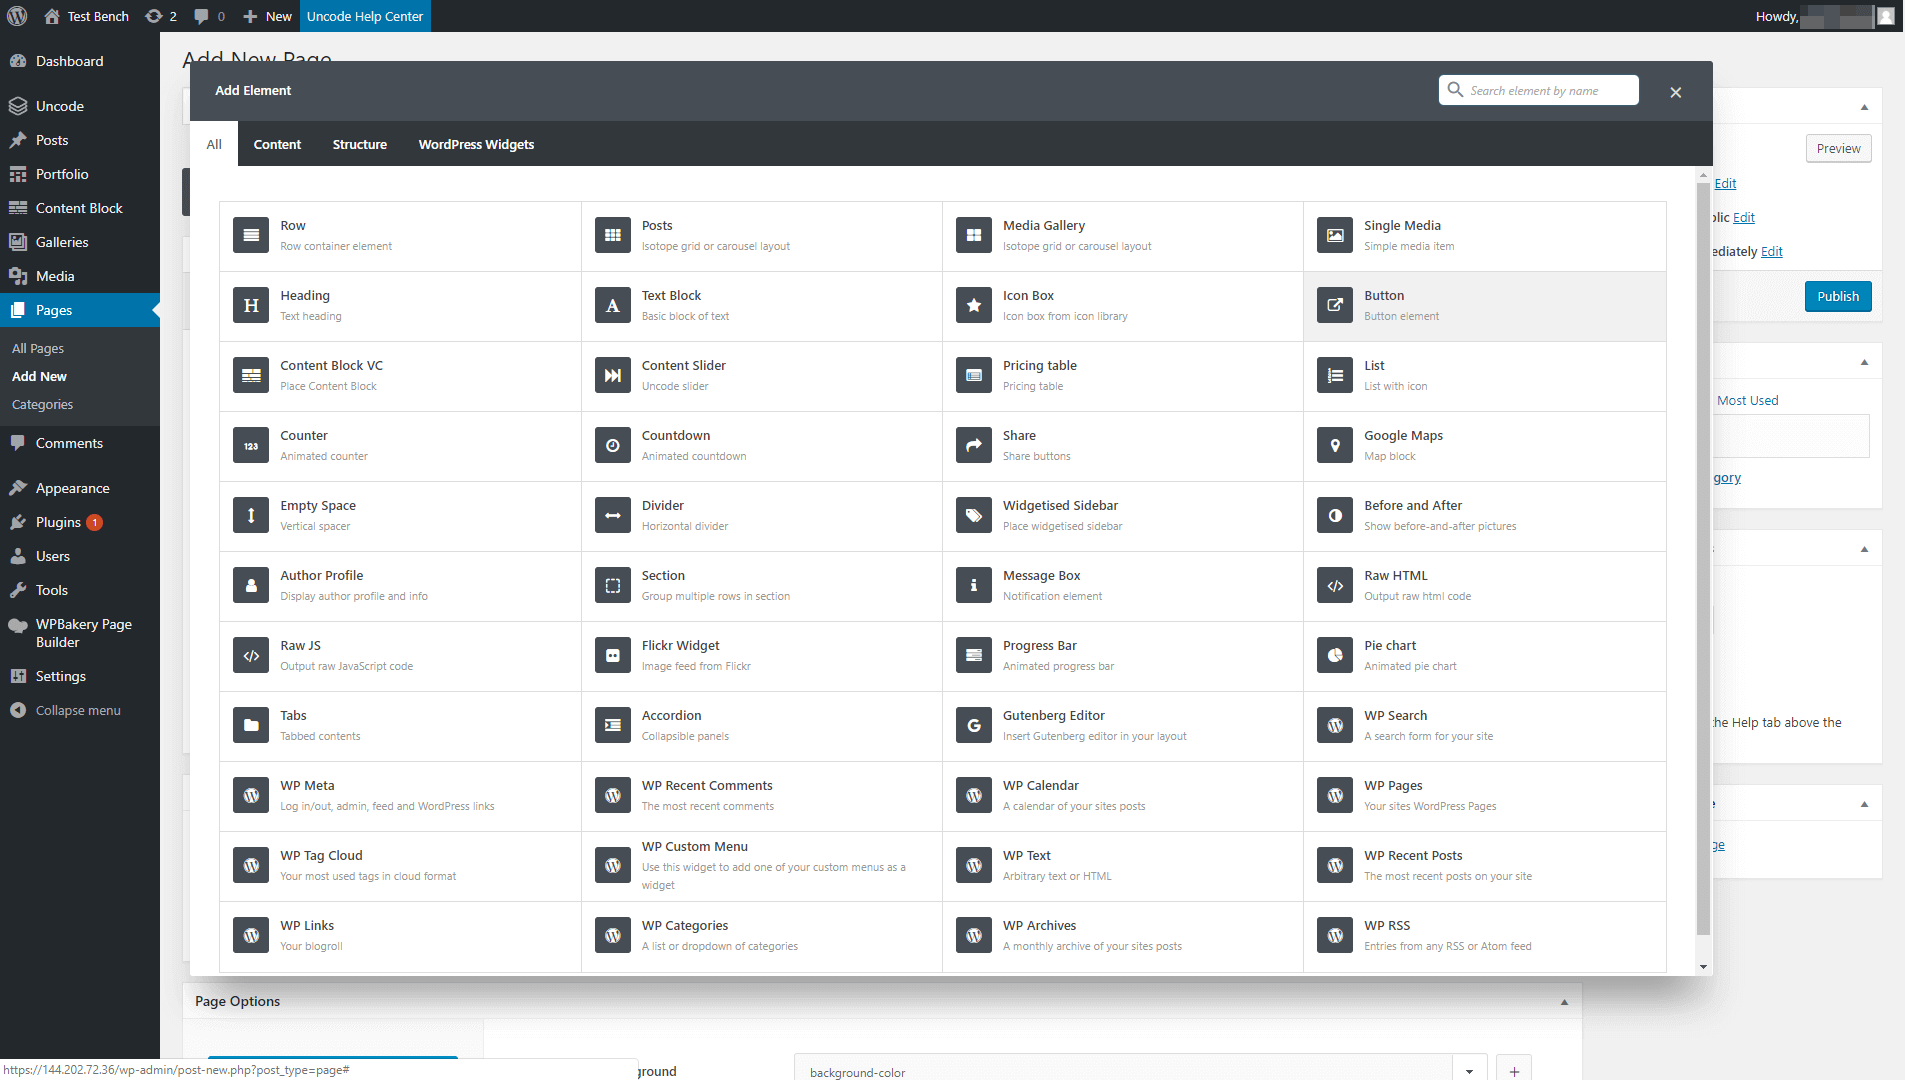
Naturally, you’ll want to build out the rest of the page before adding your CTA button. For the purposes of this tutorial, however, let’s focus solely on the CTA. Therefore, go ahead and click on Add Element:
This will show you a list of all the elements you can add to your page. Choose the Button option, which should be located near the top of the list:
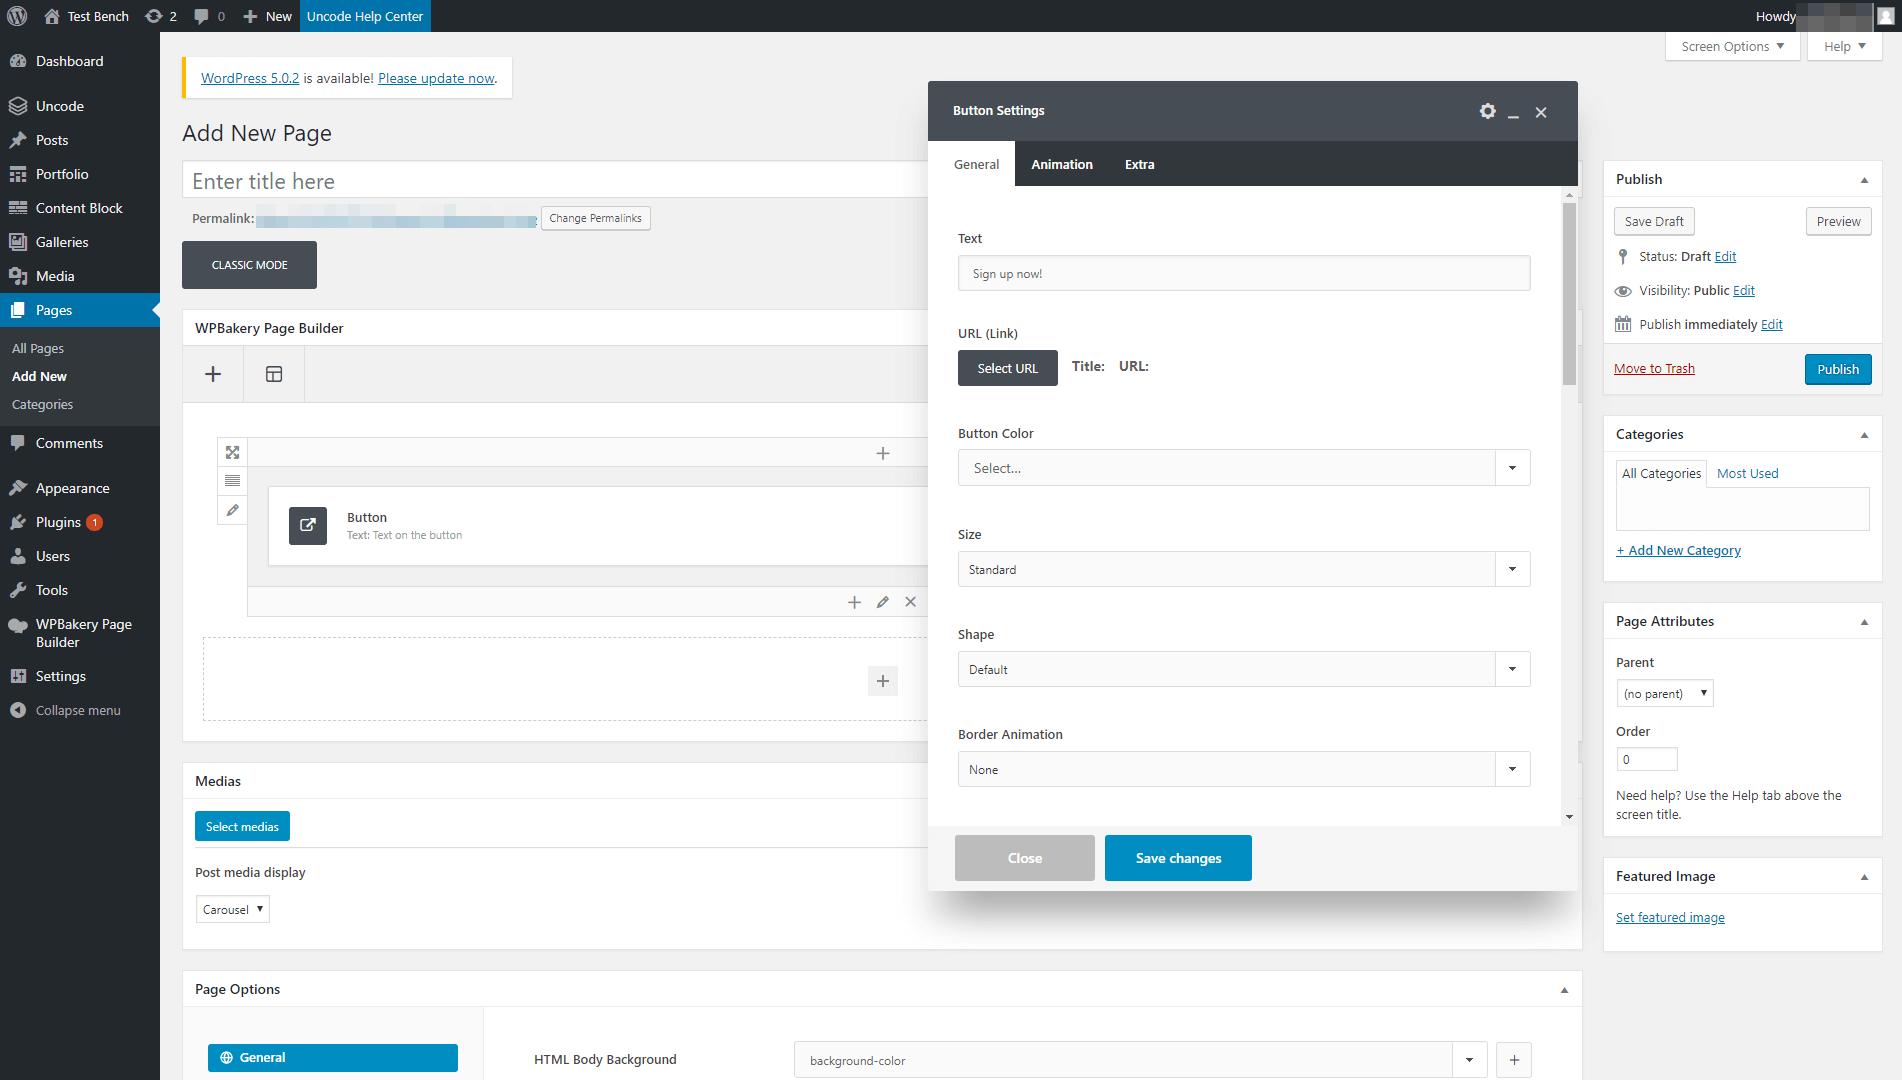
Your new element will be placed on the page, and a window will open enabling you to customize it. For now, just enter the text you want your button to include, and you’ll style it in the next step:
Keep in mind that your CTA’s copy is essential. It should be concise and to-the-point, and make it clear what will happen when the button is clicked on. It’s also smart to include words that promote a sense of urgency, such as “now” or “today”. A few solid examples of CTA text include “Get your free trial today!”, “Sign up for our newsletter!”, and “Buy now!”
Step 3: Customize Your CTA’s Style
At this point, you should be looking at a menu called Button Settings, which is where the magic happens. After adding the text for your CTA in the first field, you’re ready to customize its appearance.
First up, you can choose a size, shape, and color for your CTA under the General tab. Uncode includes a broad range of settings and options, so there’s plenty of room for creating unique styles:
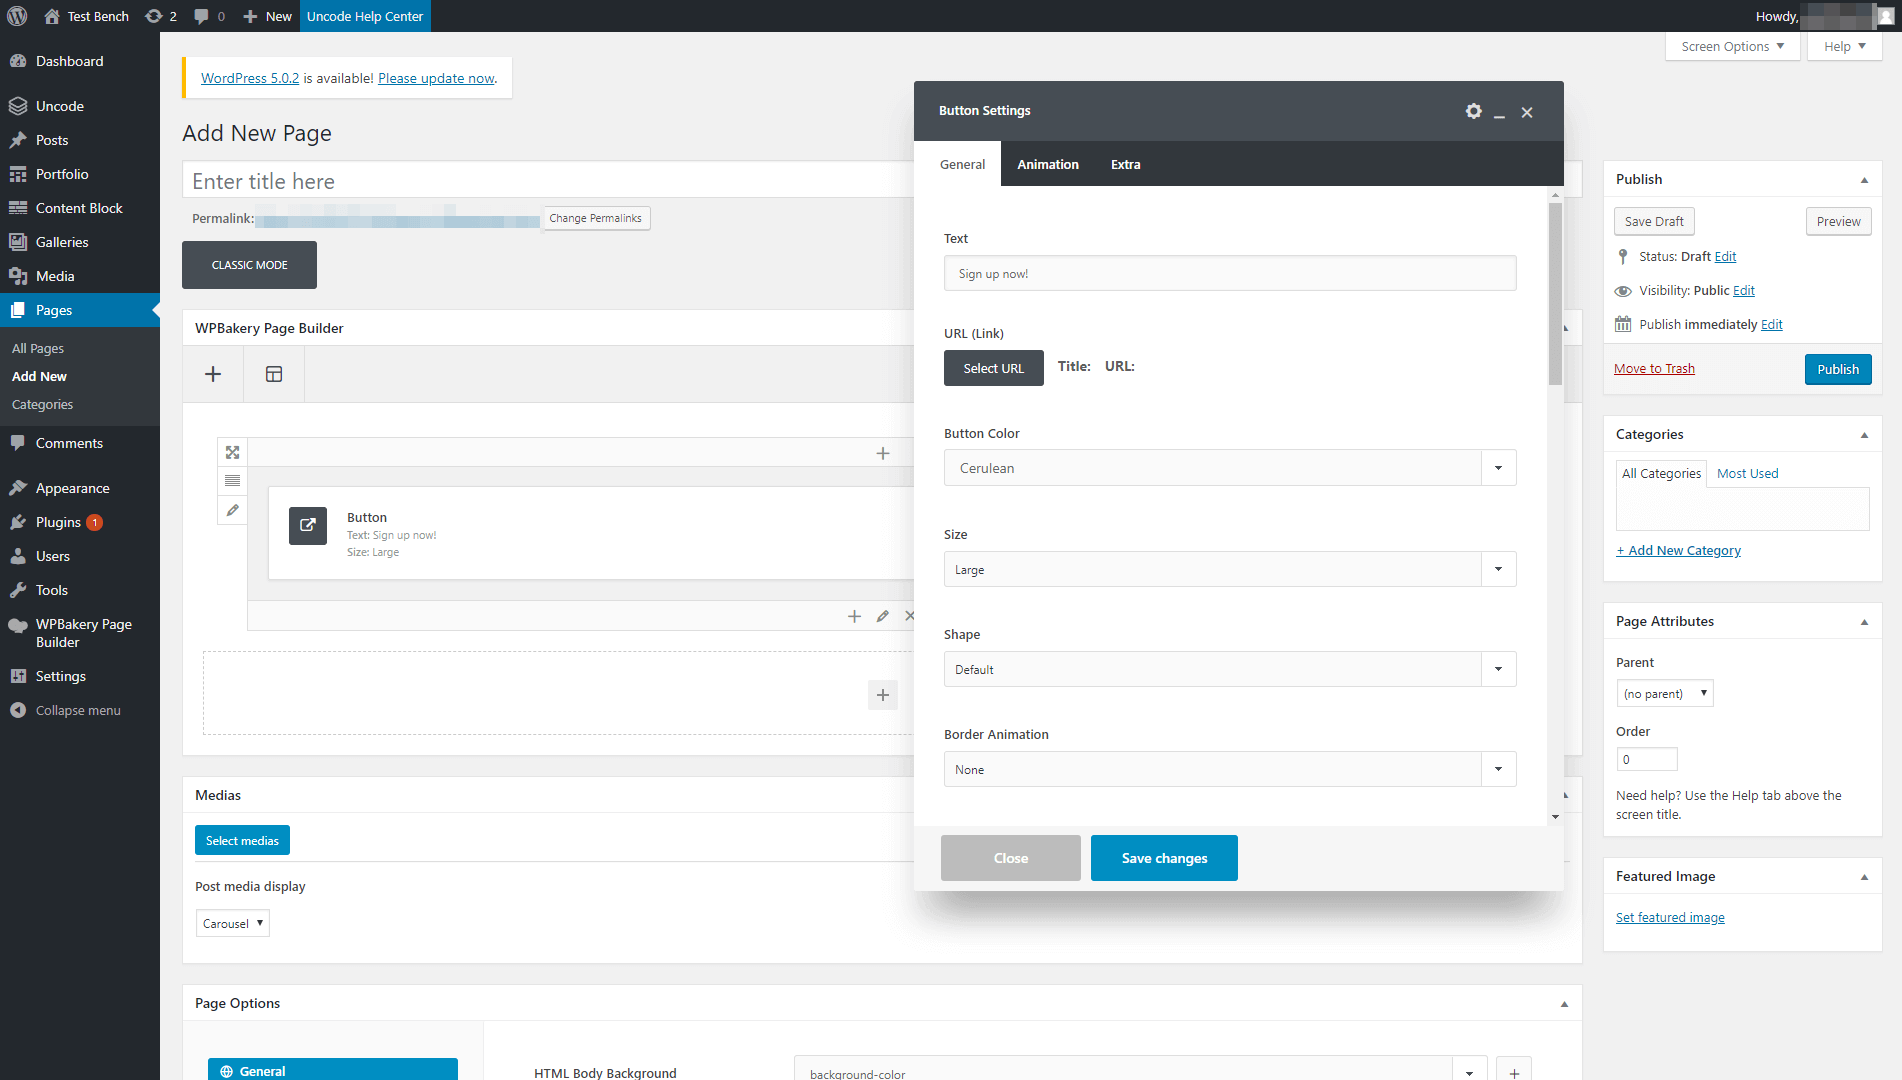
If you’re not sure what you want, you can make changes and immediately preview your button on the front end of your site. That way, you’ll get a clear idea of what each option looks like.
Under the same tab, Uncode also enables you to add a couple of simple yet stylish animations to your buttons. When people mouse over your button, for example, it can either ripple in or out:
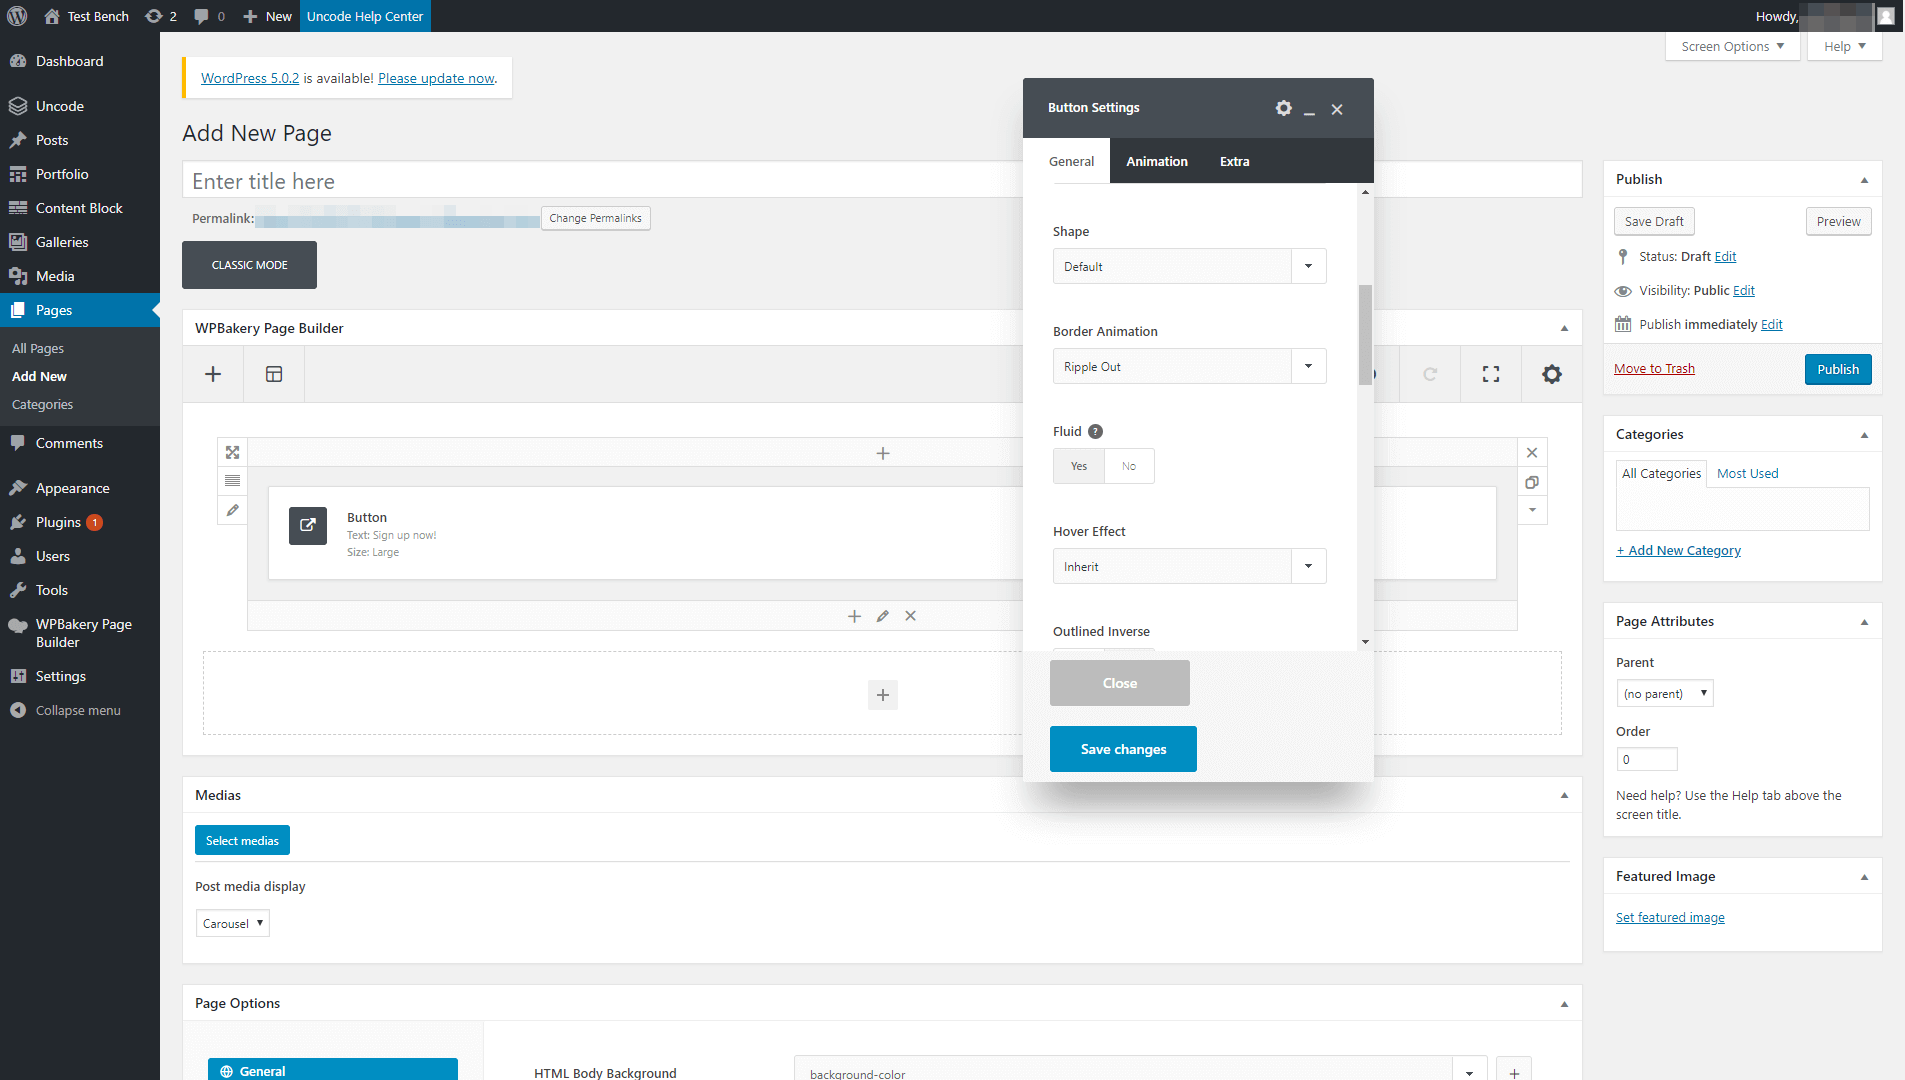
This effect draws the user’s eye towards the button if they should happen to mouse over it by accident. Plus, it clearly demonstrates that it’s a clickable element (you’d be surprised at how many users miss that). Of course, like all of the settings here, this is a completely optional feature.
Below the animations drop-down, there’s an option labeled Fluid. If you enable this, it will automatically stretch your CTA to take up the entire width of the page. That often looks good on mobile devices, but can appear less attractive on desktops, so keep your target audience in mind.
If you keep scrolling down, you’ll find two of the options we’re most fond of – Custom Typography and Icons. With the former, you can use custom fonts to draw attention towards your CTA. Then, the latter enables you to add icons alongside your text:
![]()
Play around with these settings until you find a winning combination, and then save the changes to your button. Don’t forget to check it out on the front end to see the results:

Our CTA is simple, but stylish and effective. Plus, it only took a few minutes to put together using Uncode. The best part is that you can customize each CTA you add to your site using the same settings, which enables you to try out different designs to see what attracts the most conversions.
Step 4 (Optional): Use CSS to Customize Your Uncode CTA
As we’ve seen, Uncode provides you with plenty of options to customize your buttons. However, at some point you may want to move beyond the default settings, and use CSS to add custom styling to your CTAs.
You can do this by opening the Button Settings > Extra tab within the page builder. There, you’ll find an option that enables you to create a new class for your CTA:
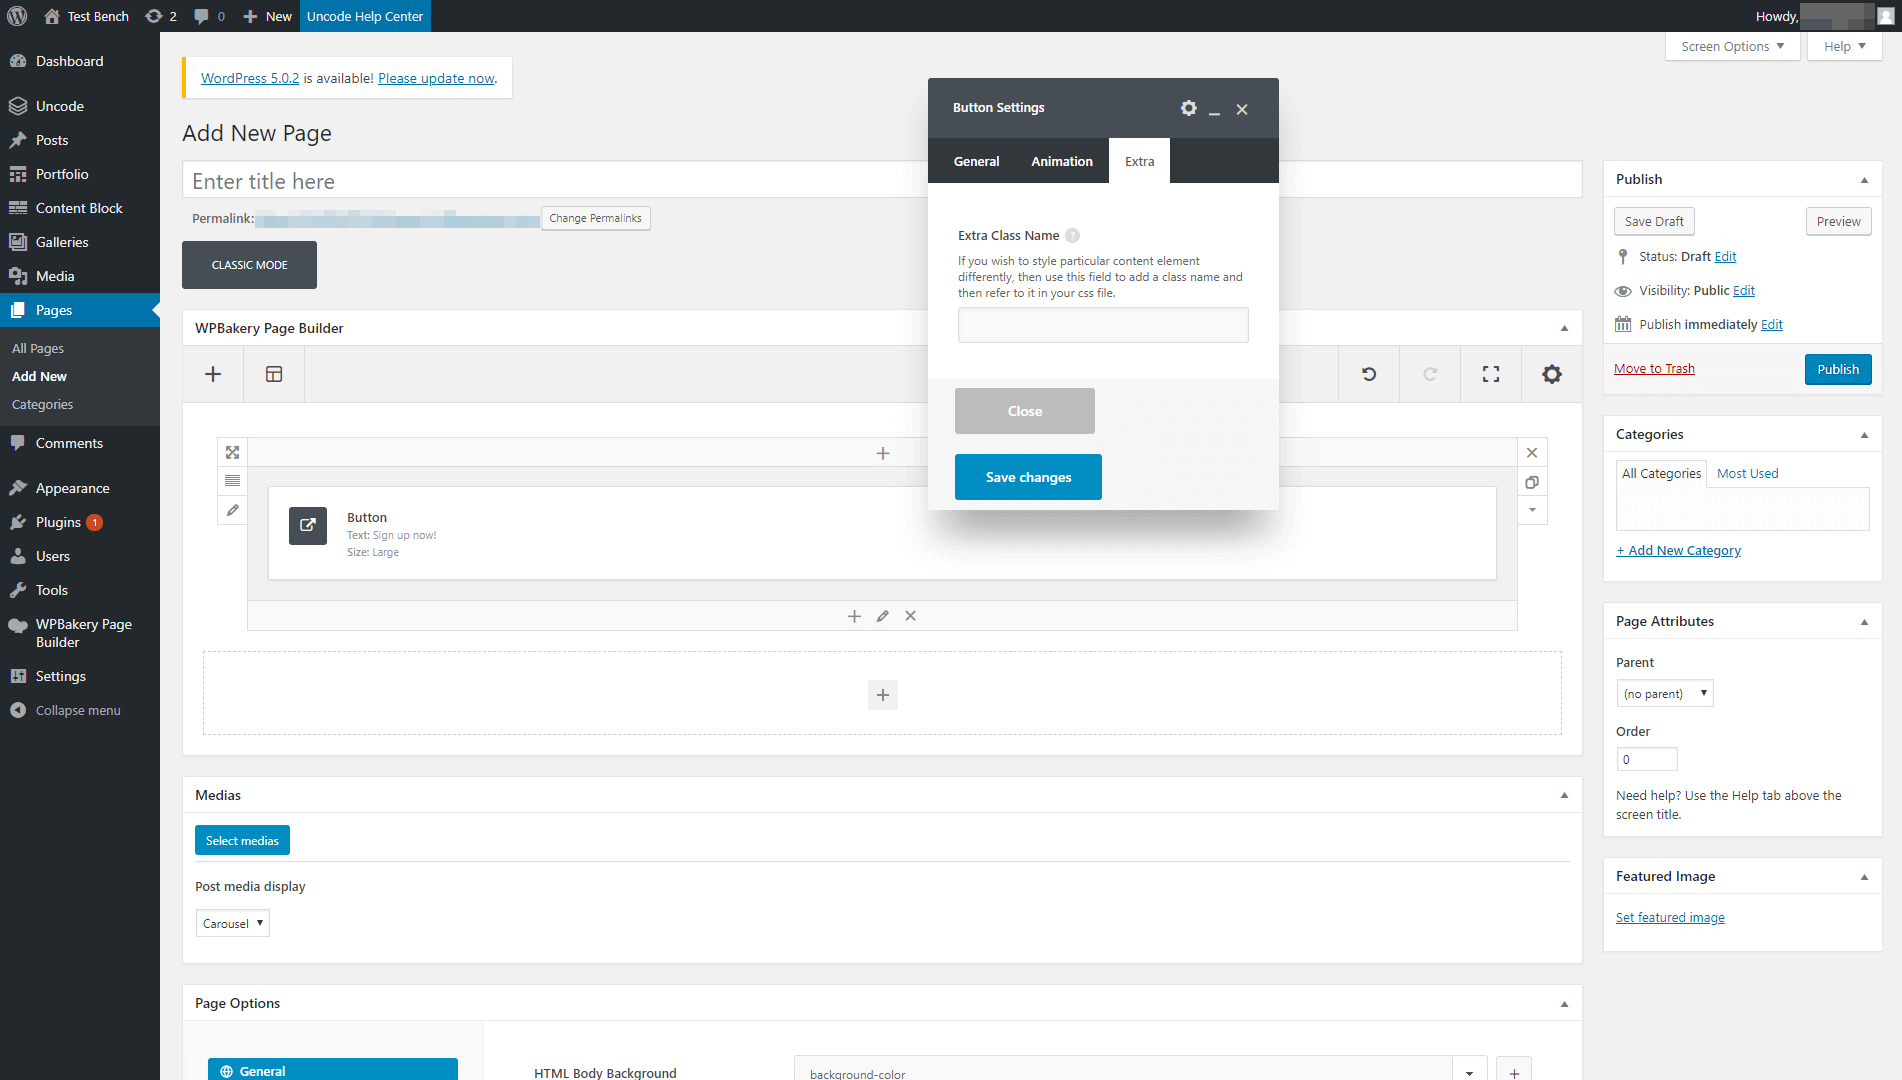
Once you define a class for your button, you can reference it within your styles.css file and customize it with CSS. That way, you can style your CTA in any way you want!
Conclusion
CTAs are deceptively simple elements, with a huge impact on your site’s success. Even something as simple as changing a button’s color can often be enough to get you more sign-ups or sales. This means that if you know how to create stylish CTAs that attract attention, you can get a leg up on your competition.
What’s more, it’s simple to create unique and highly-customized CTAs using Uncode. You’ll just need to:
- Set up the Uncode theme, and the additional plugins you’ll need.
- Add a Button element to your page.
- Style your Uncode CTA button.
- Optionally, customize your button using CSS.