Sometimes, you need to showcase more images than you can include on a single page without making it look cluttered. Usually, your only option is to separate your images into multiple gallery sections, or display them on different pages. However, splitting up your images lowers the chance that users will be able to find all of them.
That’s where Uncode comes in, with its handy album gallery feature. This option helps you essentially build a gallery of galleries. That way, you can neatly pack all the images you want into a small space. Plus, users can browse everything you have to offer, without having to navigate between multiple pages.
In this article, we’ll talk more about Uncode’s album galleries, and discuss when you should consider using them. Then we’ll teach you how to create your own album gallery in three simple steps. Let’s get to work!
What Album Galleries Are (And When You Should Use Them)
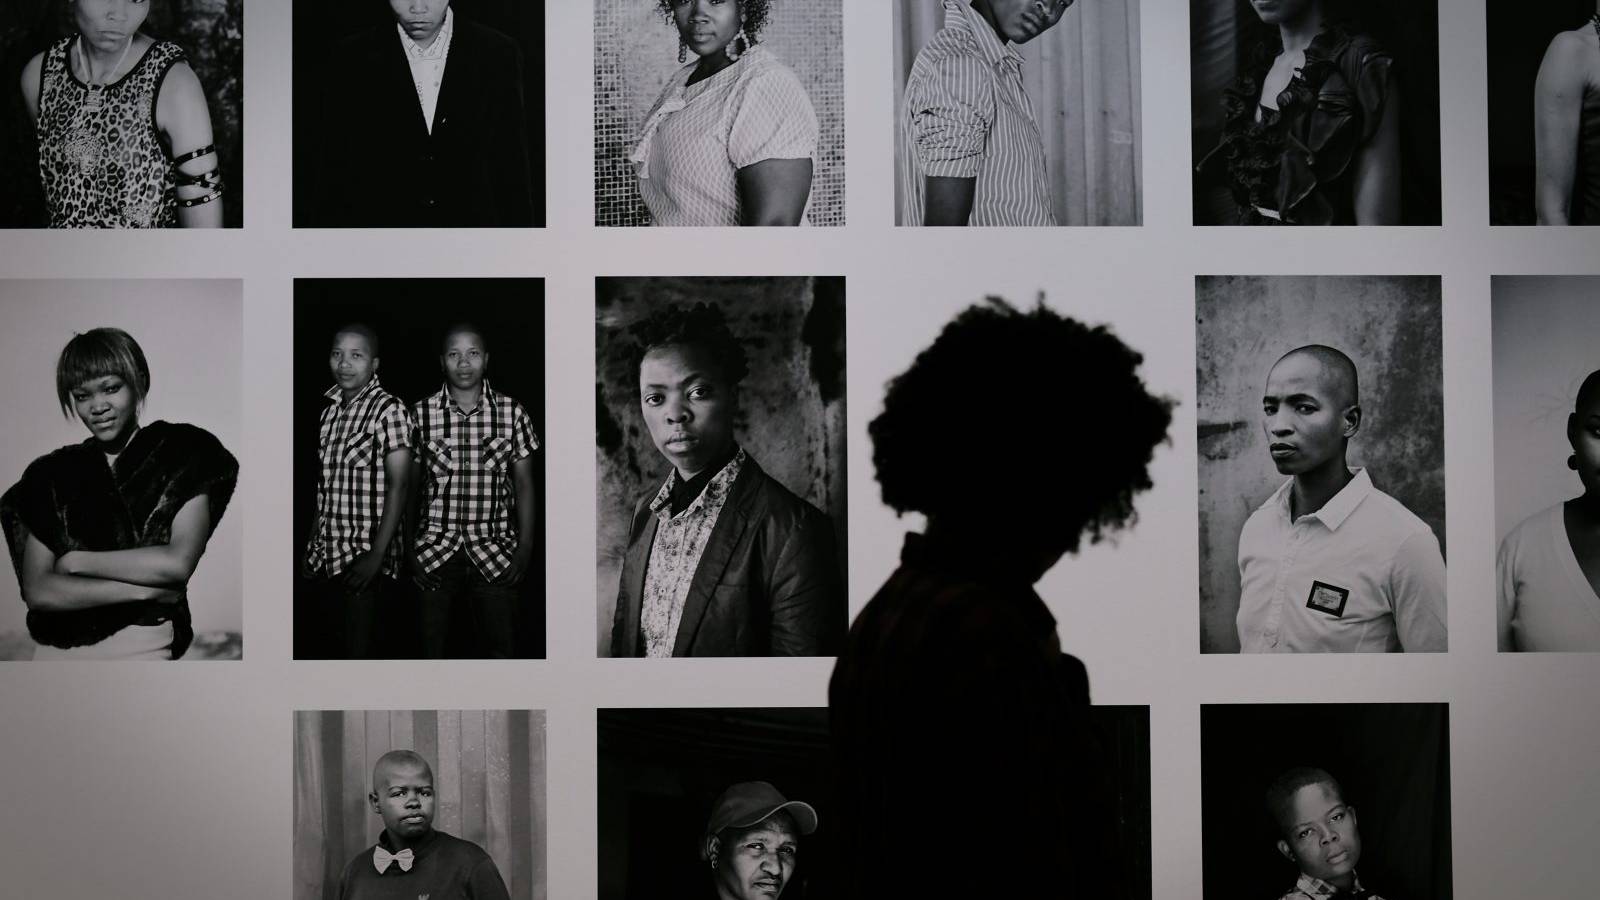
Album galleries look just the same as regular WordPress galleries on the outside. However, when you click on one of the pictures, it opens up to reveal an entire gallery within, using a lightbox effect. This is an elegant solution to a complex problem – finding a way to add dozens of images to a single page without negatively affecting its usability.
You can always include multiple galleries on the same page, or spread out those images among several pages. However, these techniques can make it more difficult for visitors to see everything you have to offer, and find the images they want. Moreover, there are some particular situations where using album galleries makes a lot of sense.
For example, this feature is perfect for:
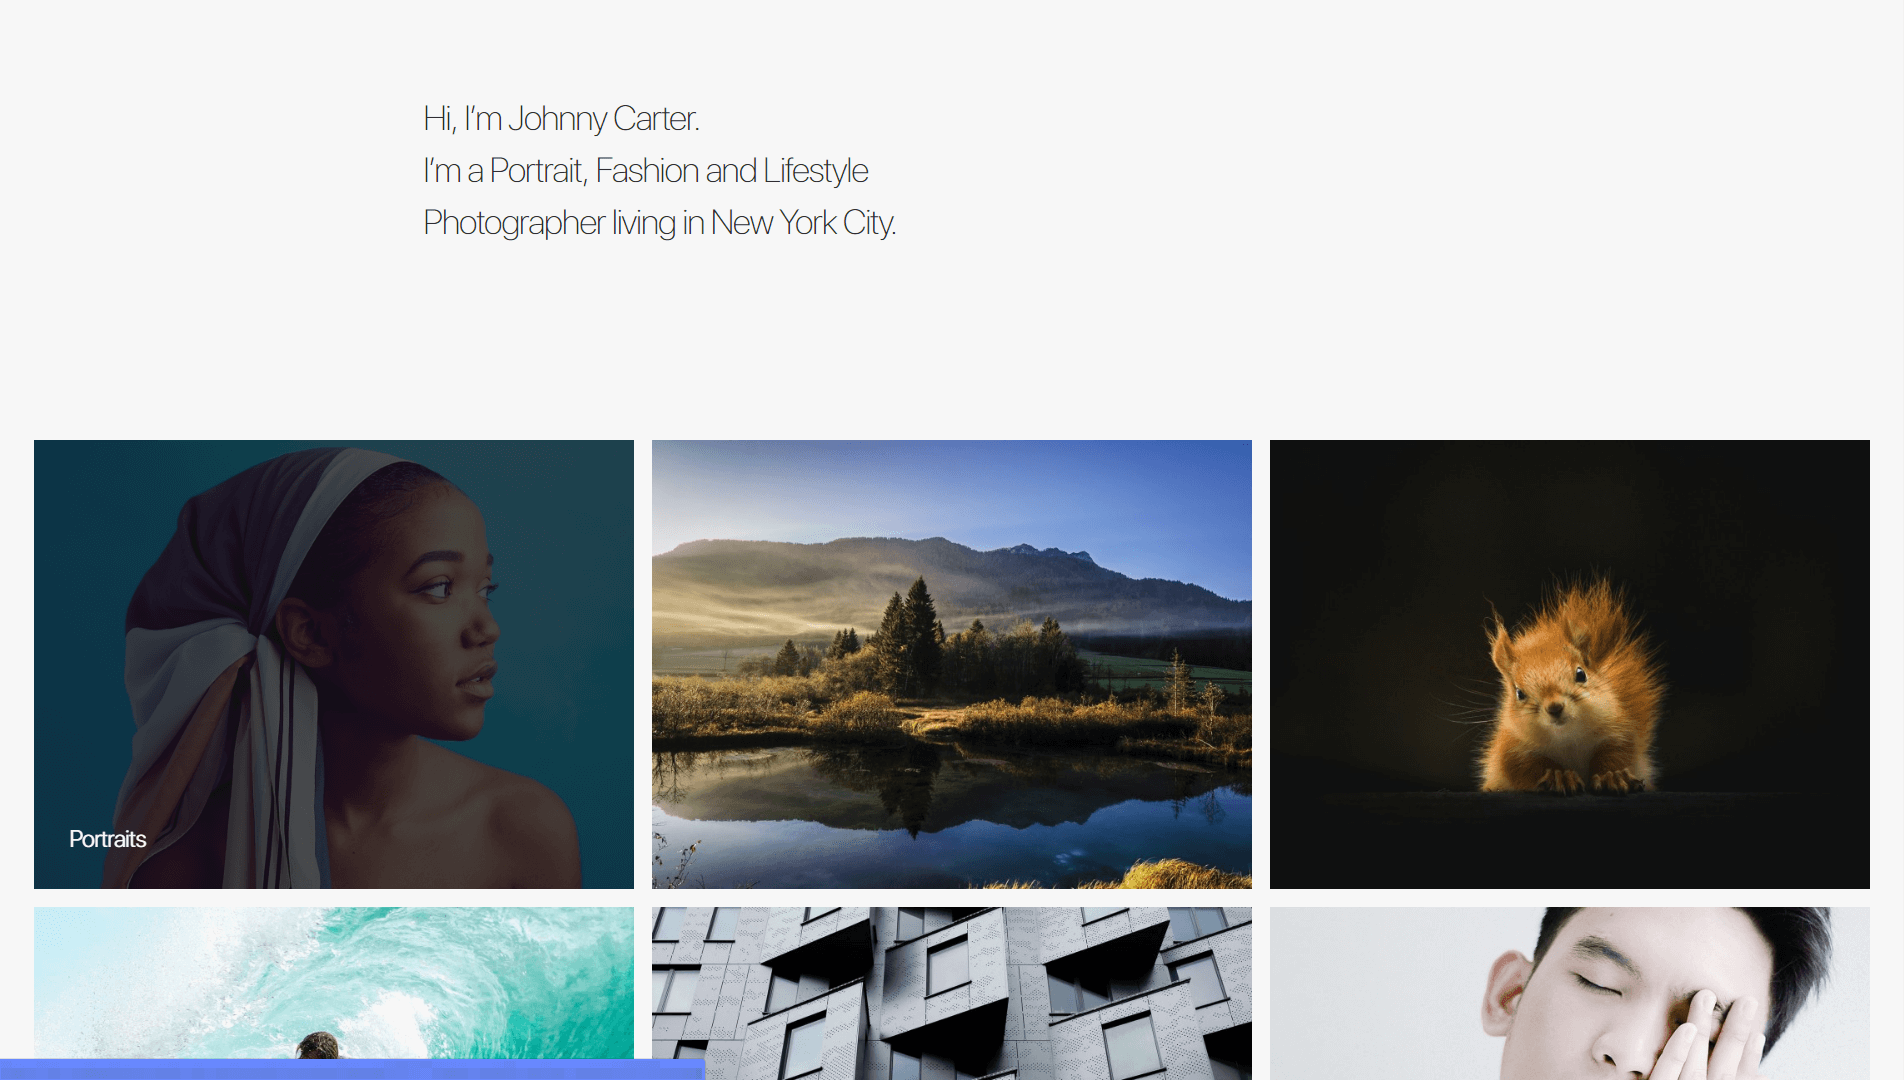
- Portfolio websites. If you want to showcase work in more than one category, using an album gallery enables you to do so, without the need to add unnecessary pages to your website.
- Displaying pictures from multiple events. Album galleries are a perfect way to create separate galleries for individual events, and showcase them side by side.
There are a lot more practical applications for album galleries, of course, so they’re well worth considering for your own website. Keep in mind, however, that album galleries are an Uncode-specific feature. Let’s talk about how to create them within the theme!
How to Create Gorgeous Album Galleries Using Uncode (In 3 Steps)
Before you get started, you’ll need to go ahead and set up Uncode, as well as all its recommended plugins. Without those, your theme’s functionality will be limited, and some advanced features might not work as intended. When you’re ready, you can move on to the first step.
Step 1: Set Up Each Individual Gallery
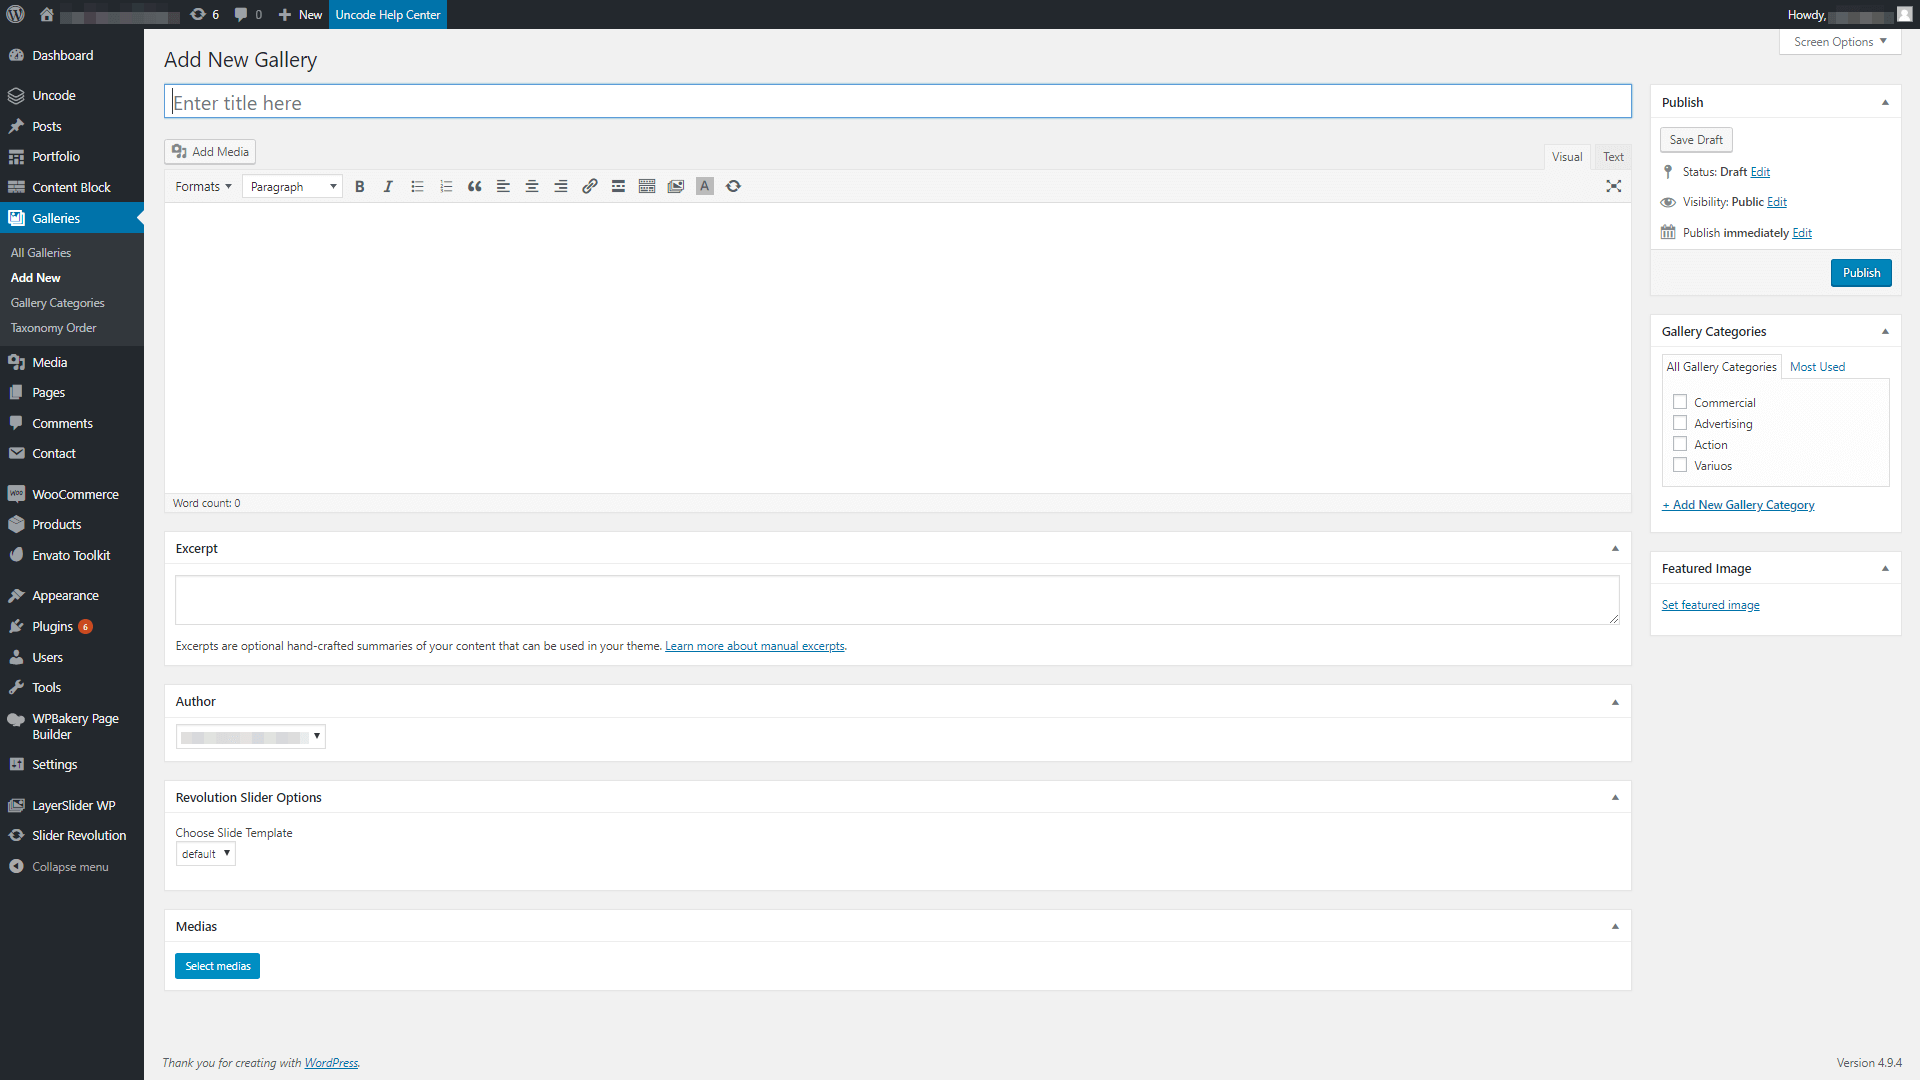
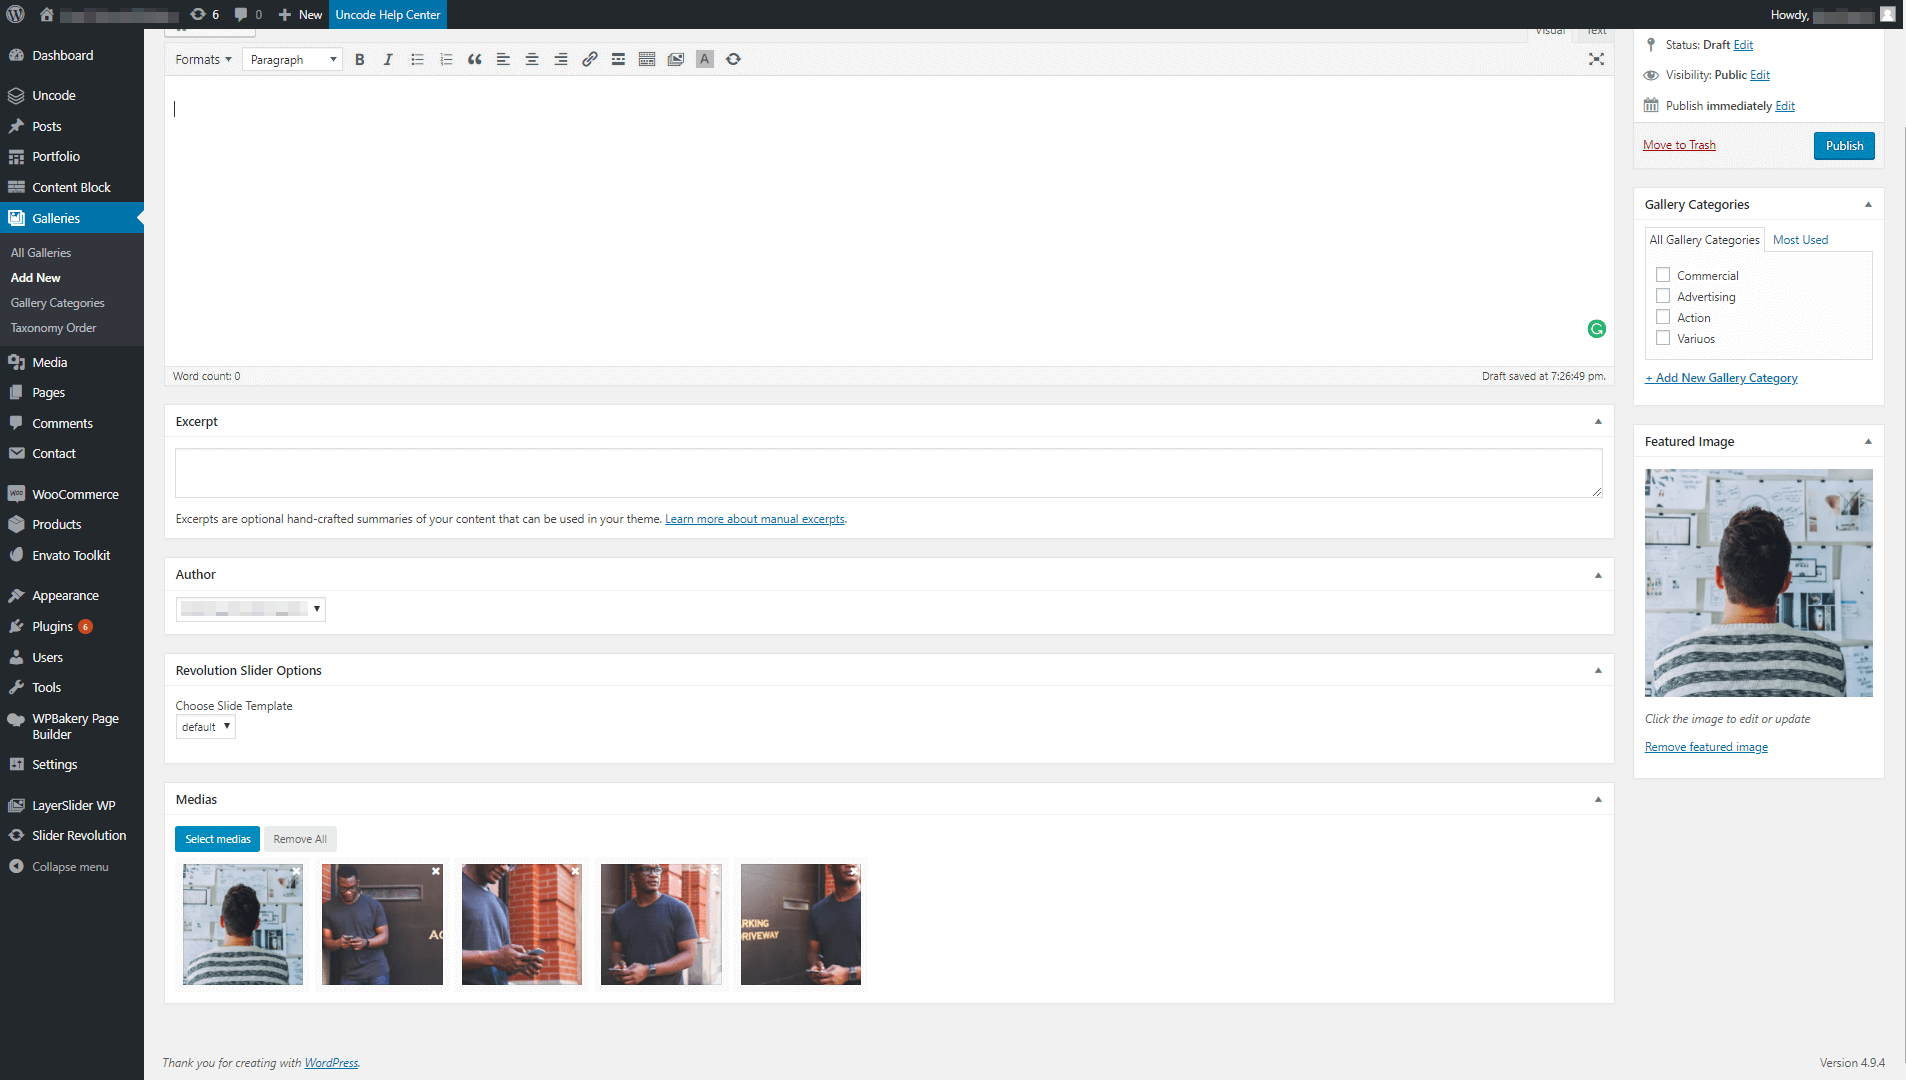
Uncode enables you to set up galleries as custom post types, by adding a new tab to your dashboard. To get started, go to Galleries and click on Add New. On the next screen, you’ll be able to enter a title for your new gallery, and choose a featured image for it:
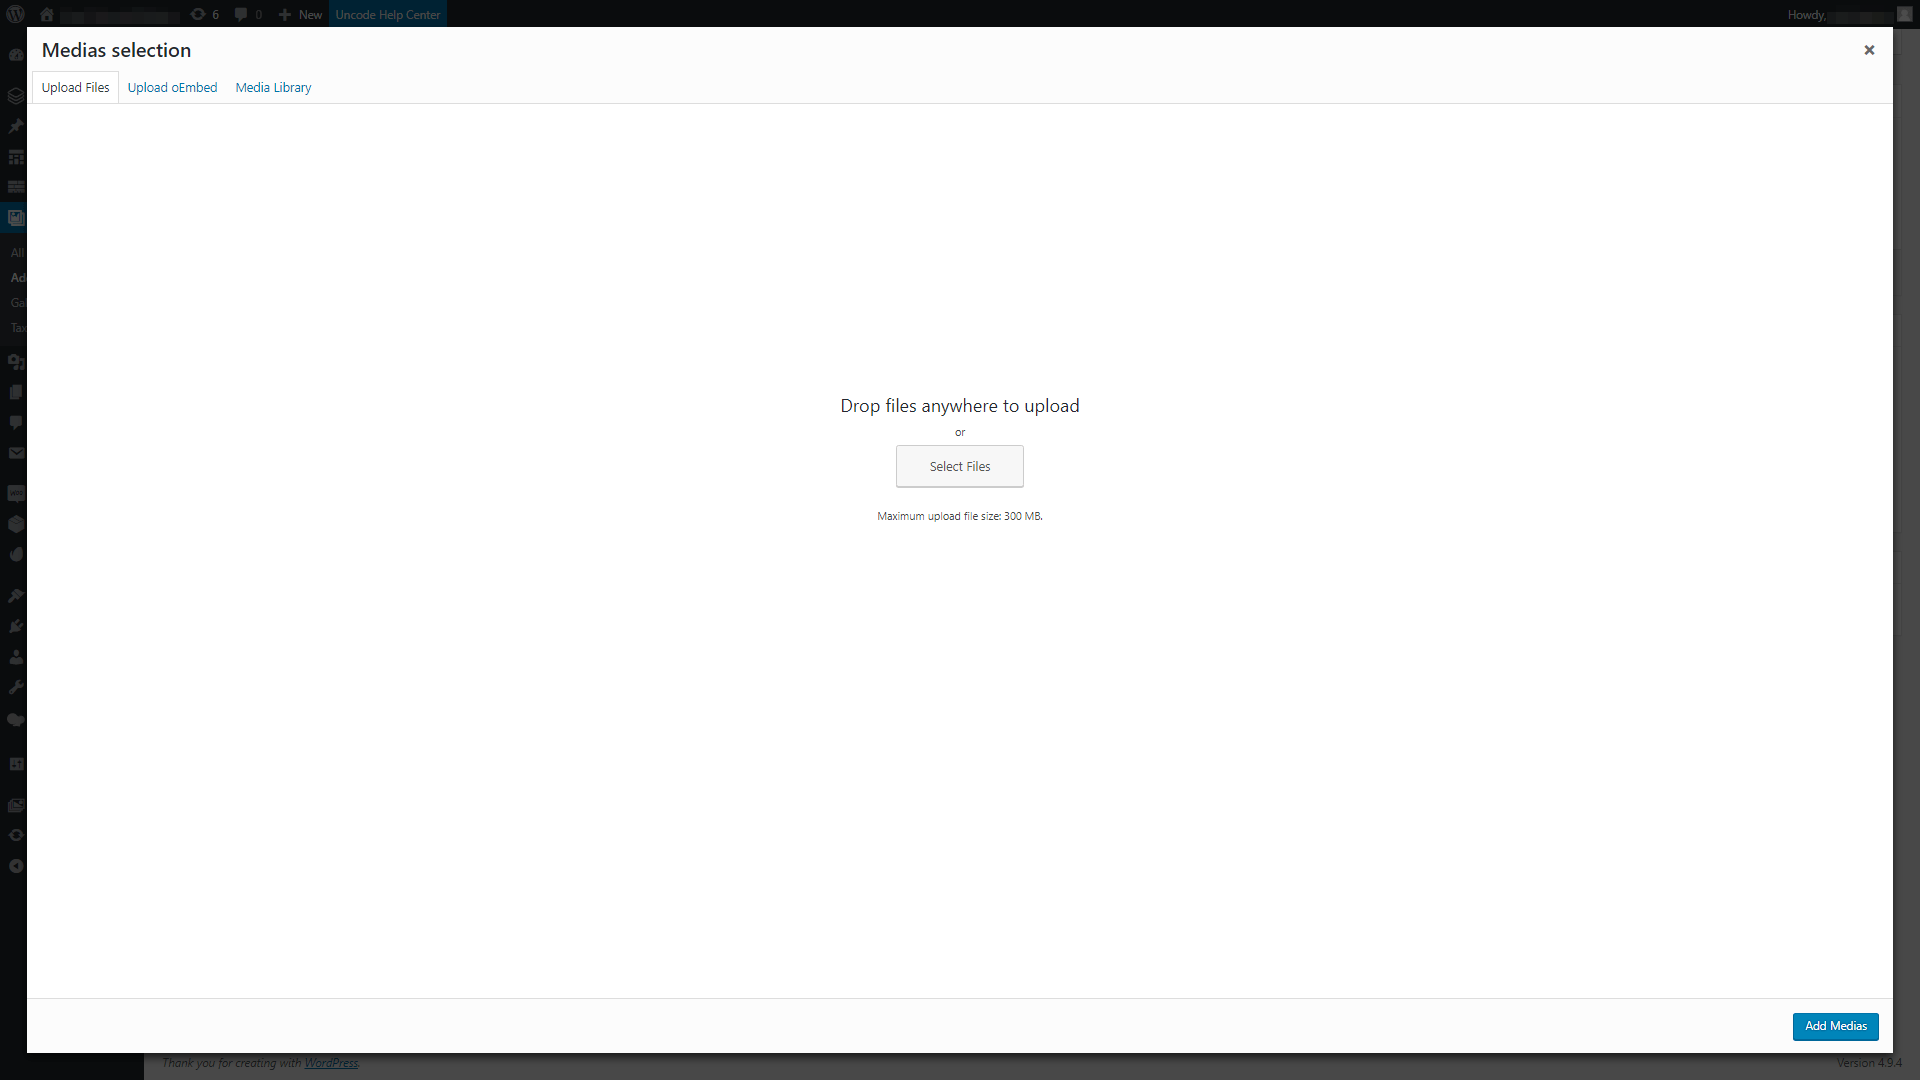
Now, go ahead and upload all the images you want your gallery to include within the Medias section at the bottom of the page:
Your gallery can include as many images as you want, and you can drag and drop them to configure their order. In addition, you’ll want to re-upload your featured image here, and place it in the first position. Otherwise, when users click on your album gallery they’ll be met with a different picture (which can be jarring):
You may also want to ensure that all your images are a similar size, since that tends to result in a more attractive gallery. When you’re done making changes, remember to hit the Publish button to save your new gallery.
Repeat this process for each individual gallery you want to use. Then, you’re ready to move on to the next step. If you ever need to make changes to your galleries, you can do so easily by returning to this screen.
Step 2: Create Your Album Gallery Using Uncode’s Page Builder
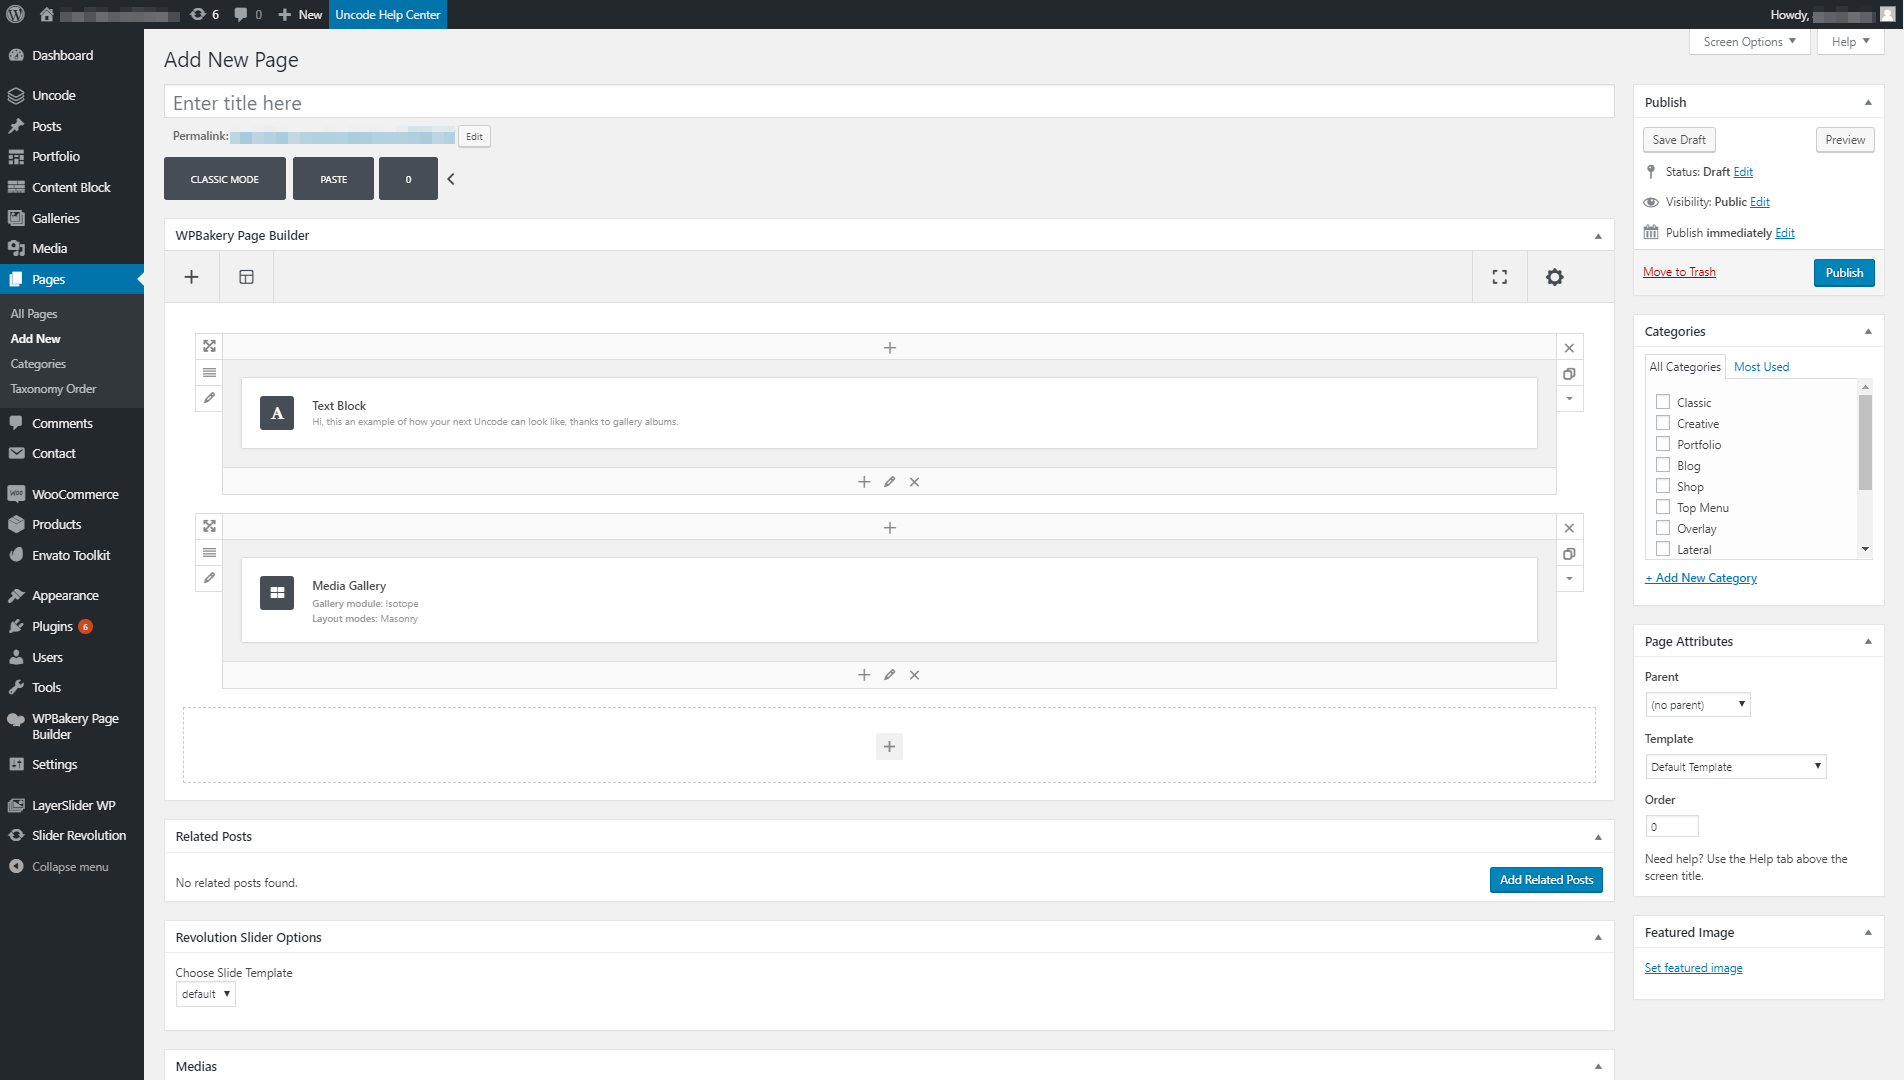
As you may know, Uncode uses a specially-designed version of WPBakery Page Builder to help you create stunning pages with ease. This popular plugin uses a module system, which helps you place and arrange elements on your pages and posts. To add album galleries, you’ll need to use the Media Gallery module:
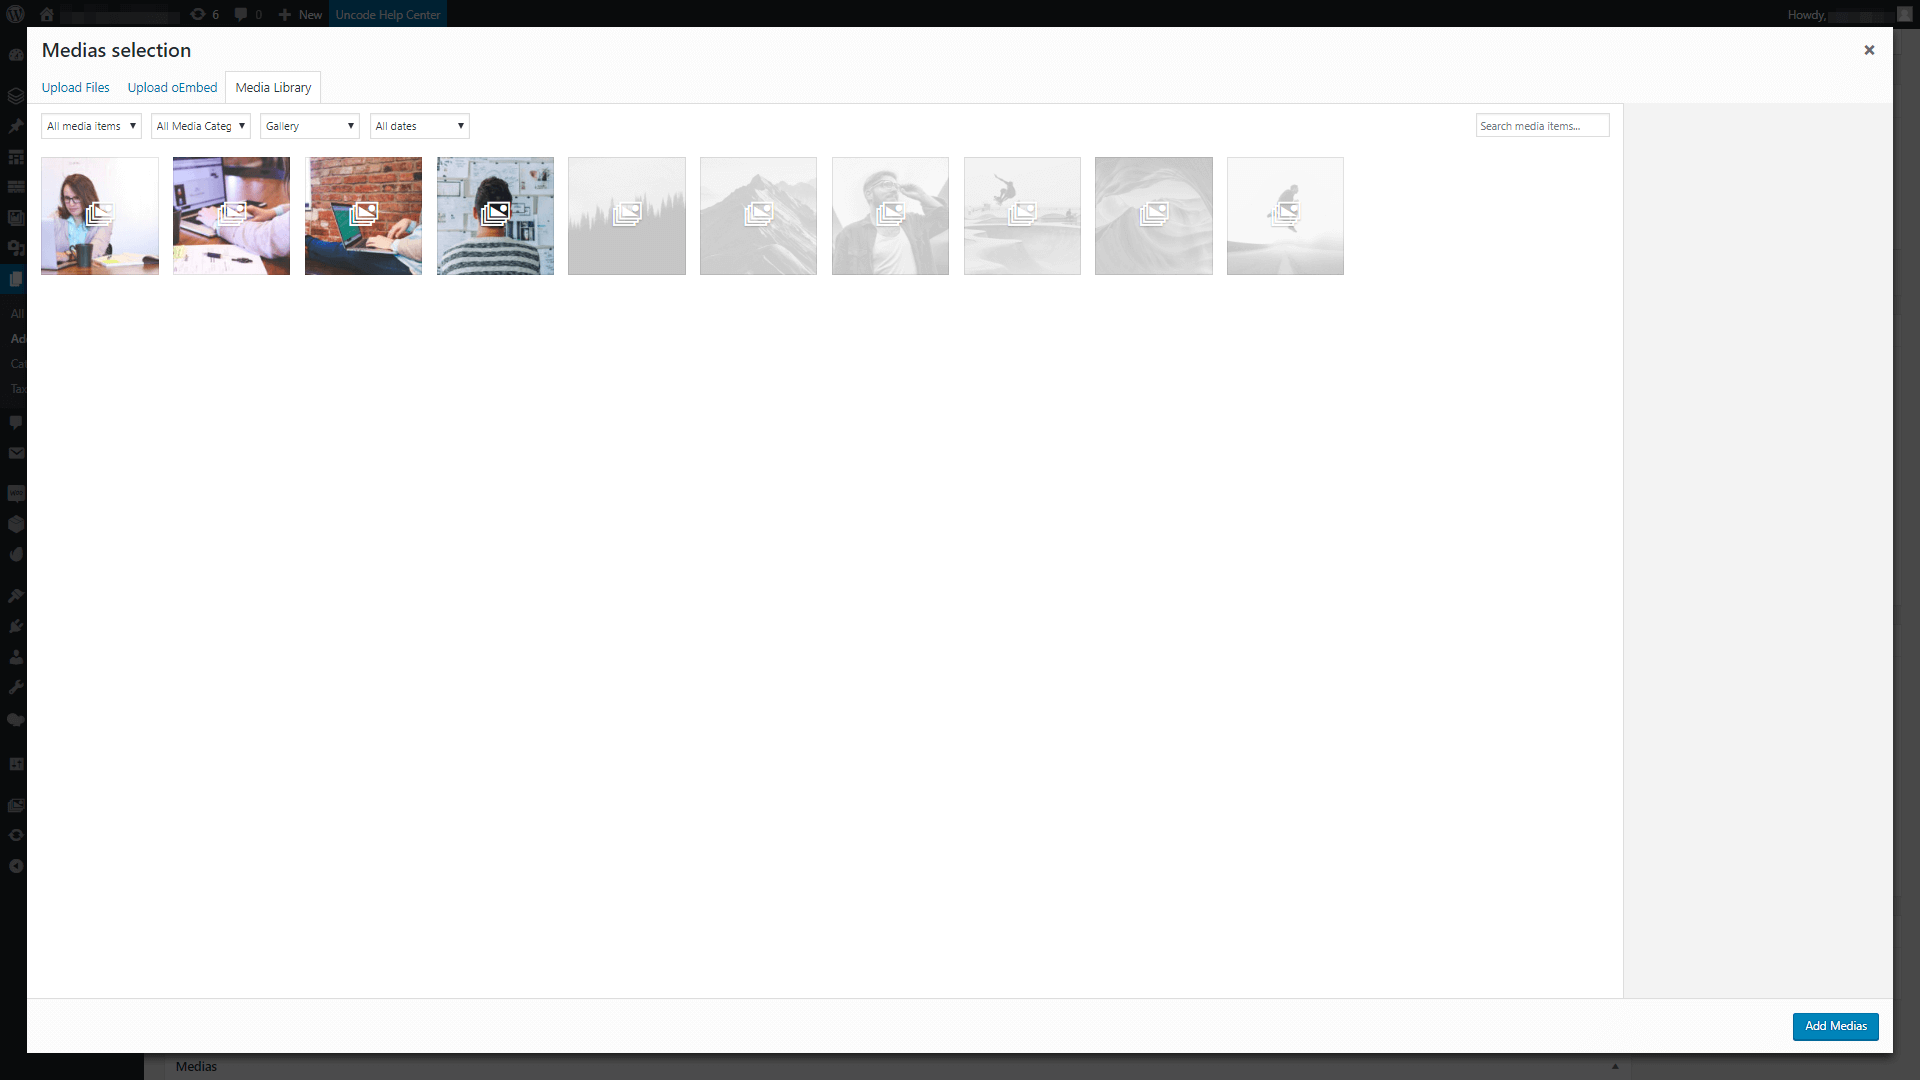
Once you place the module, open its settings screen and navigate to the General tab. Scroll down until you find the Medias section, and click on the button next to it to add new elements. On the following screen, select the Media Library tab, and choose the Gallery option under the media selector:
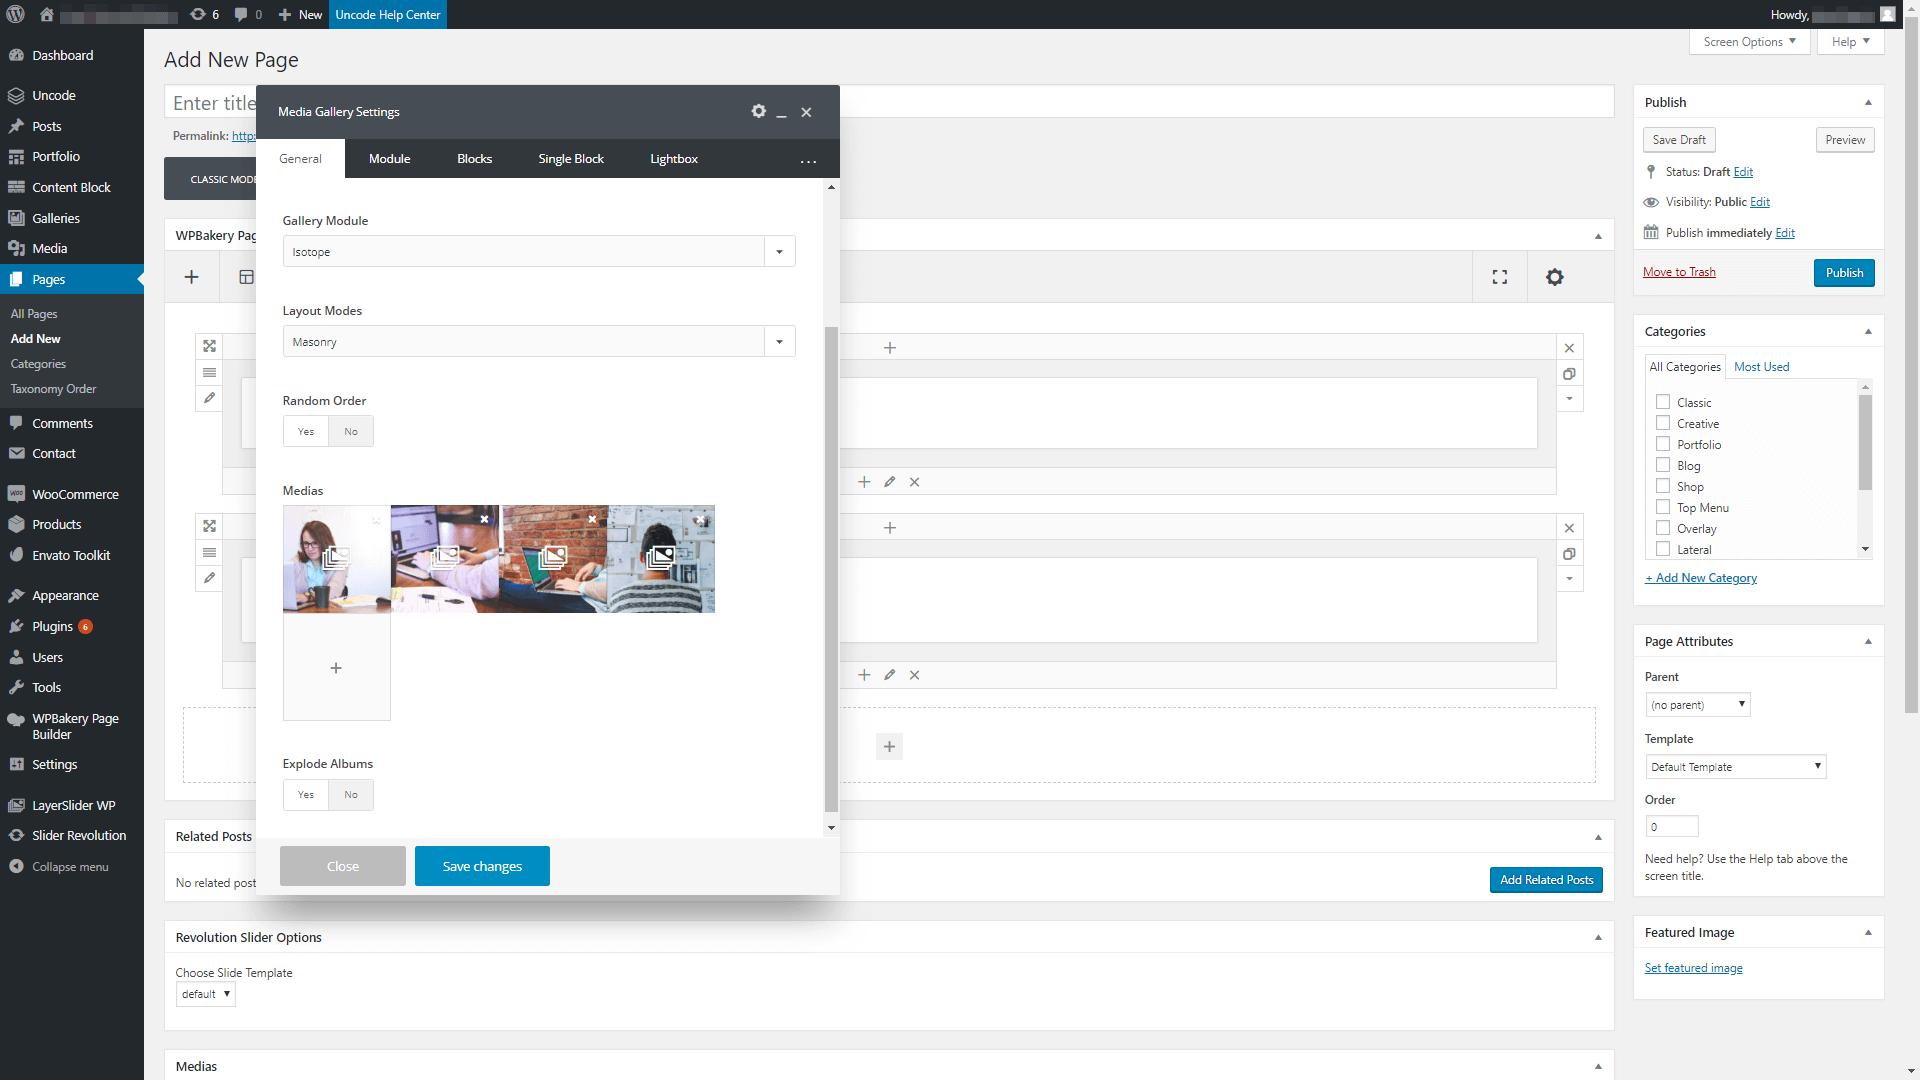
All the galleries you’ve created using Uncode will appear side by side on this screen. You can add one or more galleries to your Media Gallery module by simply selecting them. The galleries you’ve chosen should appear under your module’s Settings window, like this:
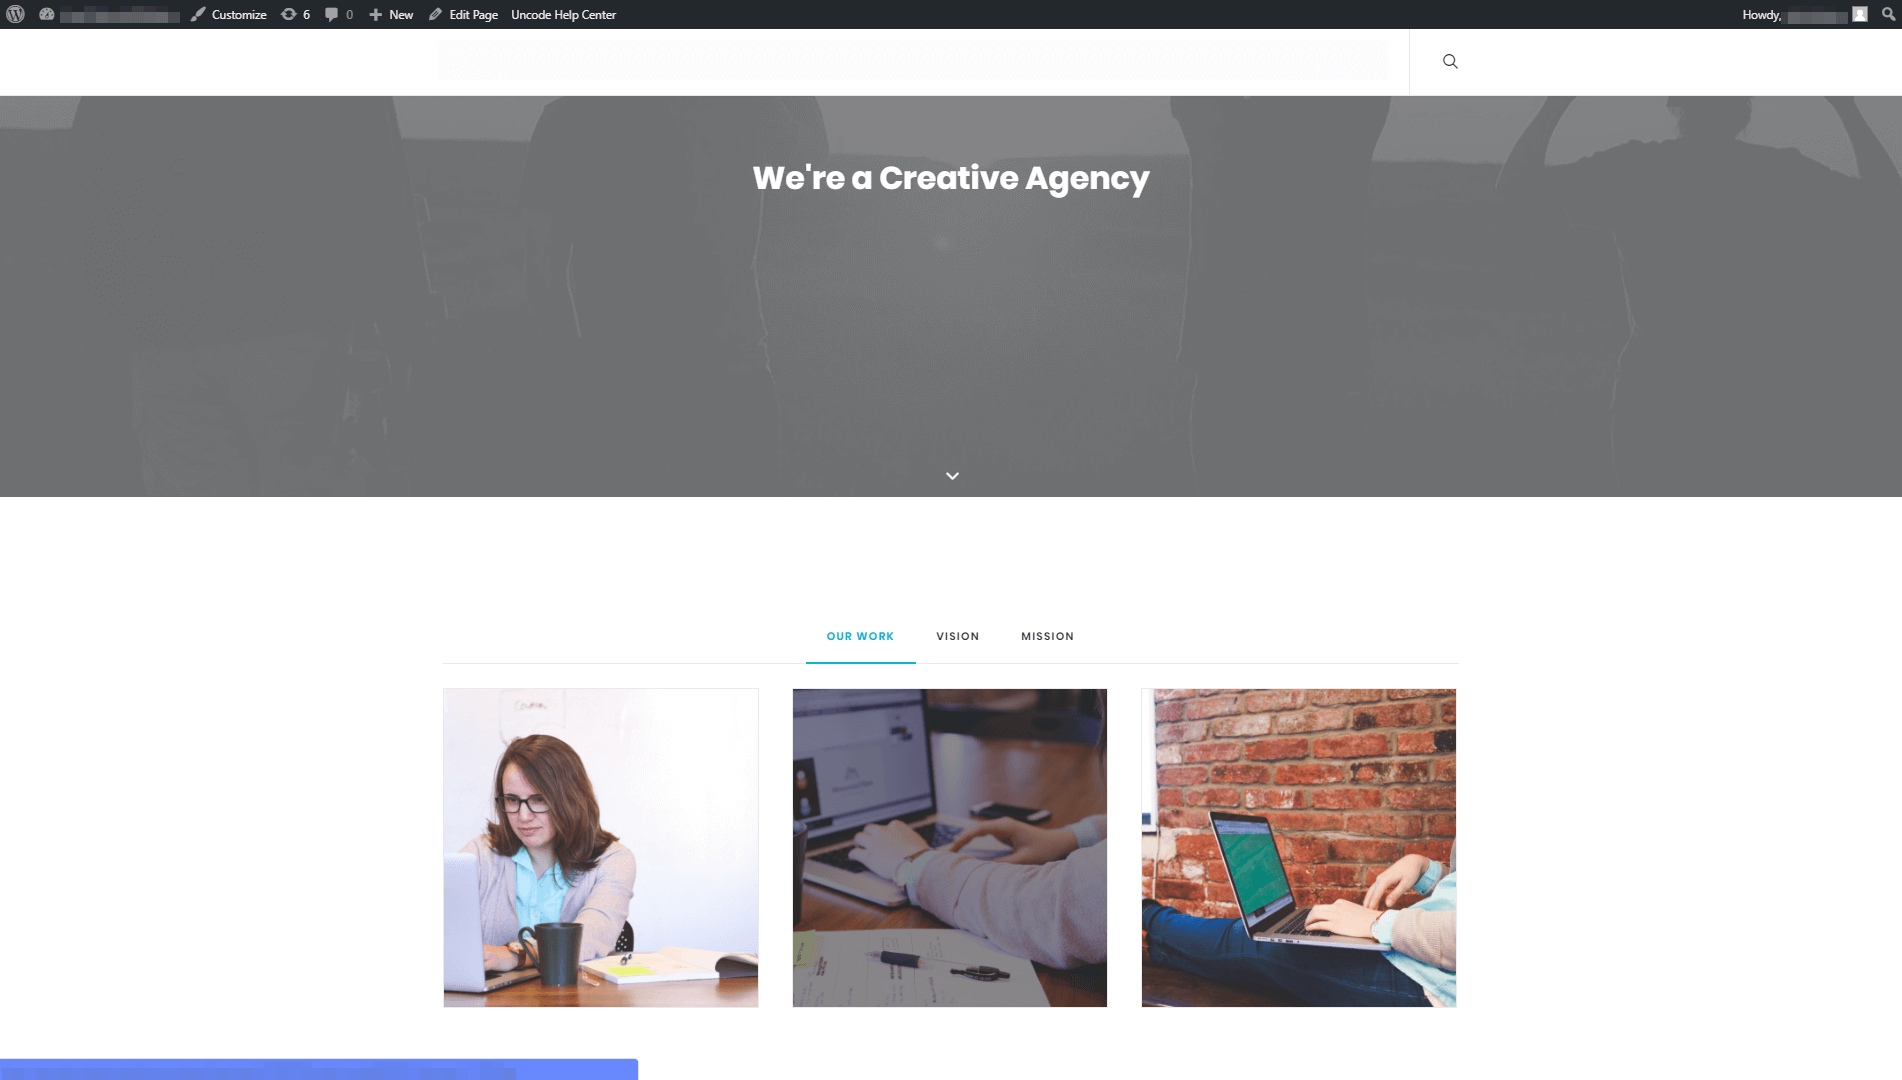
Click on the Save Changes button, and that’s it! Your album gallery will be up and running now, so go ahead and check it out on your website:

By default, your galleries will display the titles you set earlier. They’ll also default to a dark lightbox effect when users access them. However, Uncode enables you to tweak the style of your album galleries if you like. In our final step, let’s find out what customization options it offers.
Step 3: Customize the Style of Your Album Gallery
If you want to change the way your album gallery looks, you can do this by editing your Media Gallery module. Once you locate it, open the module’s Settings window, and take a look at the Style tab within. Inside, you can change the default layout for your galleries from Masonry to Metro, which you can see in its full glory below:
From the same tab, you can set a background color for your album gallery. The default is white, but you might want to change it to match your website’s color palette.
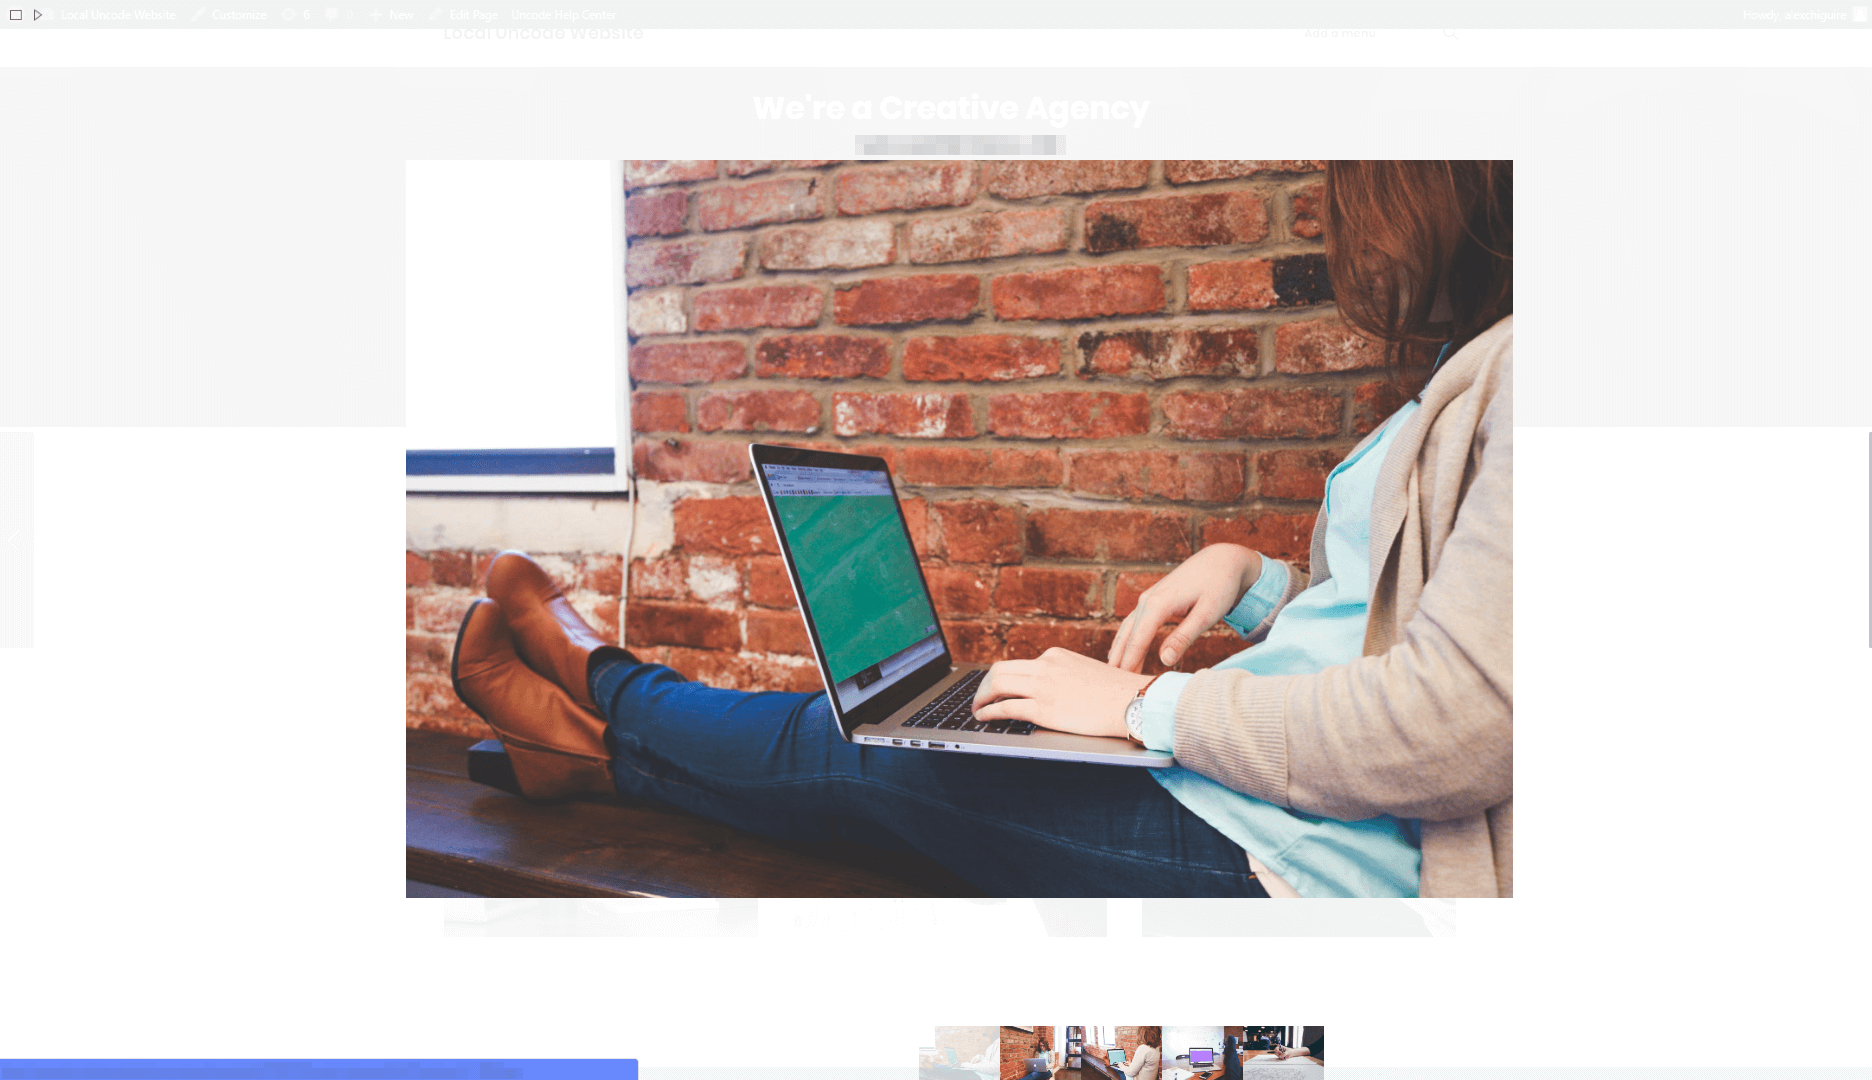
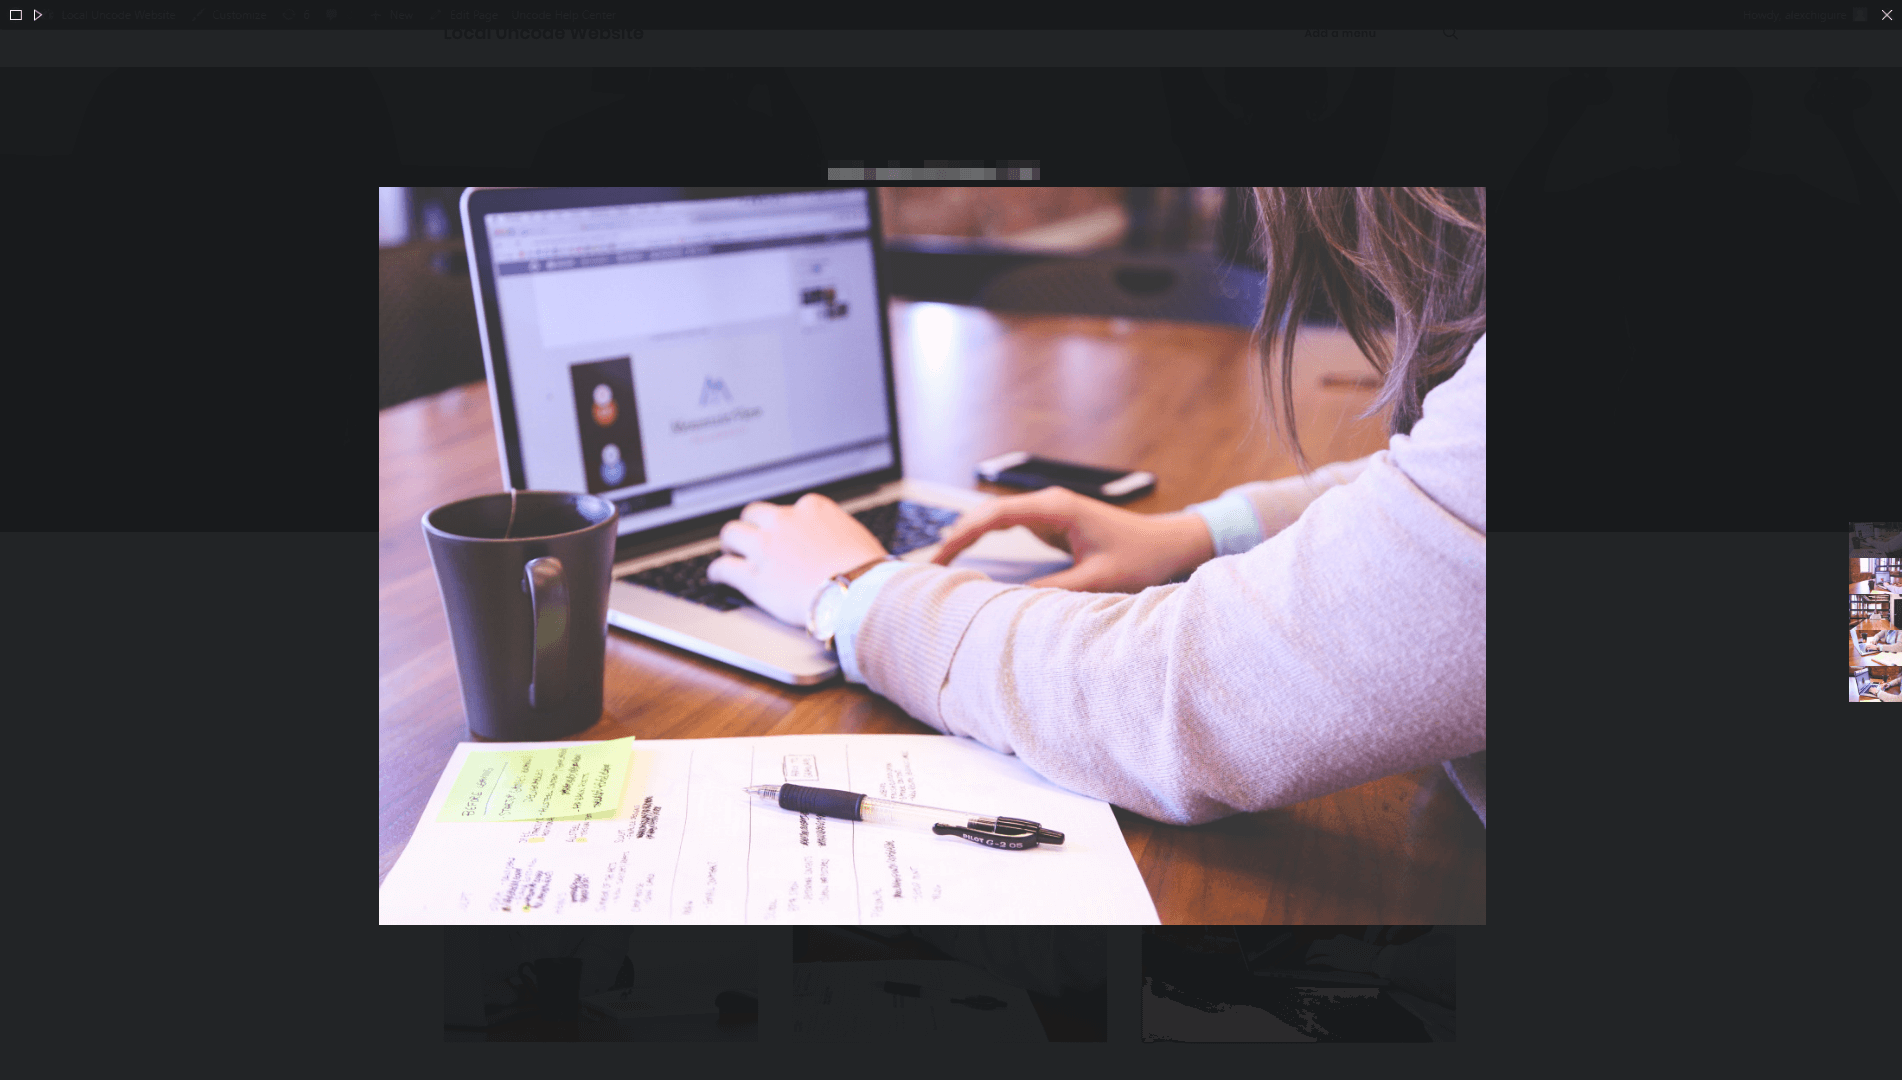
Moving on, the other most significant change you can make to your album gallery involves tweaking the way its lightboxes display. To do that, go the Lightbox tab within your module’s settings. The first option there enables you to change your lightbox’s default skin from Dark to Light:
Finally, you can also change the way Uncode displays your gallery’s thumbnails, switching them from the default horizontal setting to a vertical layout:
When you’re done making changes to your gallery, remember to hit the Save Changes button. Then, you can check out how it looks on your website’s front end. If you’re not happy with the changes you’ve made, you can always continue editing your module’s style until your album gallery looks just right.
Conclusion
WordPress makes it very simple to add images to your website, and showcase them as part of a gallery. However, it stumbles when it comes to displaying a lot of images at once, since galleries can take up a lot of space.
Fortunately, you can use Uncode’s album gallery feature to organize your individual galleries by following these easy steps:
- Set up each individual gallery.
- Create your album gallery using Uncode’s page builder.
- Customize the style of your album gallery.
Do you have any questions about when and how to use Uncode’s album galleries? Let’s talk about them in the comments section below!
Image credit: Pixabay.