
There are many steps to creating an awesome website – solid design, quality content, and visual appeal, to name a few. However, none of those things will do you any good if visitors can’t find what they’re looking for. Consequently, your site’s navigation needs to be at least as well thought out as any of its other elements.
Ensuring strong navigational design can take many forms, but a simple place to start is with your primary menu. This is the feature most visitors will use to explore your site, so it needs to be clear and functional. You could stick with the default WordPress menus, but you’ll often find creating your own offers you greater customization, and can even help improve your users’ experience.
Fortunately, Uncode makes building custom menus easy, and offers a lot of useful options along the way. In this article, we’ll start out by discussing why clear navigation is so important, then show you how to create your own custom menus in Uncode. Let’s begin!
What a Custom Menu Is (And How It Can Benefit Your Site)
Just about every website has at least one menu – after all, that’s how users will find their way around. When you’re using WordPress, you have the option to either stick with the default menu settings, or create and place your own custom menus.
Staying with a basic menu setup is easy, but may not offer the clearest navigational scheme possible. Well-organized site navigation is crucial because it:
- Helps visitors find what they’re looking for quickly, improving their overall experience.
- Encourages readers to remain on your site longer and explore your other content.
- Promotes trust through good design, and improves your perceived authority.
- Points users towards key areas of your site, such as calls to action and contact information.
Creating your own custom menu can provide all of the above benefits – but only if you take the time to do it right. Therefore, it’s crucial to put careful thought into your menu design. By following some basic tips and avoiding a few common mistakes, you can streamline your site’s navigation so it’s as efficient and user-friendly as possible.
Of course, it’s difficult to do any of this without a theme that supports custom menu design. Fortunately, Uncode gives you a ton of control over your menus.
How to Create a Custom Menu for Your Uncode-Powered Website (in 3 Steps)
Uncode makes it easy to create and personalize one or more custom menus for your site. The following three steps will help you build your menu, design it to suit your needs, and determine its placement for maximum effectiveness.
Step 1: Create a New Menu in Uncode
The first thing you’ll want to do is navigate to Appearance > Menus and click on the create a new menu link at the top of the screen. You’ll then be prompted to give your menu a name, after which you can hit the Create Menu button to be taken to the settings:
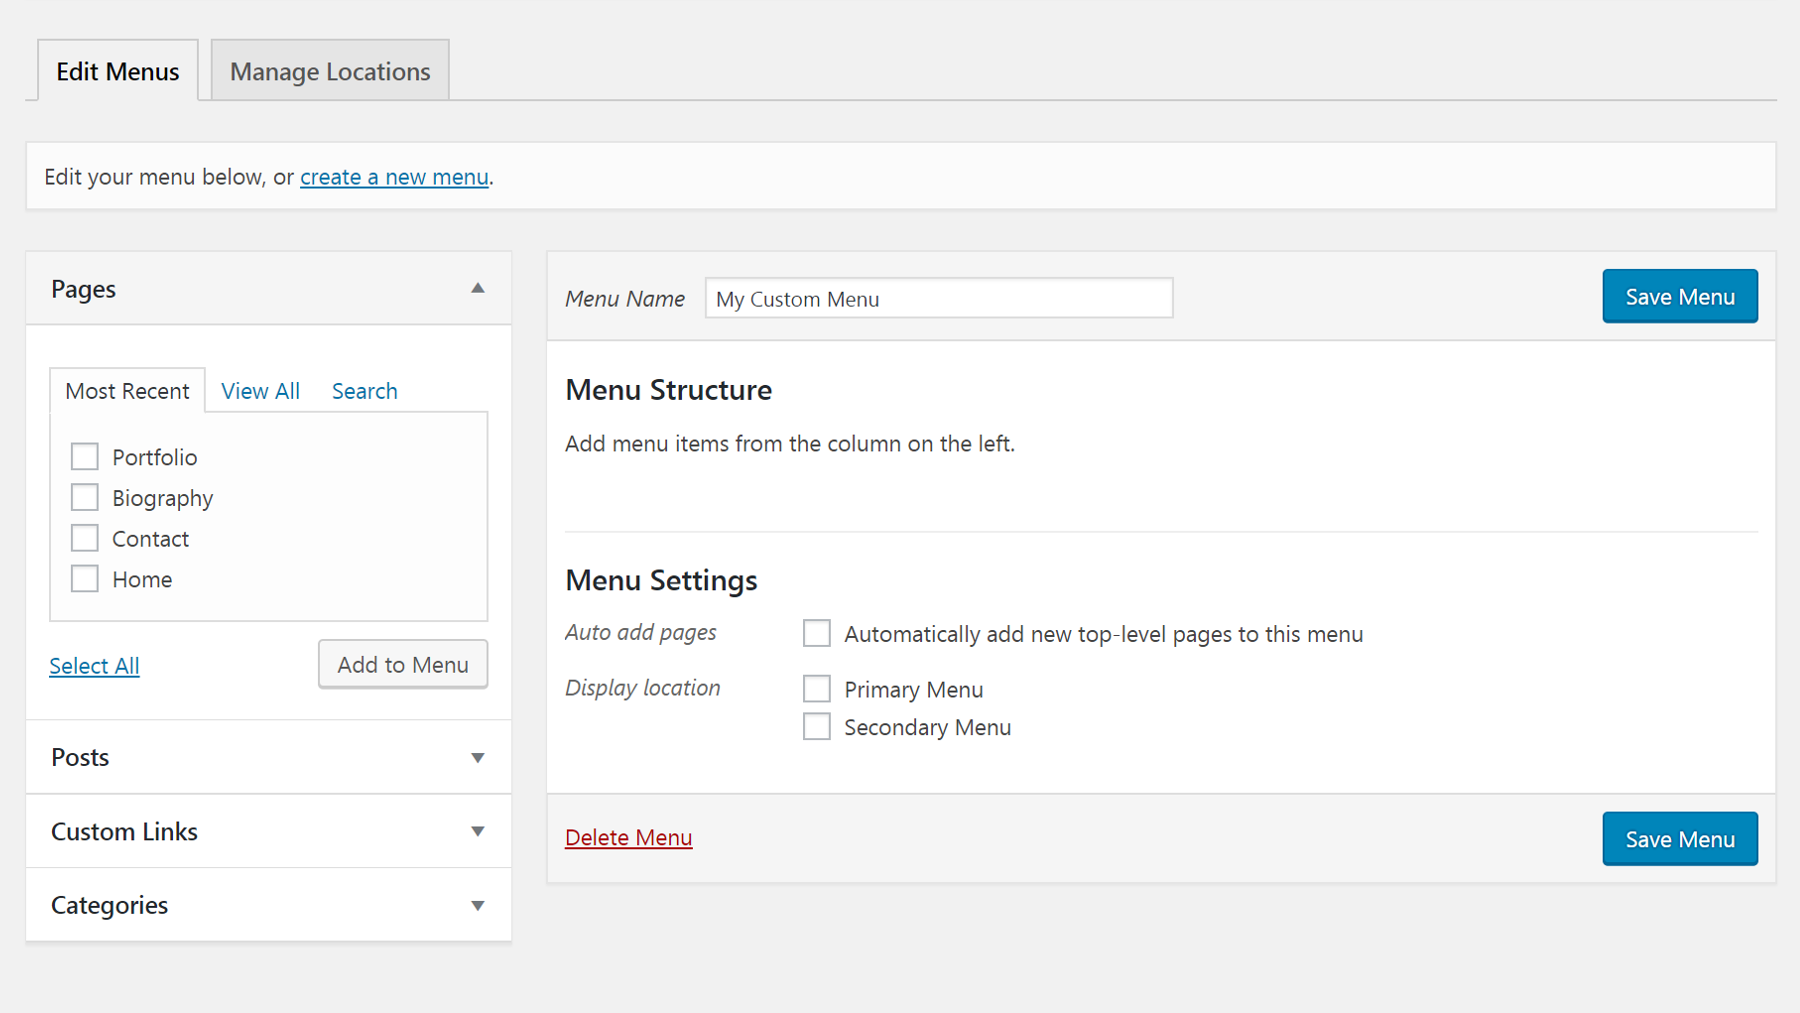
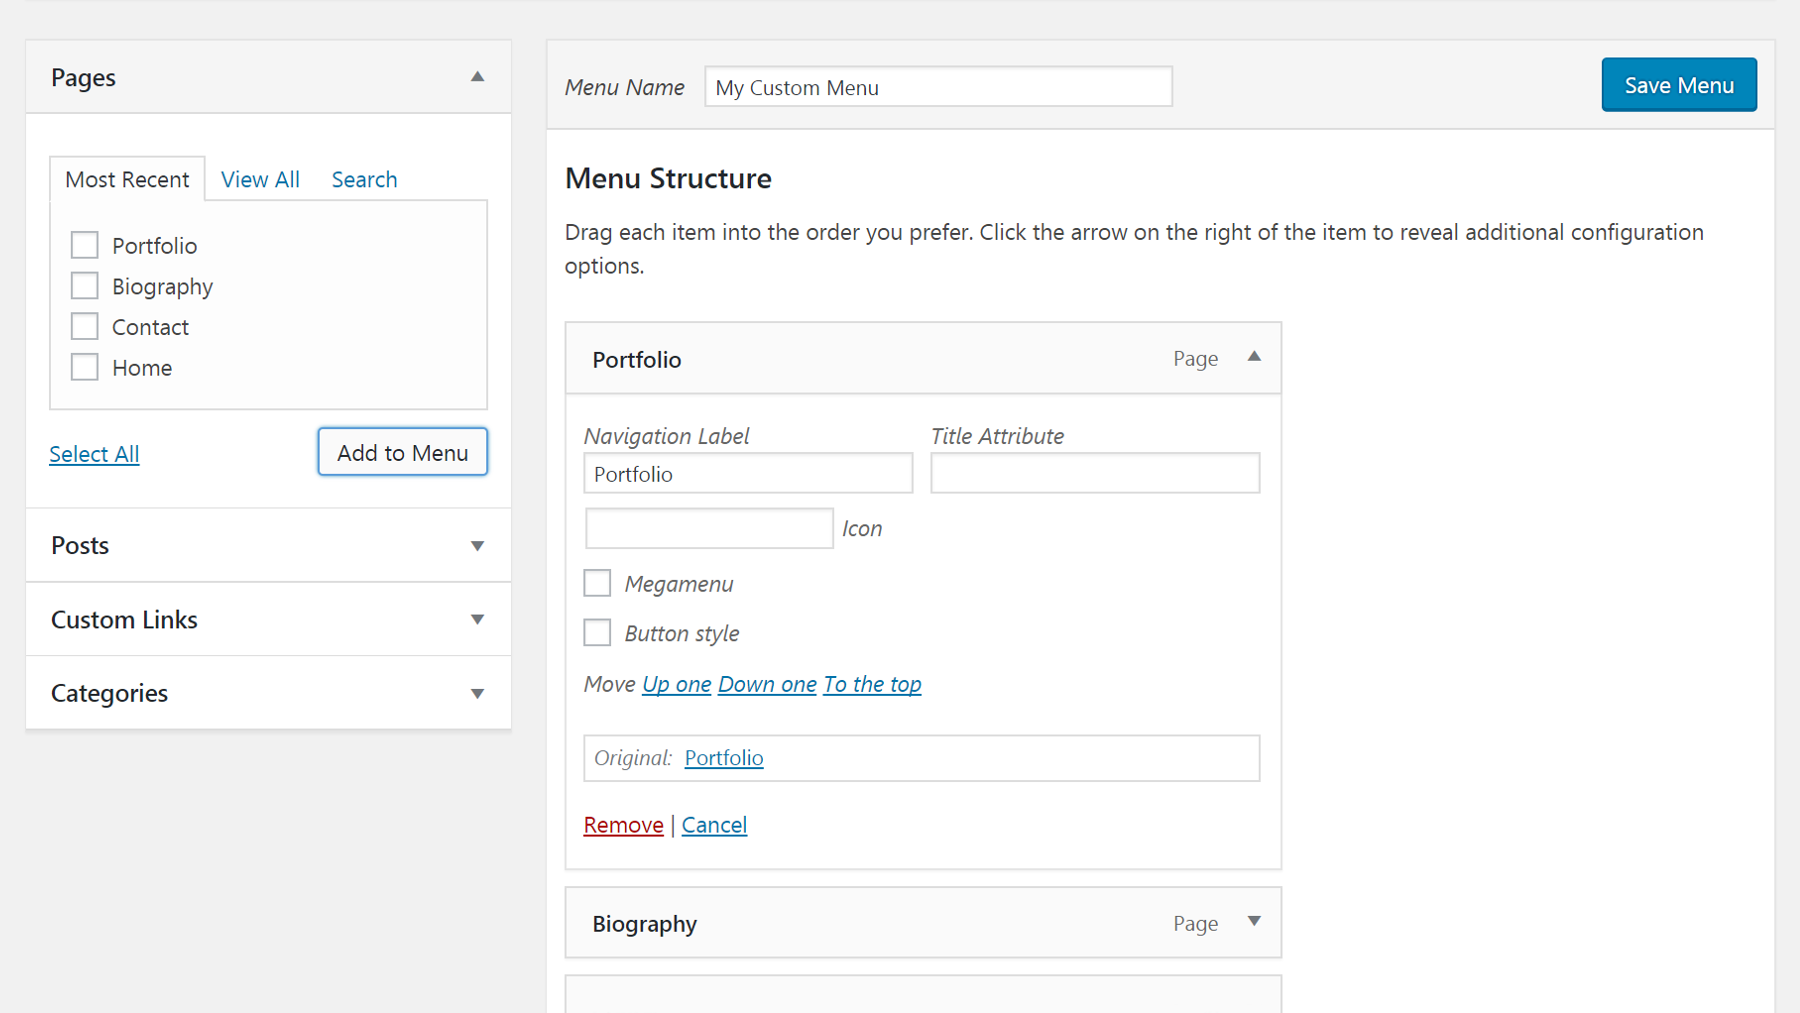
Next, you can decide what will be included in your menu. You can add pages, posts, custom links, and/or categories by checking the respective boxes and selecting Add to Menu. The content you chose will appear under Menu Structure, and you can also drag the labels around to reorder them.
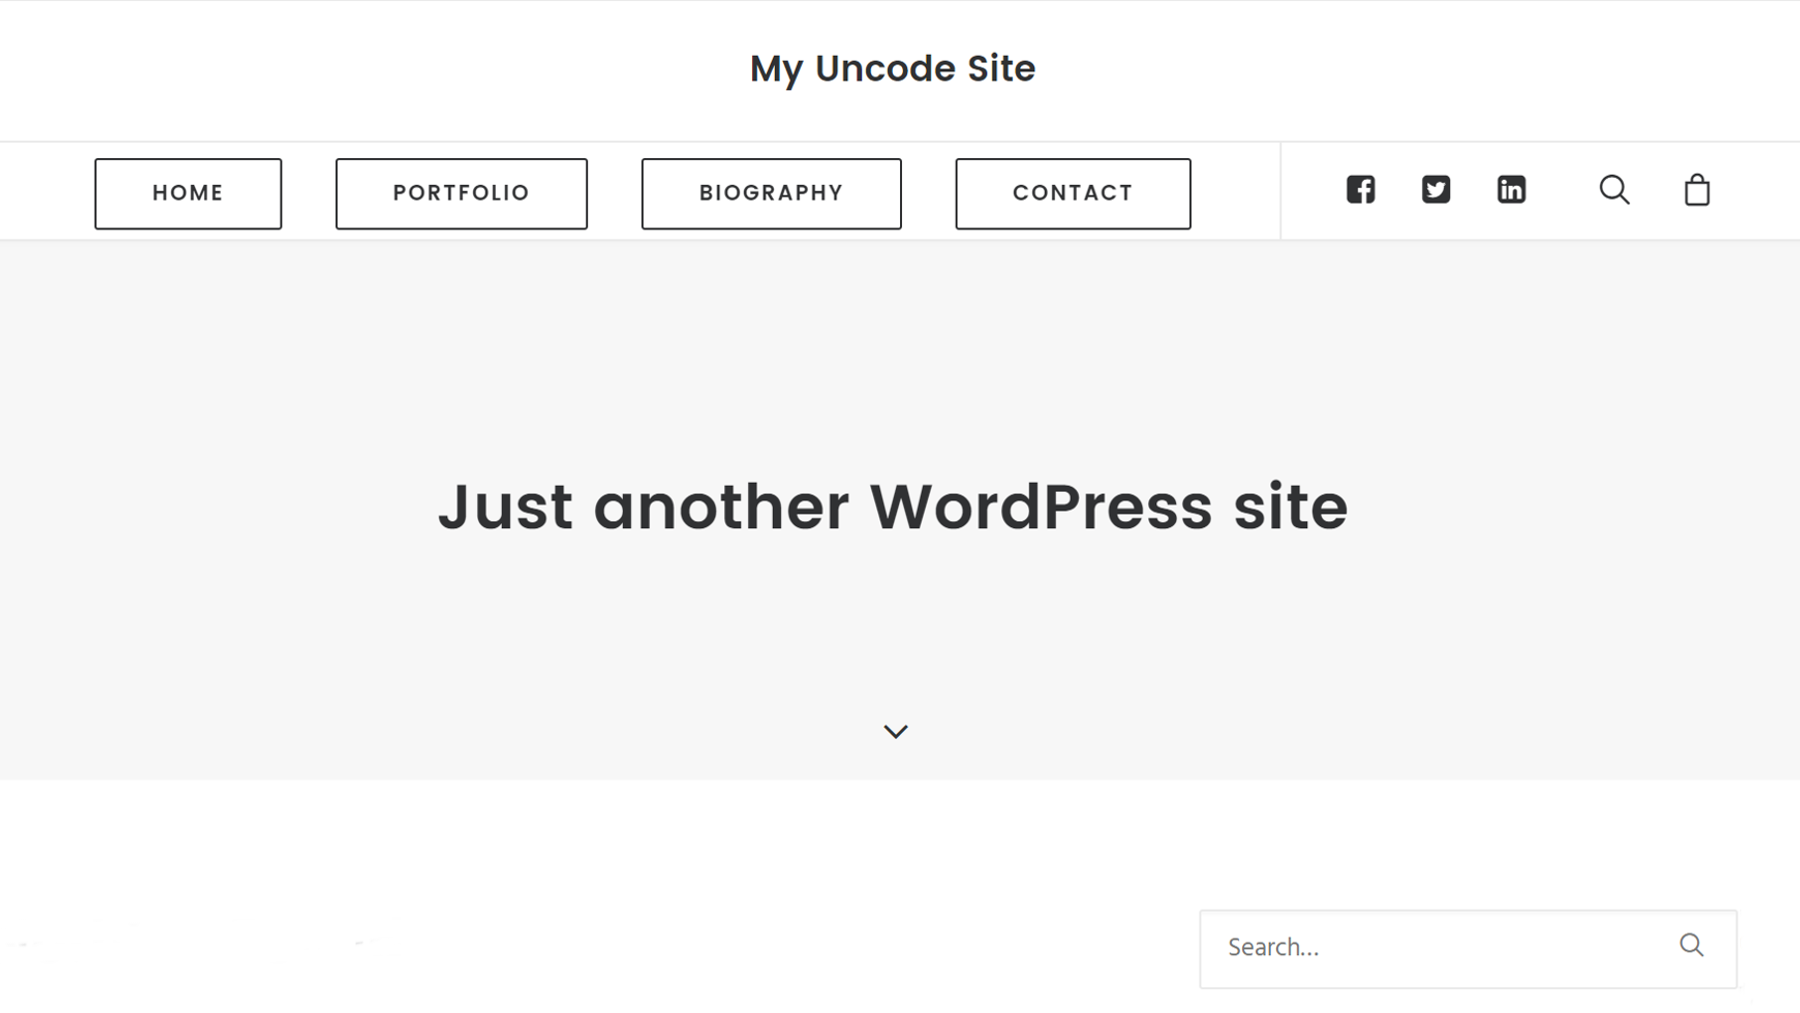
In addition, you can click on each individual item to edit its settings. You can change the titles, add icons, choose to display the labels as buttons, and more:
Finally, before moving on you’ll want to check out the Display Location options. Uncode makes it possible to have both a primary and secondary menu, and control where each is placed. Therefore, you’ll want to designate this new menu as one or the other (the choice is up to you).
When you’re ready, click Save Menu, and move on to the next step.
Step 2: Customize Your Menu
Once you’ve configured your new menu, you can customize how and where it will appear on your site. Navigate to Uncode > Theme Options on your WordPress dashboard. Click on Menu in the sidebar, and you’ll be presented with five categories of options:
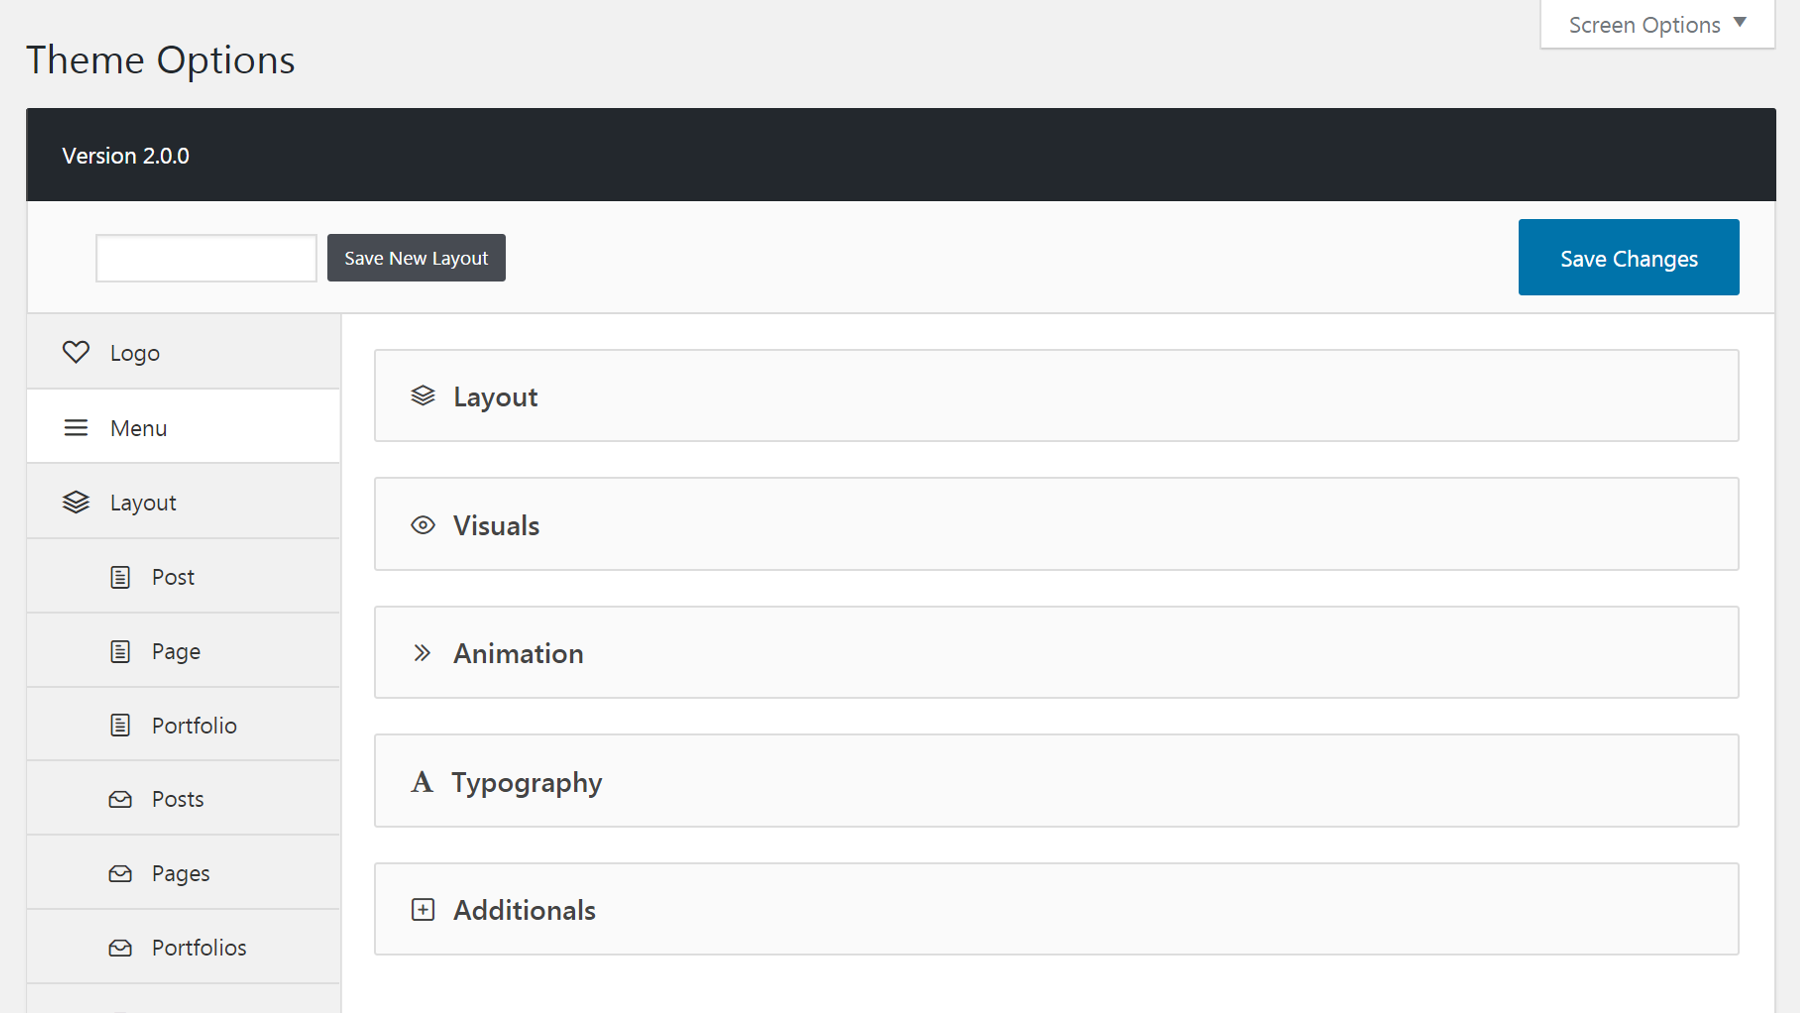
First up is the Layout section, which enables you to control where your menu is placed within your site layout. There are horizontal, vertical, and overlay options – each of which provides a thumbnail preview so you know what the resulting menu will look like. If you go with a horizontal layout, you can toggle the Menu Full Width option on to make your menu span the entire width of the page.
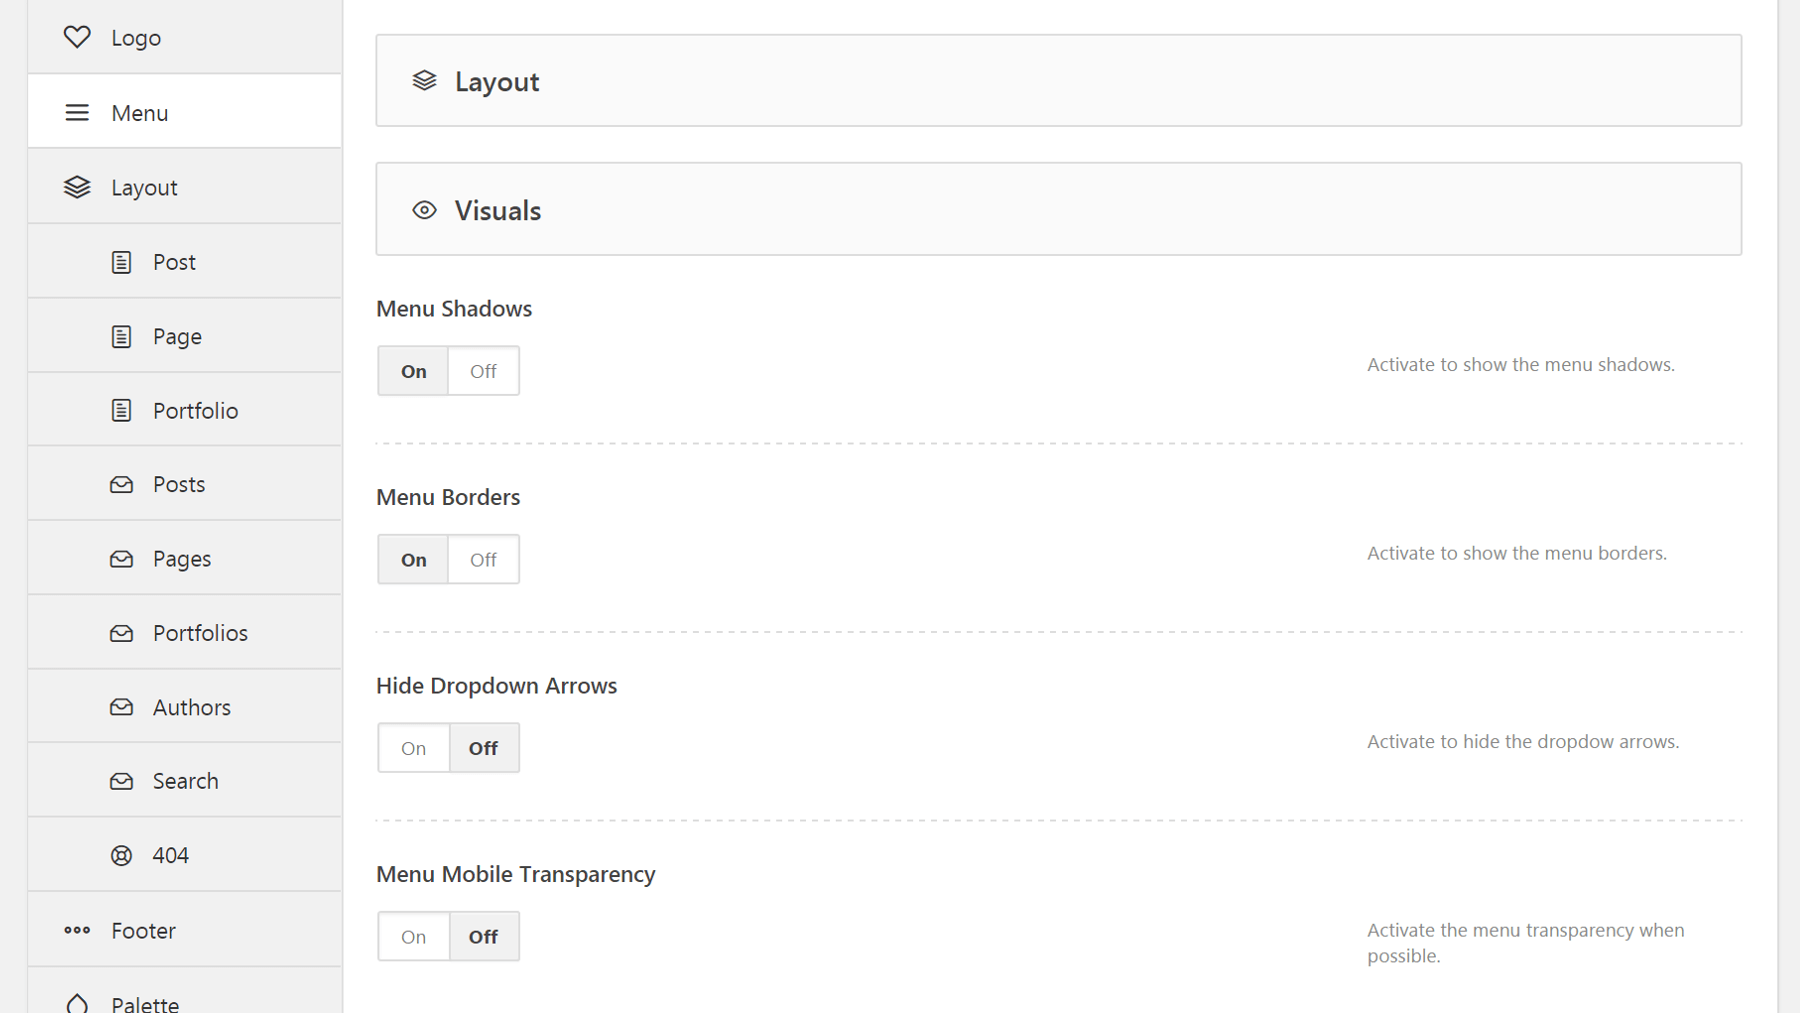
Moving on, the Visuals section offers a variety of options that will change the way your menu looks. You can add shadows and borders, hide or show the drop-down arrows, and decide whether the menu will be transparent on mobile devices:
Animation lets you choose from several different special effects for your menu. For example, you can make the menu ‘sticky’ so it stays in place while a user scrolls down the page. Alternately, you can set the menu so it will disappear when the user scrolls down.
Typography is a simple section – it merely enables you to change the text on your menu to uppercase if you’d like. Finally, under Additionals you’ll find a collection of useful features that don’t fit into any of the above categories. Here, you can choose to display social networking buttons, a WooCommerce cart icon, additional text, and more in your custom menu:
Feel free to experiment with these settings and tweak your menu until it looks and acts just right. When you’re done, be sure to hit Save Changes!
Step 3: Place Your Menu in a Widget Area (Optional)
The previous two steps are all you need to create a custom menu, tweak it to suit your needs, and place it on your site. However, if you want you can also locate a menu in a widget area.
This possibility gives you more control over the placement of your menu than the theme options alone can provide. It’s a particularly useful technique for positioning your secondary menu. For example, you could use your primary menu to list your site’s major pages at the top of the screen, then place an additional menu in the sidebar that lists your popular posts or important links.
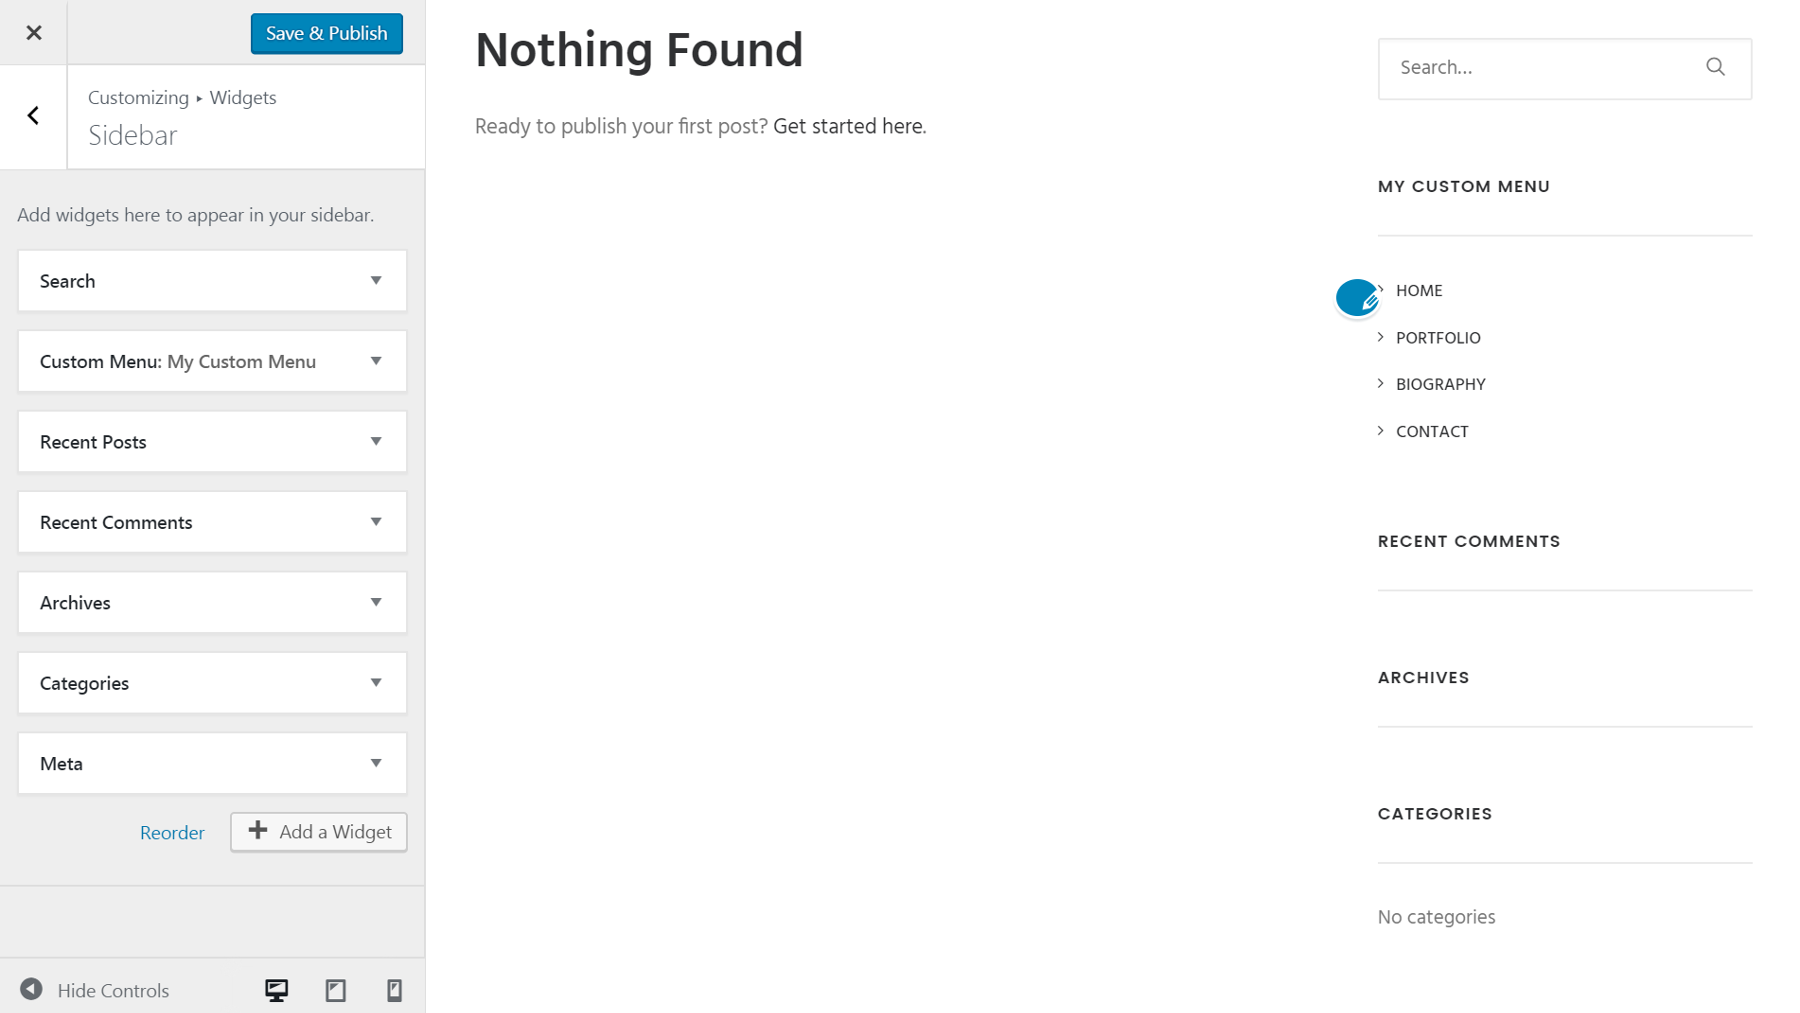
Fortunately, this step is very simple. Navigate to Appearance > Customize in your WordPress dashboard, then click on Widgets. Choose Add a Widget, then select Custom Menu. You can now select the menu you’d like to add to the widget, and give it a title. That’s it! Your menu will appear in the sidebar alongside any other widgets you’ve placed there:
You can drag the individual widgets up and down to reorder them, and see the effects of your changes immediately.
Conclusion
User experience is a key part of web design, since visitors who find your site easy to use are more likely to return. That’s why clear, functional navigation is so crucial. Designing your own custom menus gives you the best possible chance to ensure that visitors move through your site and find what they need without difficulty.
If you’re using Uncode, you’re already on the right track! Three steps are all you’ll need to build your own custom menu:
- Create a new menu in Uncode.
- Customize your menu.
- Optionally, place your custom menu in a widget area.
Do you have any questions about how to design custom menus using Uncode? Feel free to post them in the comments section below!
Image Credit: Pixabay.