Running a WordPress website often involves plenty of testing. You may want to try out a new plugin or theme before using it, for example, or debug an error. In these scenarios, you need a safe environment where you can experiment without breaking anything.
A local WordPress website is the perfect solution to that need. Local sites are not connected to the web, so only you and people in your network can access them. If something breaks while you’re running tests or changing designs, it won’t negatively impact your audience. Plus, you can keep creating new local sites or resetting them as often as needed.
In this article, we’ll talk more about what local WordPress websites are and when you should use them. Then we’ll teach you how to set up one and install Uncode on it. Let’s get to work!
What Local WordPress Websites Are (And Why You Might Need One)
For the most part, local websites work just like live ones. The only difference is that they aren’t accessible to the public at large. As you probably know, every website is hosted on a server. What you may not be aware of is that you can host a fully-functioning site on your personal computer, and make it so only people within your network can access it.
That’s what local websites are. You can set up any platform you want on them, including WordPress. While the idea of setting up a website no one but you can access might sound strange at first, these sites have a wide range of applications almost everyone can benefit from.
For example, you can use local sites:
- For testing new themes and plugins. Sometimes, installing new plugins and themes can negatively affect your website due to compatibility issues or poor coding. It’s a smart idea to test them thoroughly. However, you don’t want to risk impacting your website’s functionality. Using a local site for testing is the perfect solution. Once you’re confident in the new plugin or theme, you can install it on your live site.
- For staging purposes. In many cases, developers create copies of their websites where they can test new features without affecting the real versions. Those copies are known as staging websites, and you can set one up locally if you don’t want to spend more money on hosting.
- To create new themes and plugins. WordPress offers thousands of free plugins and themes you can use, many of which were created by regular users. If you’re thinking about designing your own, you’ll want a safe testing environment.
- For troubleshooting purposes. Occasionally, you may run into bugs or other issues while using WordPress. In those cases, it can be smart to create a local testing copy of your website where you can try out solutions without the fear of making things worse.
To sum up, most local WordPress websites fit into one of three categories. They can be used for testing purposes, for troubleshooting, or as staging copies for development. Of course, you can also use non-local websites for any of those goals. However, local development tends to be faster, since you don’t have to load your site over the web. Plus, you can set up as many local WordPress websites as you want for free.
How to Create a Local Uncode Website (In 4 Steps)
There are a lot of tools you can use to set up local WordPress websites in a matter of minutes. However, we’re partial to user-friendly applications such as Local by Flywheel, since they can be easier to manage.
Moreover, Local by Flywheel is available for both Windows and OS X, so almost everyone can use it. We’ll be focusing on this solution throughout the following walk-through. If you’re a Linux user, on the other hand, we recommend using XAMPP for all your local WordPress setup needs.
Step 1: Install Local by Flywheel
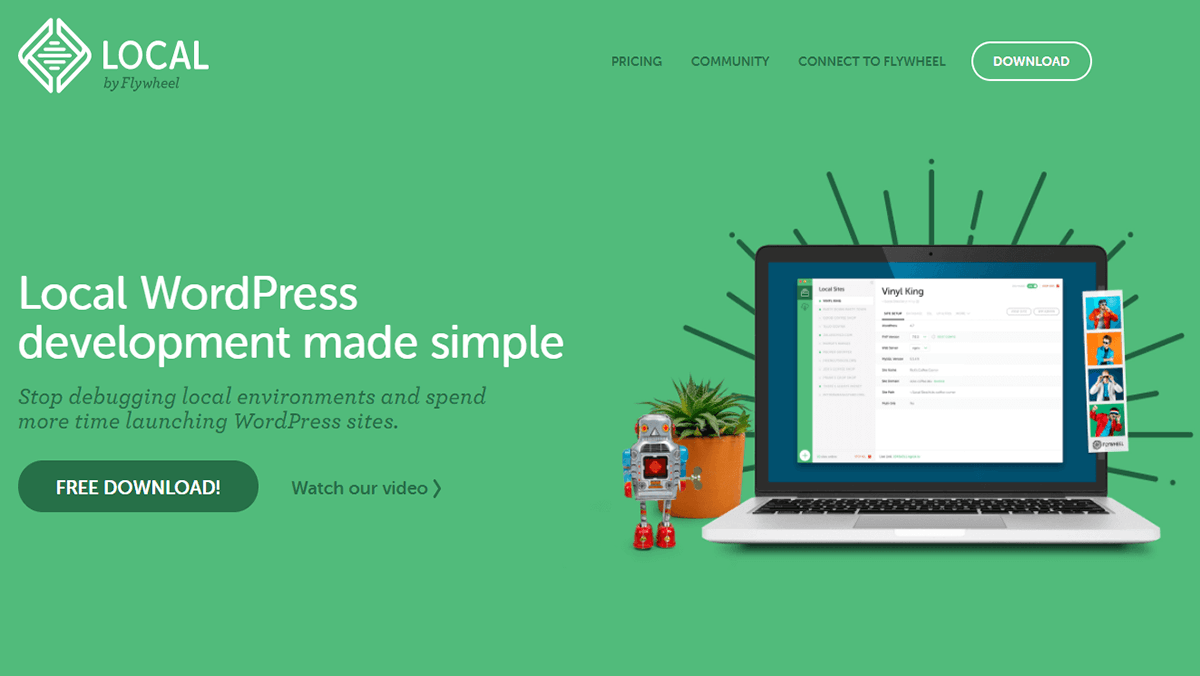
The first step is the simplest. Go to the Local by Flywheel home page, and click on the Free Download button:
Next, you’ll need to fill out a form with a few basic details. After that, you can start your download and install the application just as you would any other.
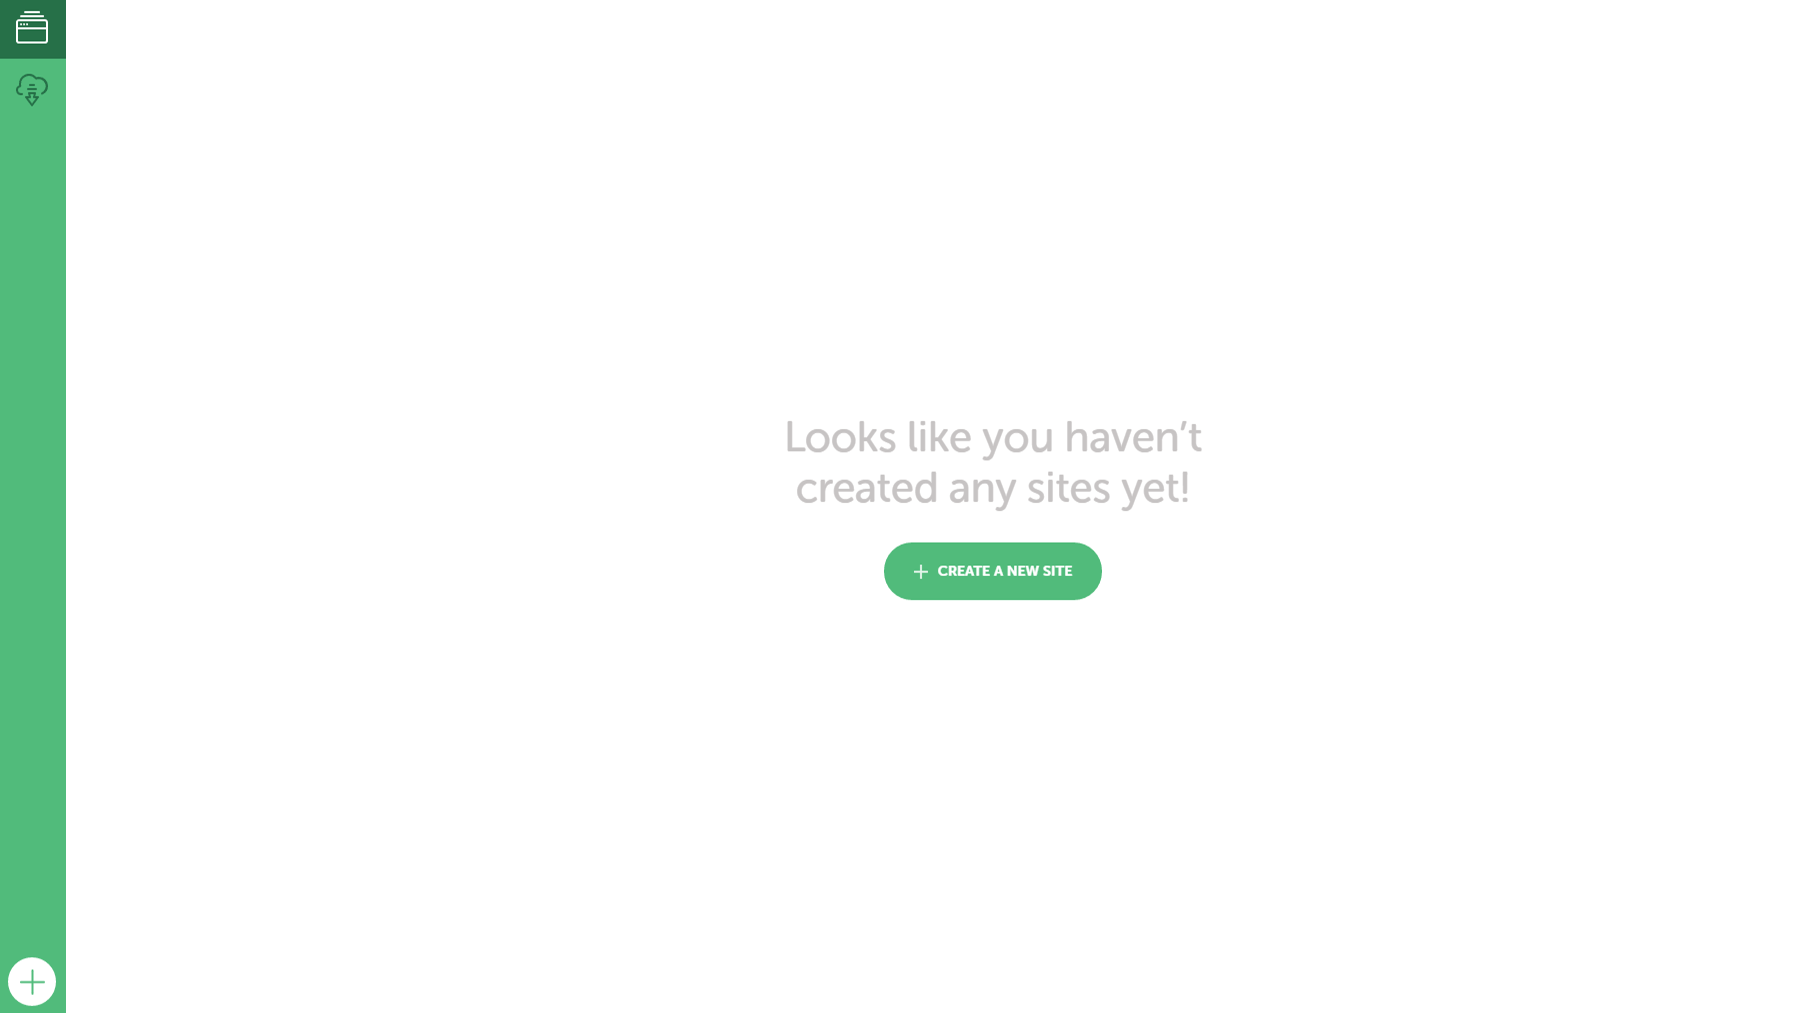
The first time you boot up Local by Flywheel, you’ll find yourself looking at a screen just like this one:
Before you jump into creating your first local website, it’s a smart idea to configure Local by Flywheel to better fit your needs. Let’s talk about how to do that now.
Step 2: Configure Your Default WordPress Preferences
Each time you create a new website using Local by Flywheel, the application will ask you some basic questions about how to configure it. For example, it will want to know which version of PHP and MySQL to use.
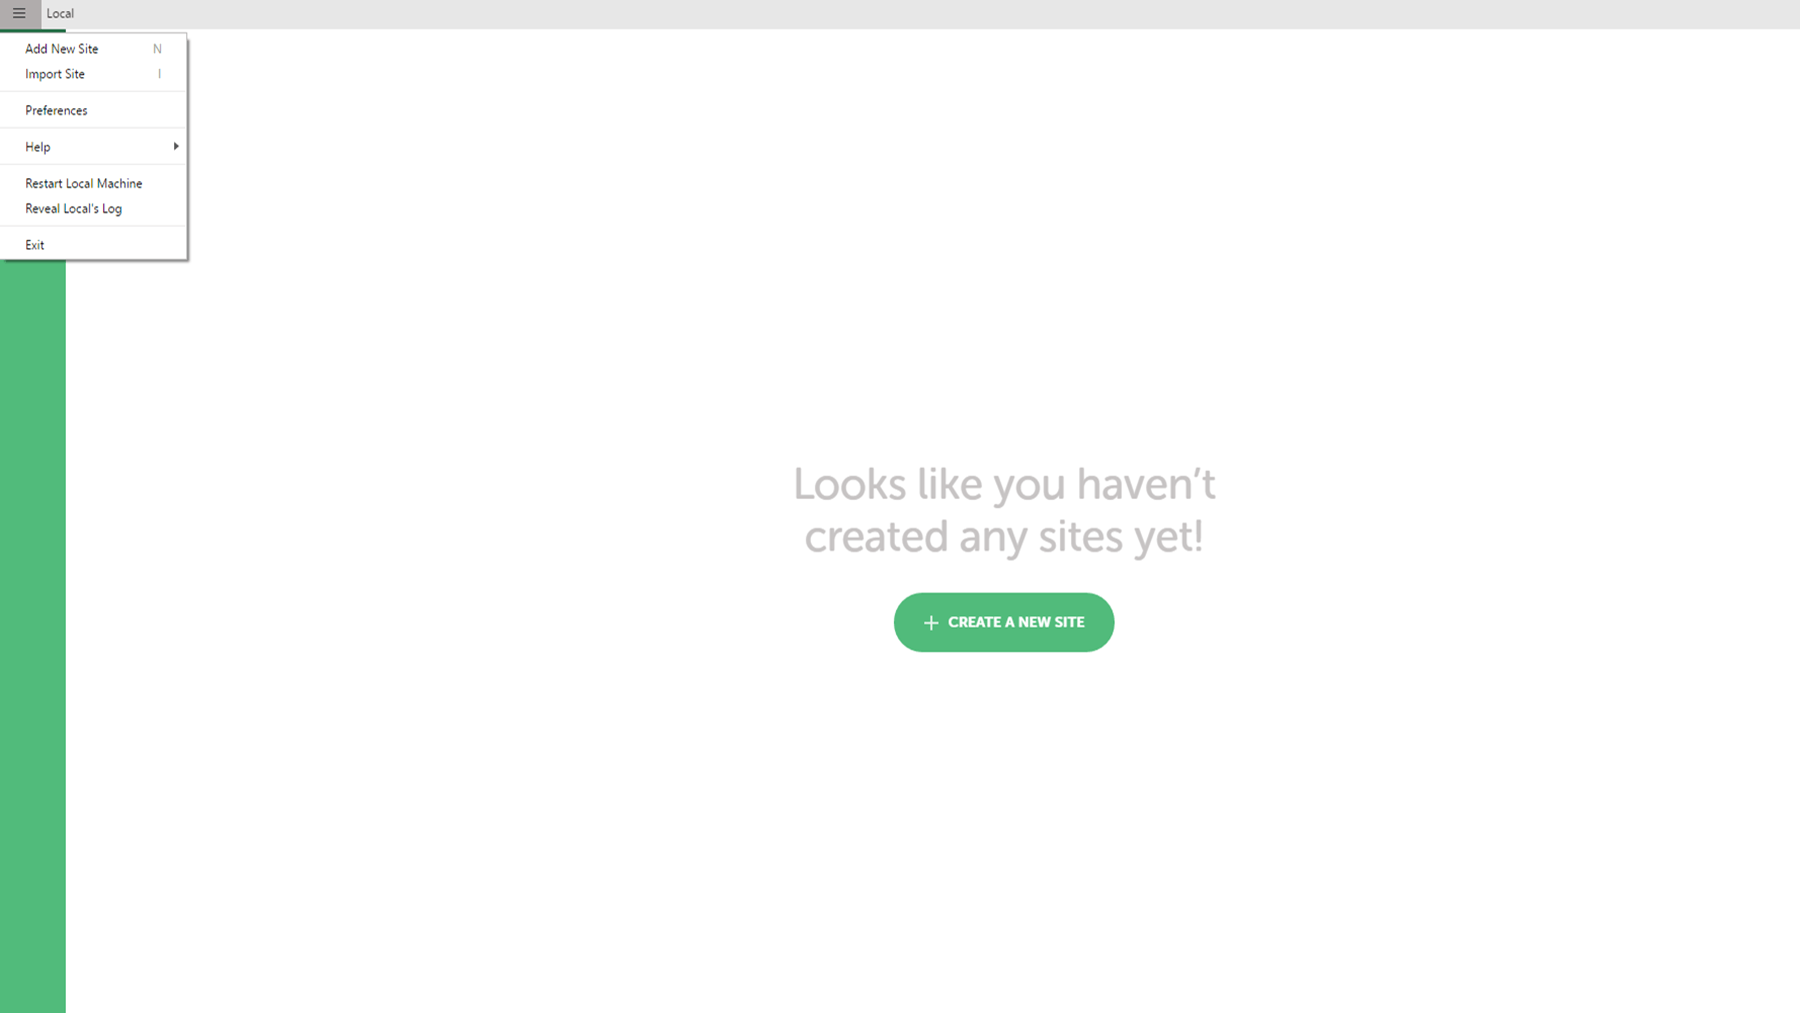
To save time, we recommend that you go over your default settings right away, so you can create new local websites with a couple of clicks whenever you need to. To get started, select the menu button at the top left of your Local by Flywheel window, and choose the Preferences option:
Now, the application will display your base configuration settings under New Site Defaults. There are two sections you’ll want to configure here, starting with basic options such as your admin username, password, email, and site path:
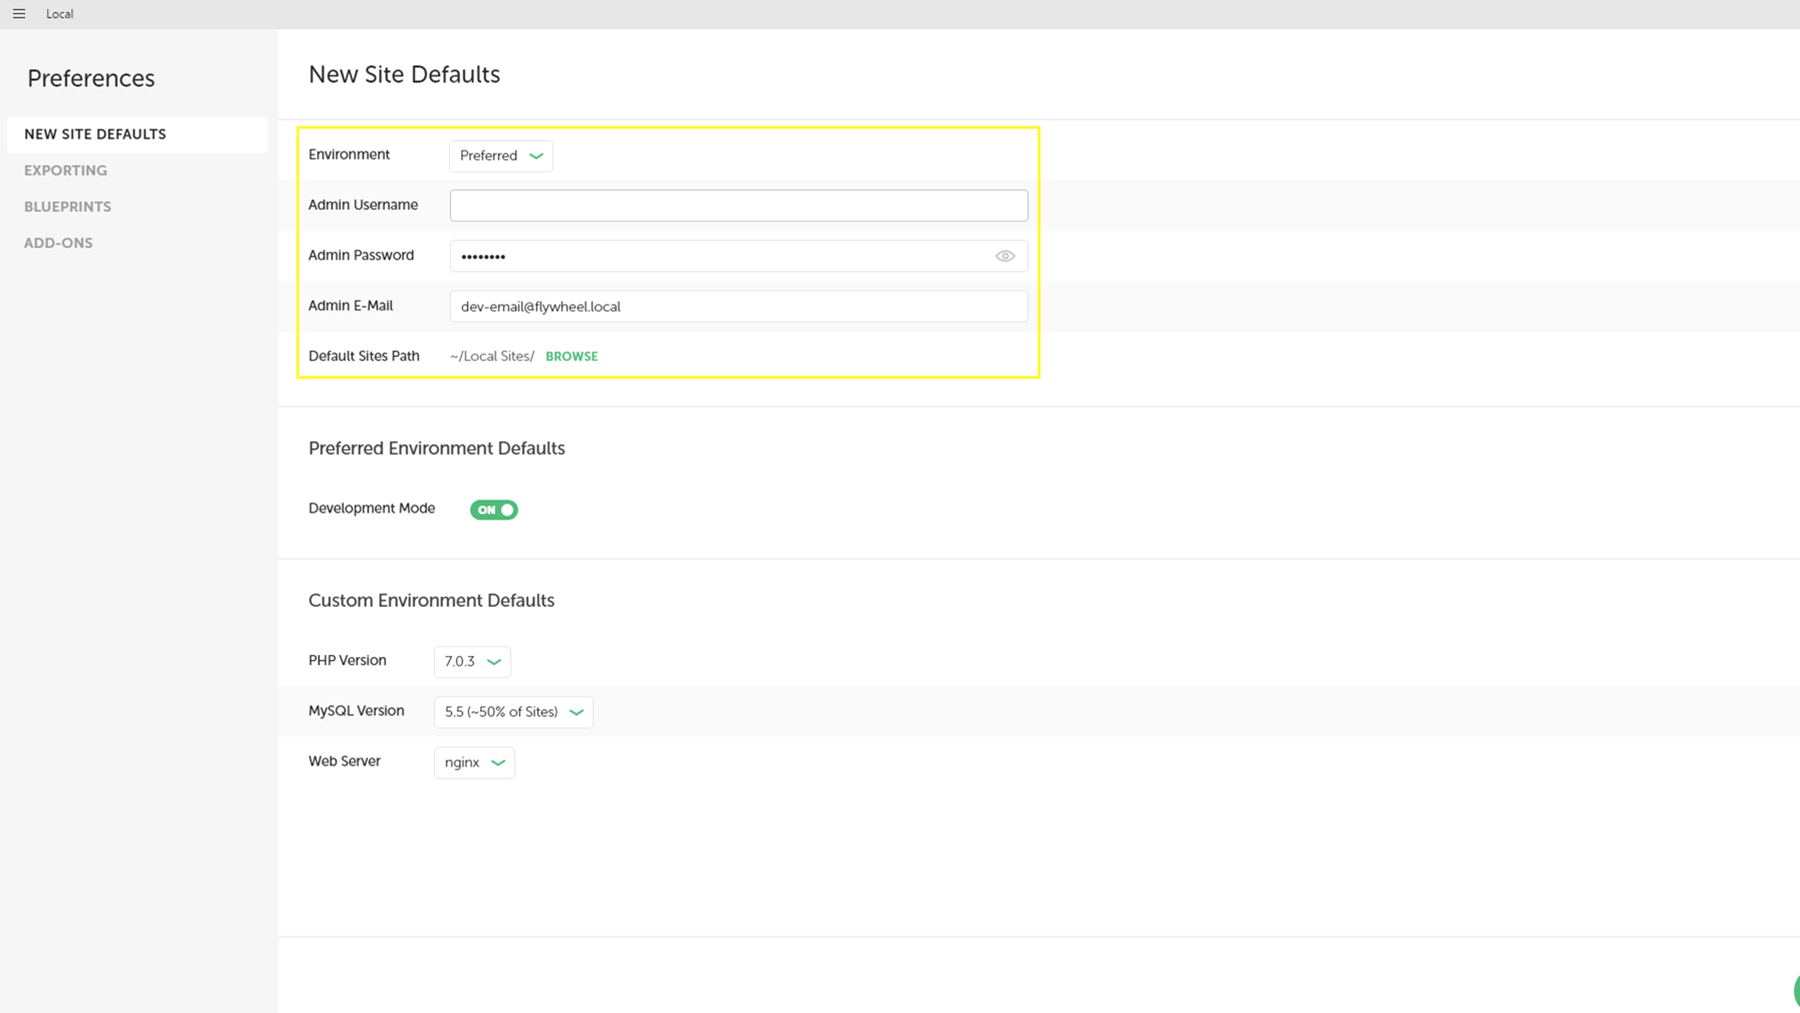
All you really need to worry about are your username and password. Local by Flywheel will assign you a default local email address that catches any correspondence sent to your websites. As for your website’s path, the application will take care of this as well. If you want, you can change the default directory for your sites.
Moving on, you’ll find a setting called Development Mode under Preferred Environment Defaults. If you enable this, your local website won’t use any caching tools, which is useful if you’re making constant changes to the site:

Finally, scroll down to the section called Custom Environment Defaults. Here, you can choose which versions of PHP and MySQL to use, as well as what type of web server (such as nginx or Apache):

In most cases, it doesn’t matter which of these settings you pick. You can simply default to the latest versions of PHP and MySQL. However, if you’re going to run a staging copy of a live website, you’ll want to make sure the local copy uses the same type of web server and versions of PHP and MySQL.
Before leaving this screen, remember to click on the Apply button to save your changes.
Step 3: Create Your First Local WordPress Website and Install Uncode
Now, you’re ready to click on that big Create a New Site button in the middle of your screen:
Right after that, you’ll need to pick a name for your new website. If you click on the Advanced Options tab, you can also choose a custom path and domain for your local site. When you’re happy with your choices, select the Continue button.
On the next screen, you can choose whether to use your default configuration options for your new website, or set up new ones:
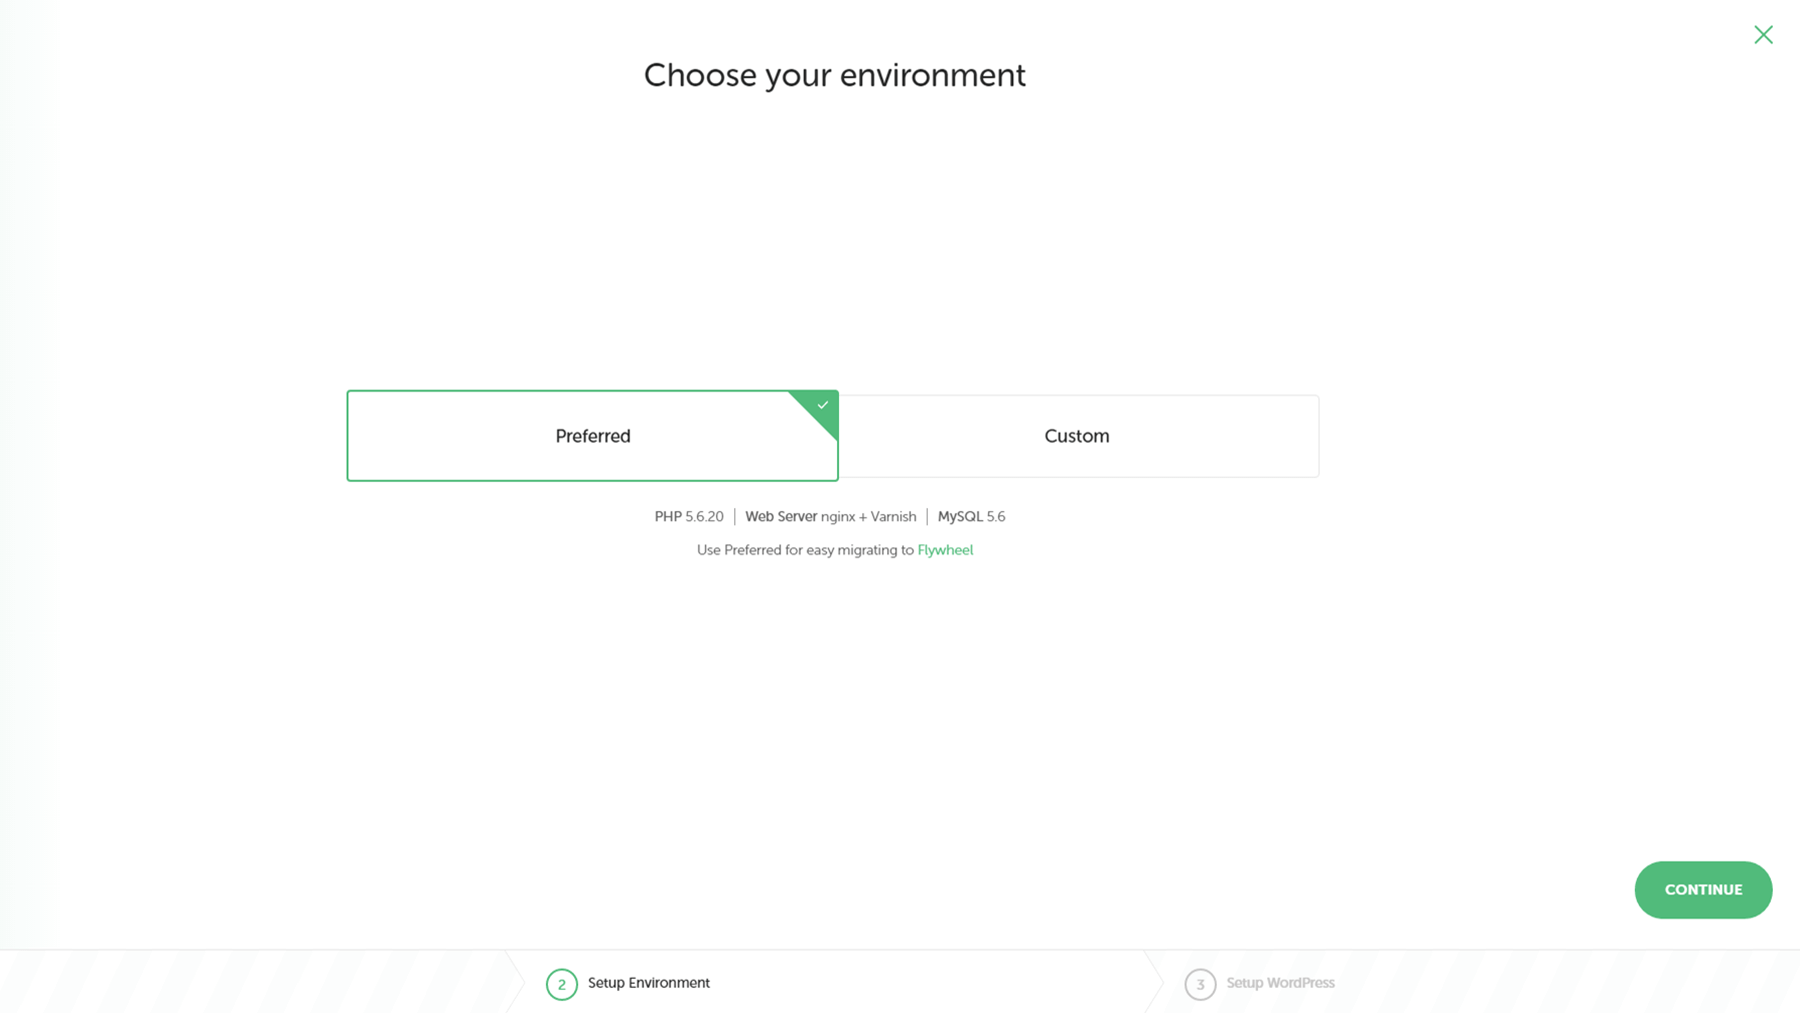
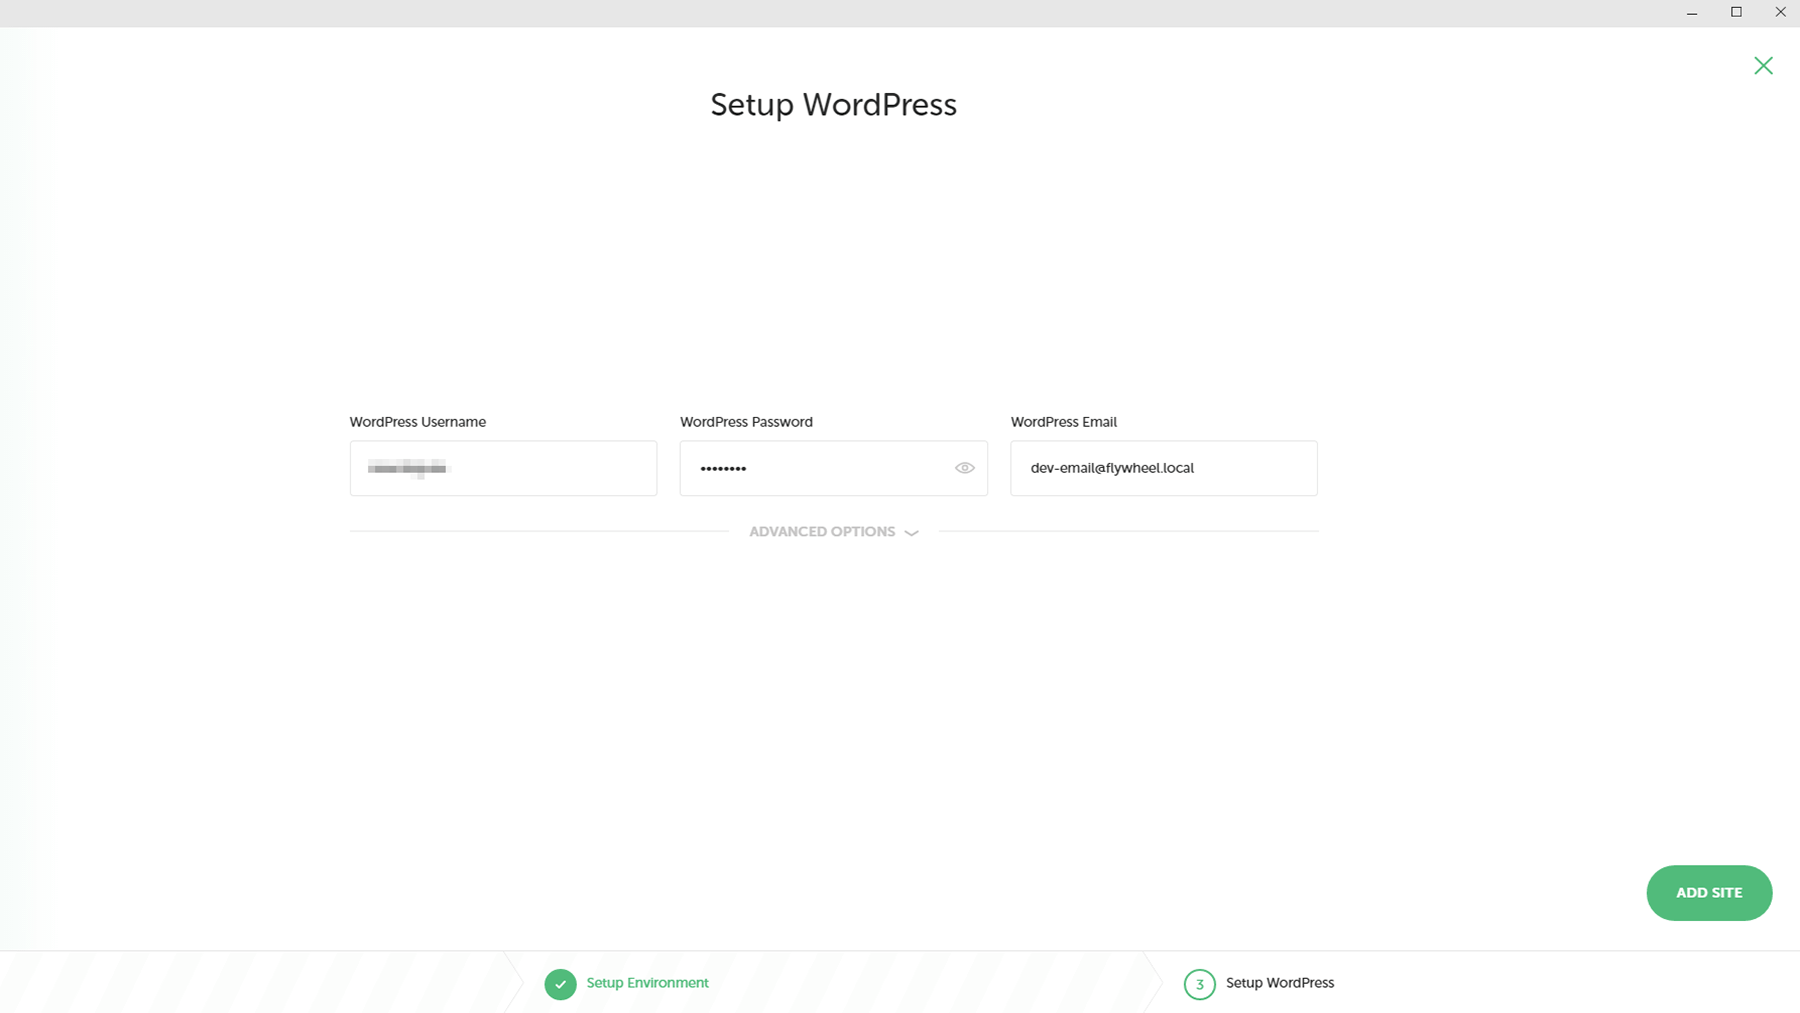
You’ve already optimized your default settings, so go with the Preferred option and click to continue once more. Finally, you’ll be able to confirm your admin username, password, and email. Once more, you don’t need to change anything here since we already pre-configured these details:
It’s also worth noting that if you click on the Advanced Options tab, you can turn your new local WordPress website into a Multisite installation.
For now, let’s stick with a regular WordPress installation. Select Add Site, and say yes to any prompts that pop up afterward. After a minute, your local WordPress website will be ready to go, and will show up under the Local Sites tab to the left. If you click on that tab, the site’s details will show up on the right side of the screen:
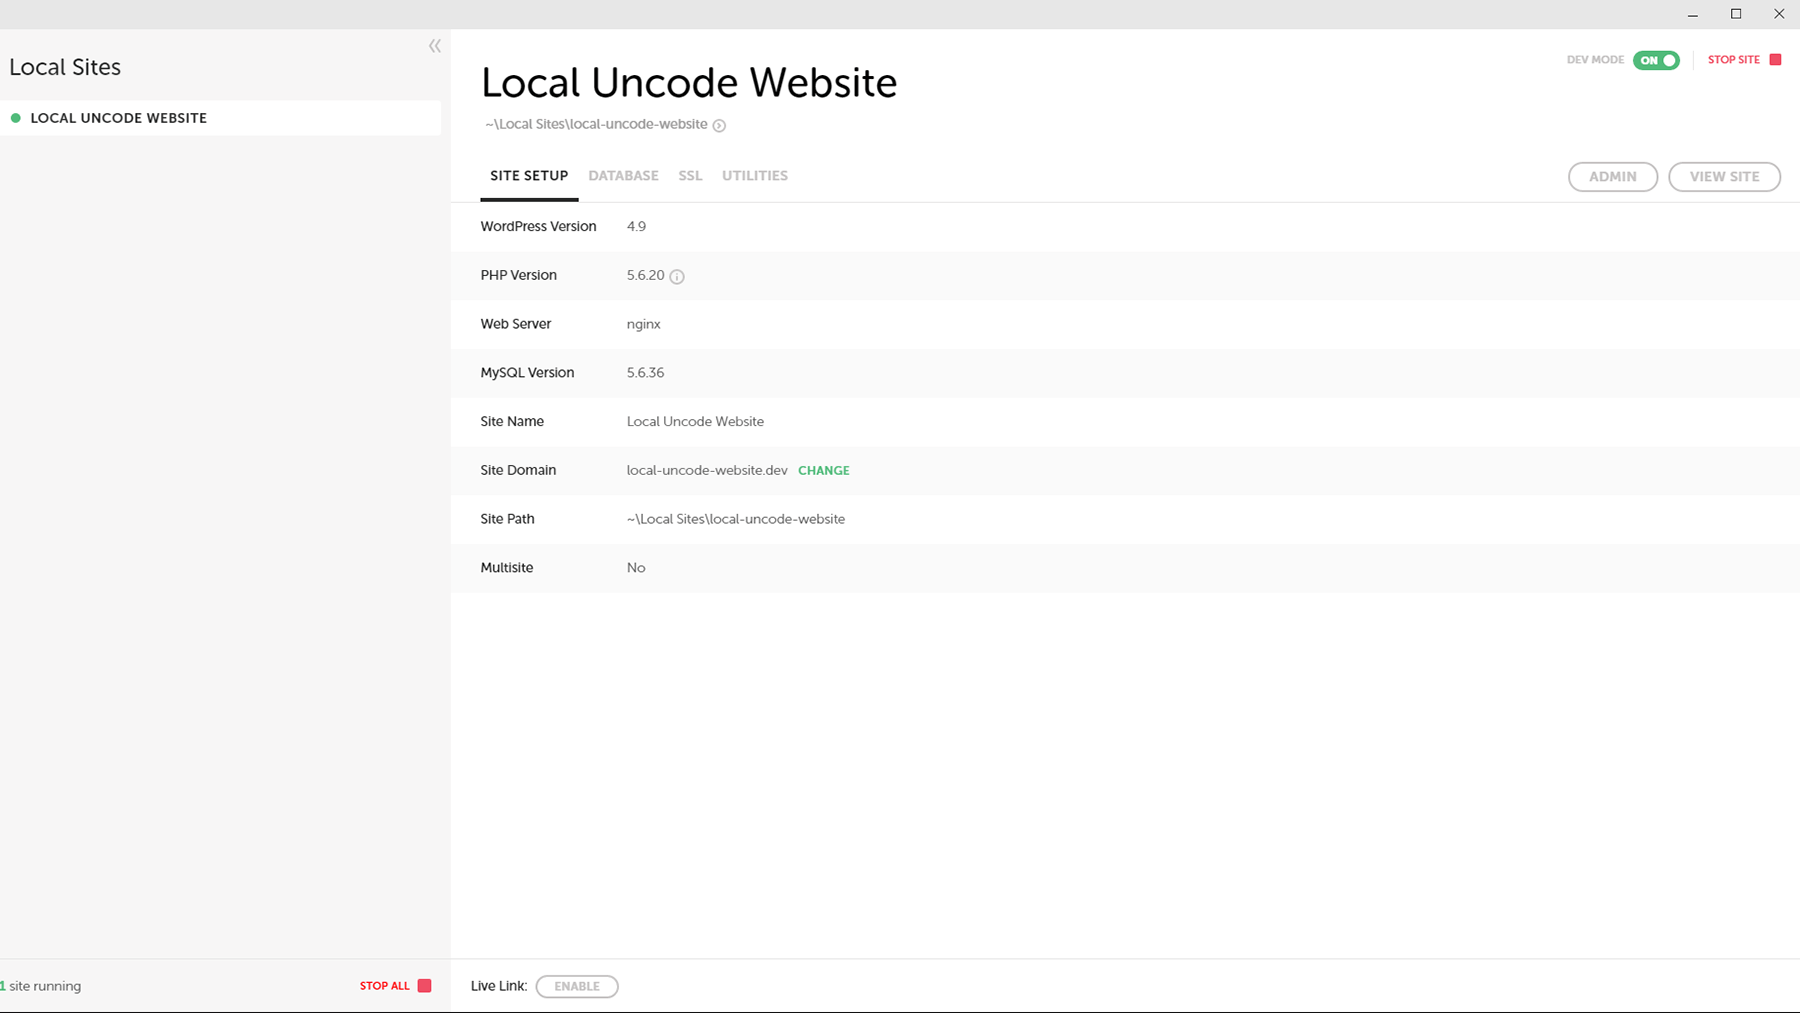
By default, your website will keep running as long as Local by Flywheel remains open. If you close the application or click on the Stop Site button, you will no longer be able to access it. In practical terms, there are no downsides to running multiple local websites for different purposes. They have a meager impact on performance, so you don’t need to worry about that aspect.
Now that your new local site is up and running, you’ll probably want to access it right away. You can do so by clicking on the Admin button, or typing your site’s address into a browser. Its domain should be the same as the title you set for it, with a few dashes thrown in to make it more readable. For example, if your website is called Local Uncode Website, its domain would be local-uncode-website.dev. Local by Flywheel uses .dev TLDs by default, to avoid conflicts with live websites.
Once you reach your site, you’ll need to log in using the credentials you set earlier, and then you’ll enter the dashboard:
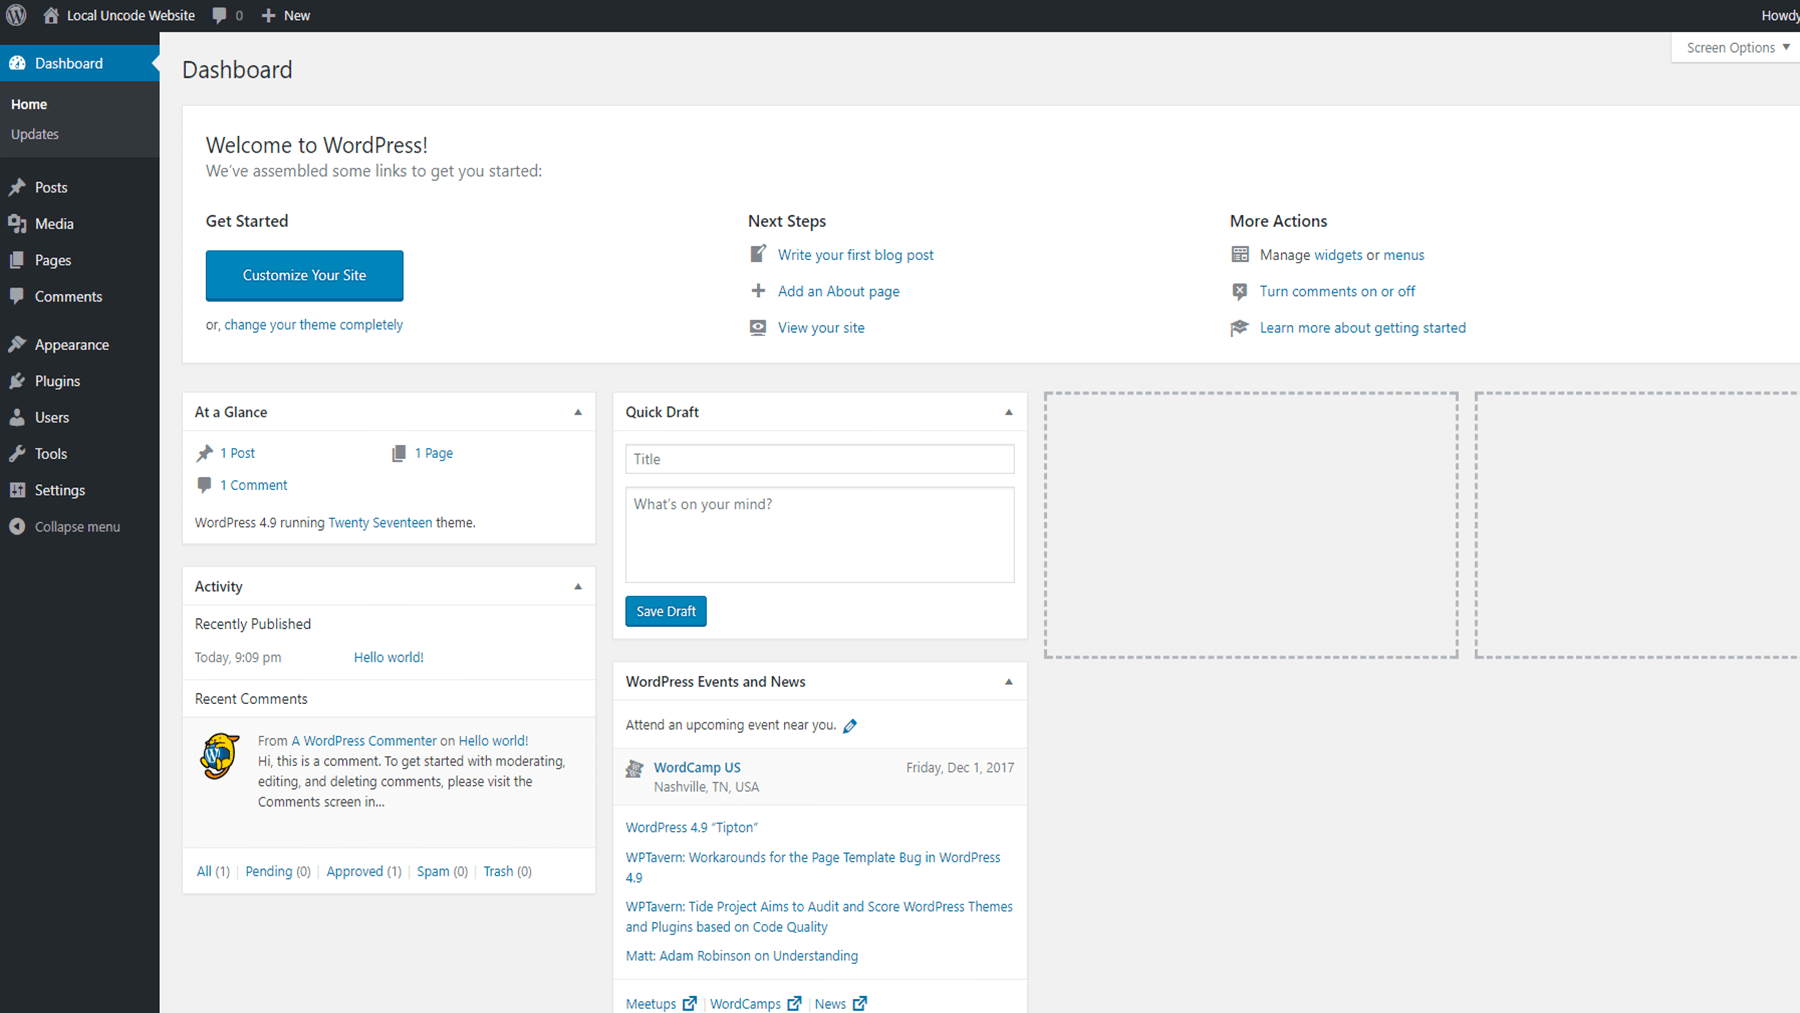
As you can see, your dashboard looks the same as it would for any other site. Similarly, your local WordPress website will work just as you’d expect it to. The first thing you’ll want to do is set up the Uncode theme, so go to the Appearance > Themes tab:
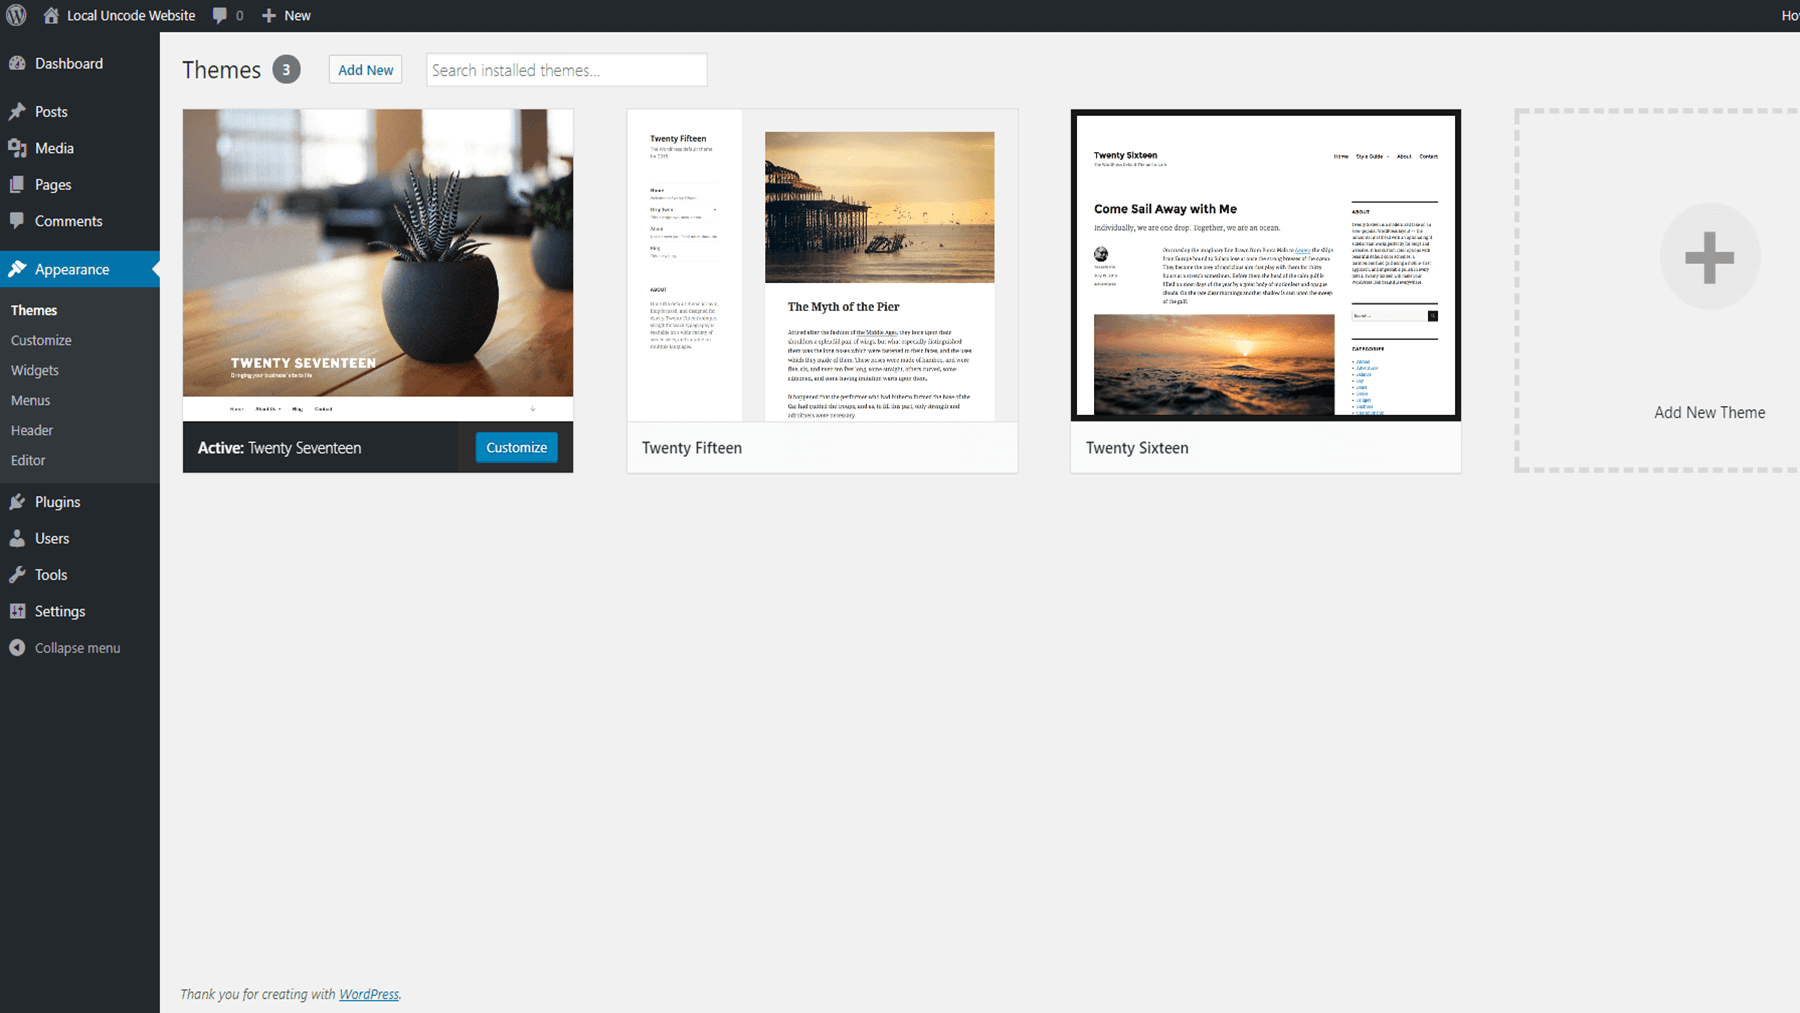
Click on the Add New button, and upload your Uncode files:
Since Uncode is packed with features, it requires a few post-installation steps to ensure that everything runs smoothly. If this is your first time using our theme, check out this simple guide to getting it up and running. It should only take a few minutes, and then you can continue to the last step.
Step 4: Set Up an Uncode Blueprint for Future Use
By now, your local Uncode website is up and running. You can use it for anything you want. Before you start experimenting, however, you may want to create a blueprint of your website as it is now.
Blueprints are a Local by Flywheel feature that enables you to save a snapshot of your local website. Then, you can use these snapshots as starting points when you create a new local site. This enables you to skip the tedious setup process if you tend to use the same plugins or themes for most of your installations.
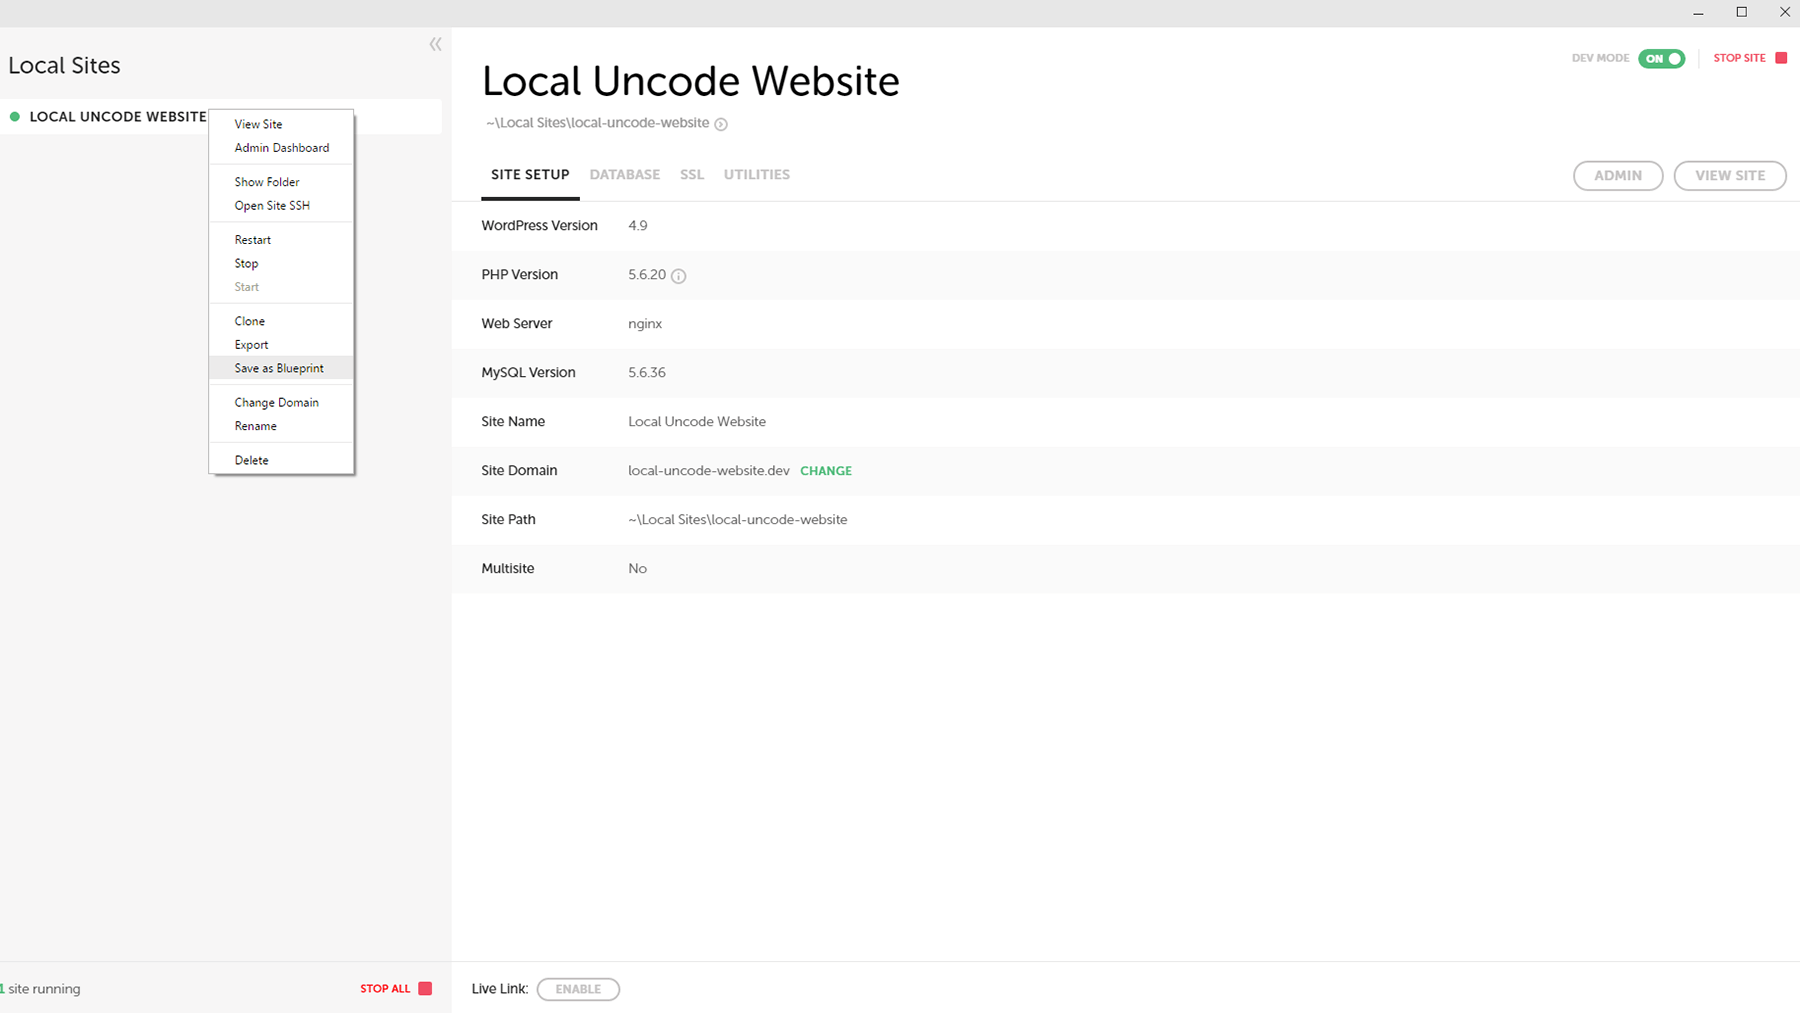
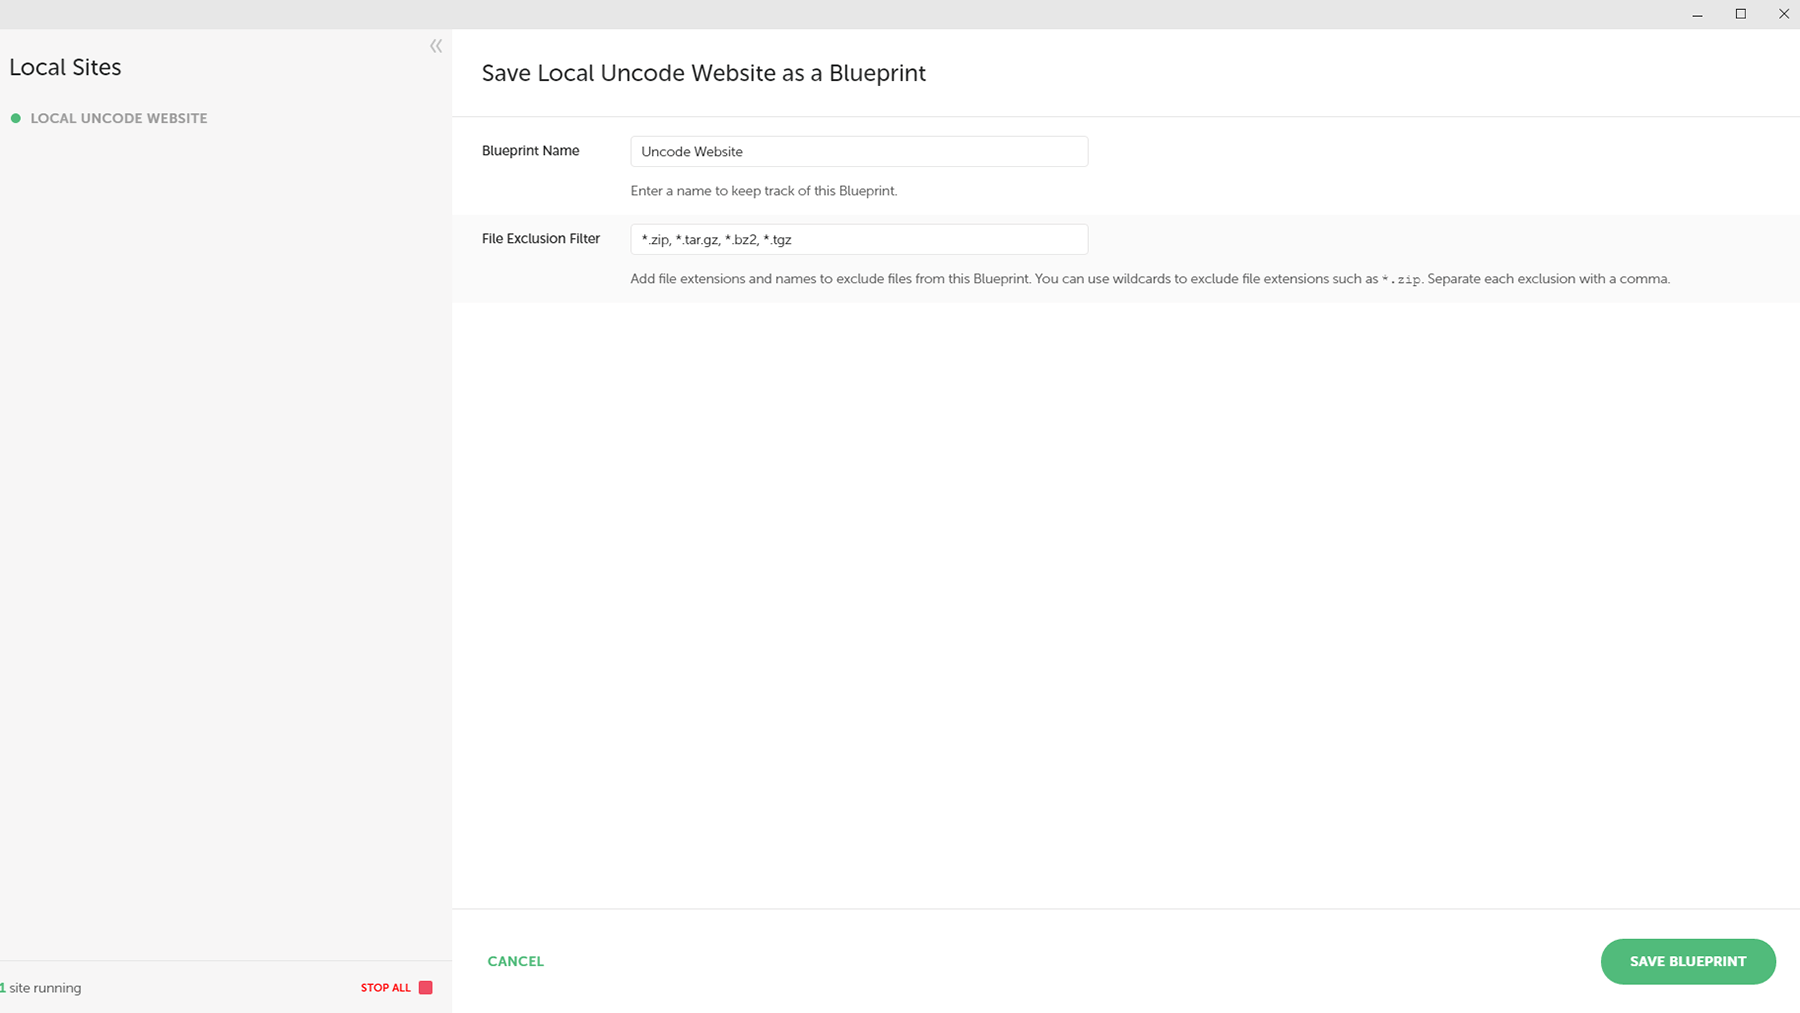
To create your first blueprint, return to the Local by Flywheel application and find your Uncode website under Local Sites. Right-click on it, and choose the option that reads Save as Blueprint:
Now pick a name you’ll remember for your blueprint and click on the Save Blueprint button:
Give the application a few seconds to work. In the future, you’ll be able to choose your blueprint when setting up a new website, by clicking on the Advanced Options tab during the first screen of the installation process. This is a smart way to save yourself some time.
Finally, it’s worth noting that instead of working with a brand new site, you may instead want to create a copy of your live site so you can test out new features or debug issues. To do that, you’ll want to make a full backup of your site. Then, you can simply import it into Local by Flywheel, and get to work.
Conclusion
Local WordPress websites are a versatile tool to have in your arsenal. Even if you’re not a developer, you’ll need somewhere safe to test out any new plugins or themes. You can even use your local setup to start work on a new project, and then move it to a live server when it’s done.
To do all of these things, you can use Local by Flywheel. This tool’s intuitive interface makes it easy to get started. Here’s how to use it to create your own local sites:
- Install Local by Flywheel.
- Configure your default WordPress preferences.
- Create your first local website and install Uncode on it.
- Set up a blueprint of your Uncode website (for future use).
Do you have any questions about how to set up a local WordPress website? Let’s talk about them in the comments section below!
Image credit: Pixabay.