
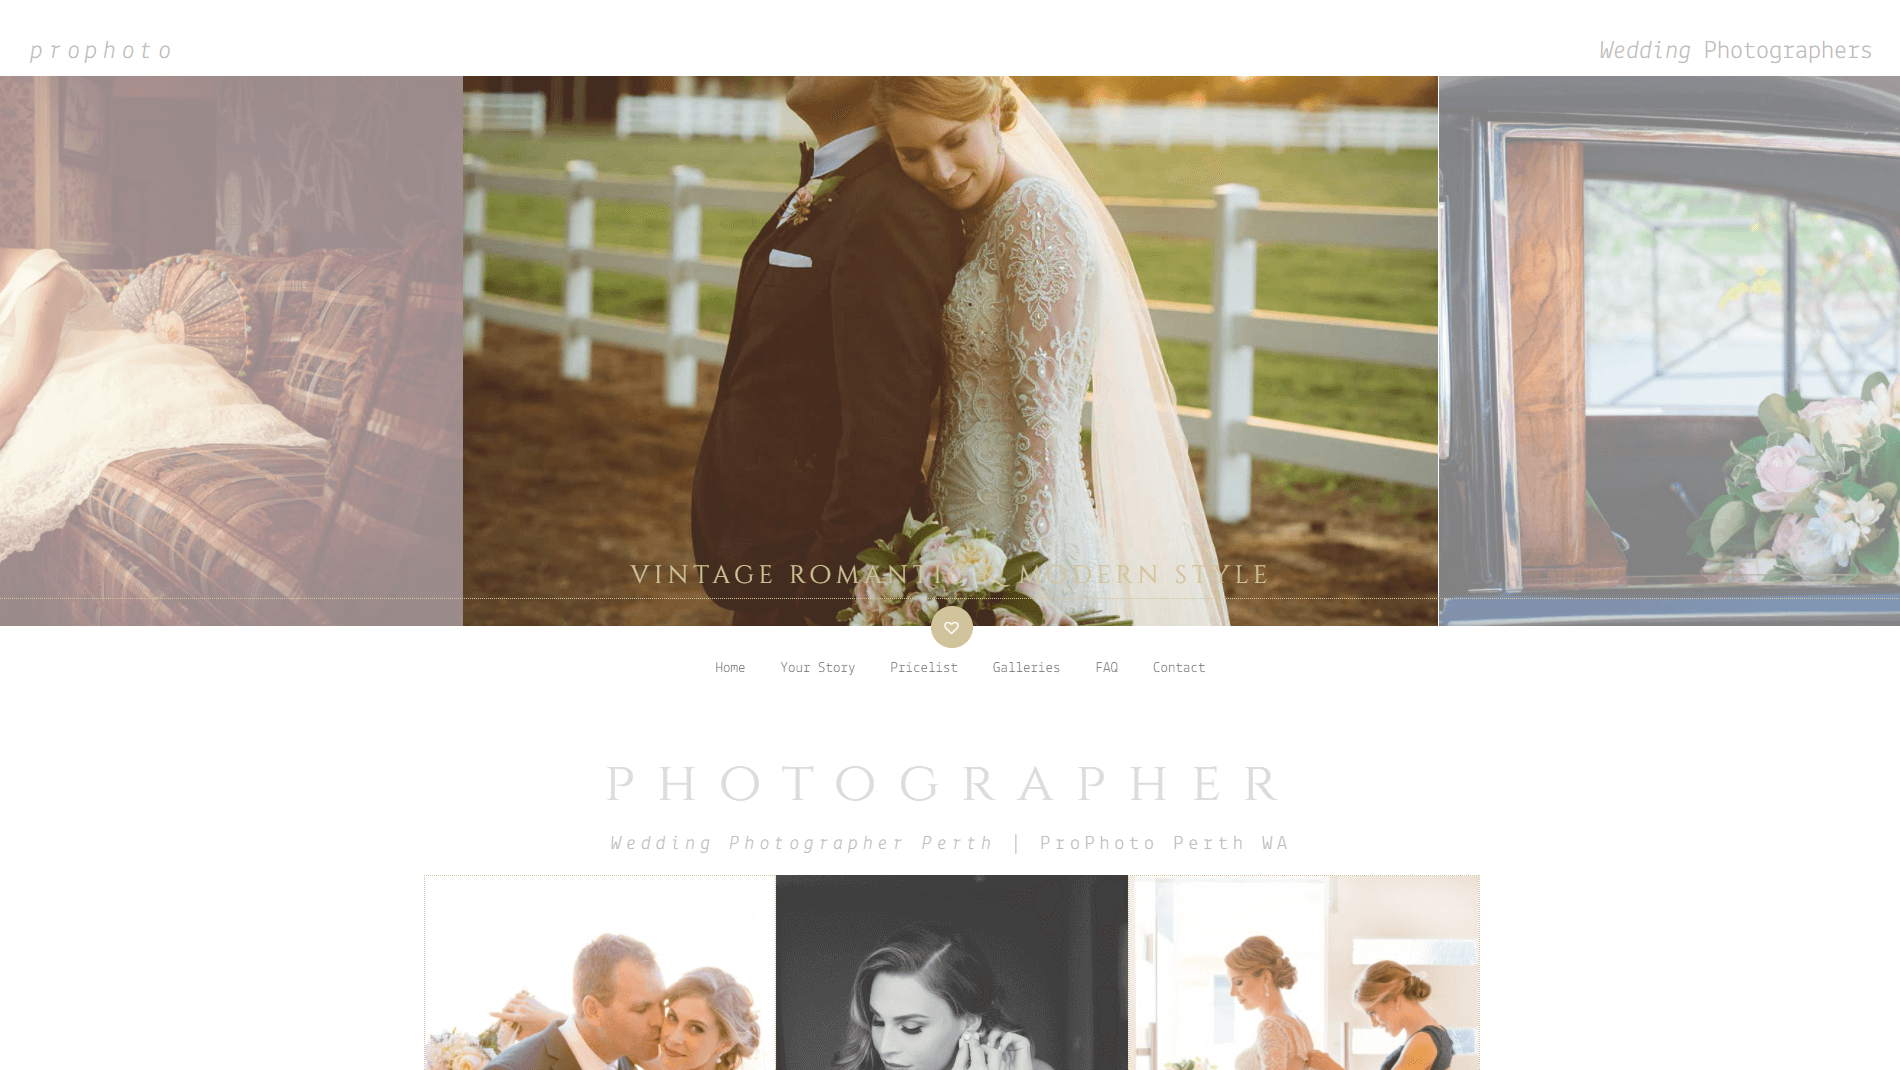
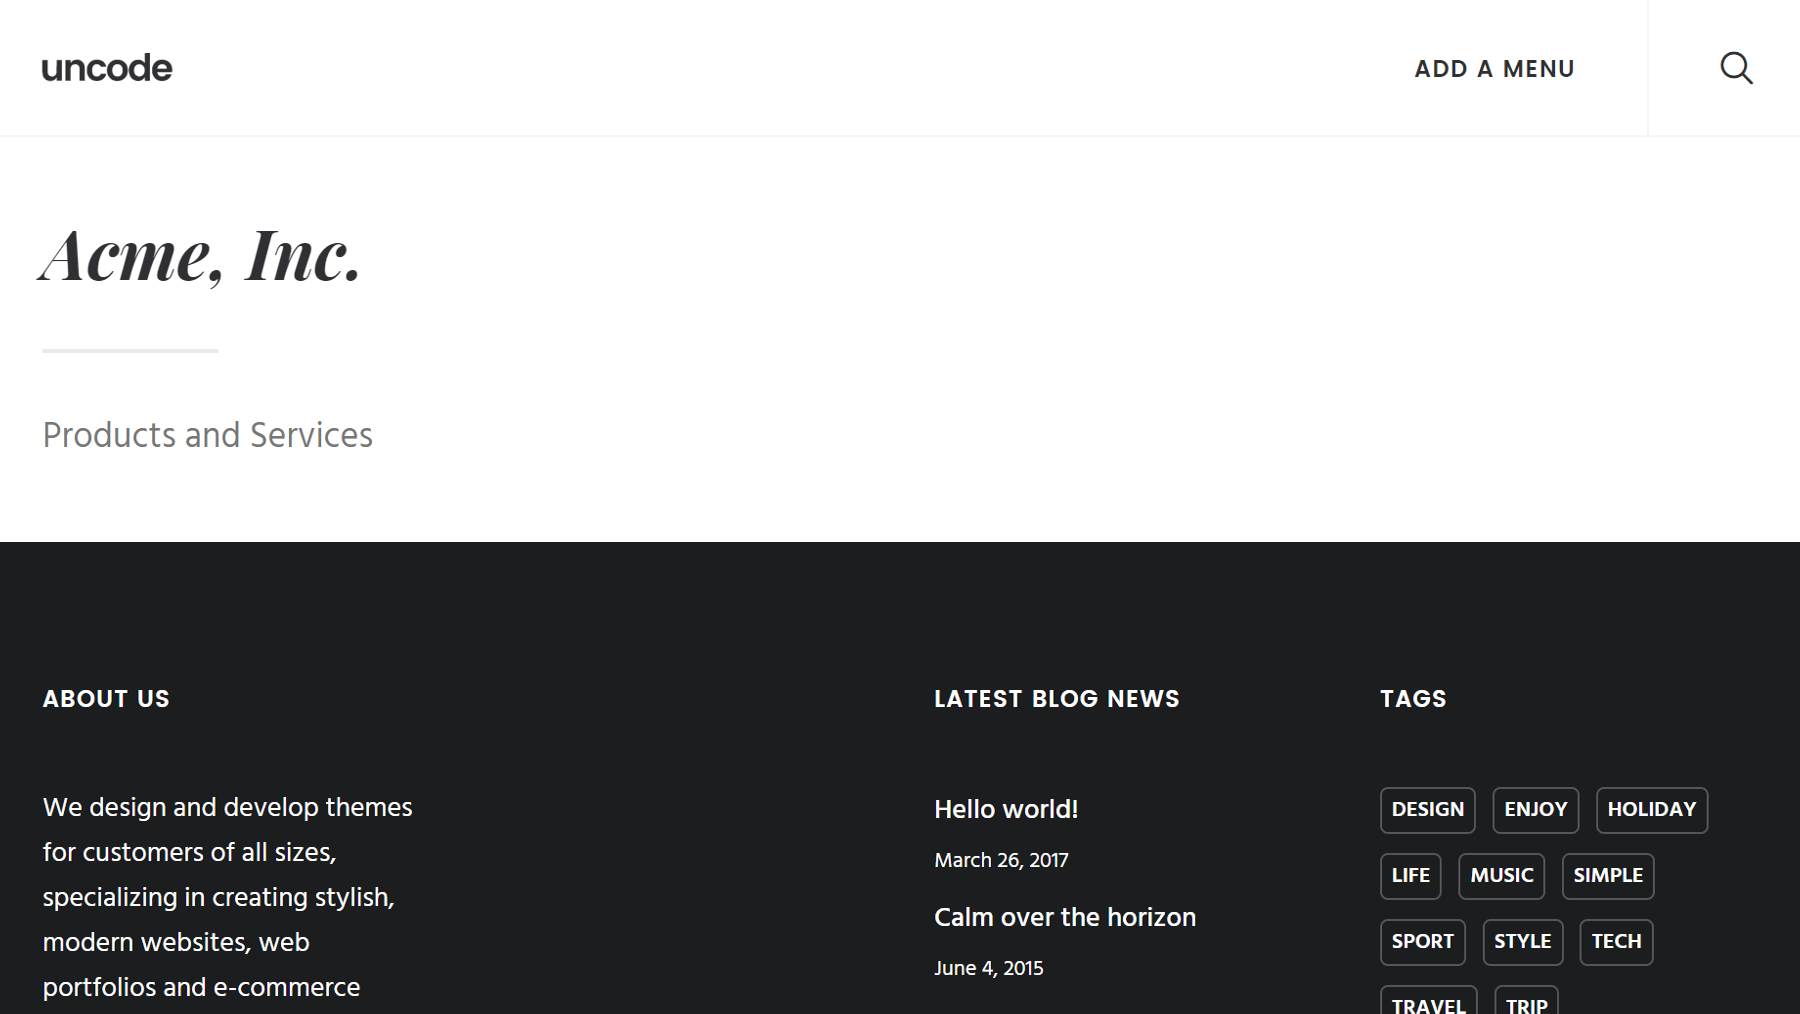
WordPress makes it easy to include headers on your pages and posts, and organize them logically to complement your content. However, you might find that the basic heading options don’t allow for a particularly distinctive appearance. A creative, custom header is the perfect way to grab your readers’ interest and personalize your site.
Fortunately, Uncode makes this task simple with its Visual Composer-based Content Block feature. You can use this feature to create a custom piece of content and integrate it into various parts of your website. For example, you can build a header, save it, and incorporate it throughout your entire site or just place it on specific posts and pages.
In this article, we’ll walk you through this process step by step. We’ll first discuss the Content Block feature in more detail, then explain how to use it to design a custom header. Let’s get started!
An Introduction to the Content Block Feature in Uncode
Uncode uses a specially-designed version of Visual Composer, which enables you to customize posts and pages by dragging, dropping, and editing items through a visual interface. The Content Block is a way of creating a section of content that can be easily placed just about anywhere on your site.
Content blocks can be used to design several different page elements, including:
- Custom headers: You can build both static and dynamic headers, and insert them in a specific place on your site or incorporate them throughout.
- Custom footers: These can be created through a similar process to headers, and are ideal for including widgets and calls to action.
- Page fragments: By adding text, media, and other design elements to a content block, you can make just about any type of content module and insert it wherever you’d like.
In this article, we’ll focus on showing you how to create a custom header. However, it’s important to note that much of what we’ll discuss can be easily applied to building other elements with the Content Block feature. Once you feel comfortable designing headers, you should have what you need to experiment with creating footers and page fragments as well!
How to Create a Custom Header Using Uncode’s Content Block Feature (In 3 Simple Steps)
Before we get started, we need to make sure you have a few key plugins activated. In Uncode, navigate to Plugins and check that Uncode Core, Uncode Visual Composer, and Visual Composer Clipboard are all installed and activated. If any of those plugins are missing, navigate to Uncode > Install Plugins and choose Install or Activate for each plugin as necessary.
You’ll also need to enable Visual Composer to work with the Content Block feature. Head to Visual Composer > Role Manager and find the Post types drop-down. From here, select Custom, and make sure the box labeled uncodeblock is checked. Hit Save Changes, and you’ll be ready to start creating your new header.
Step 1: Create a New Content Block
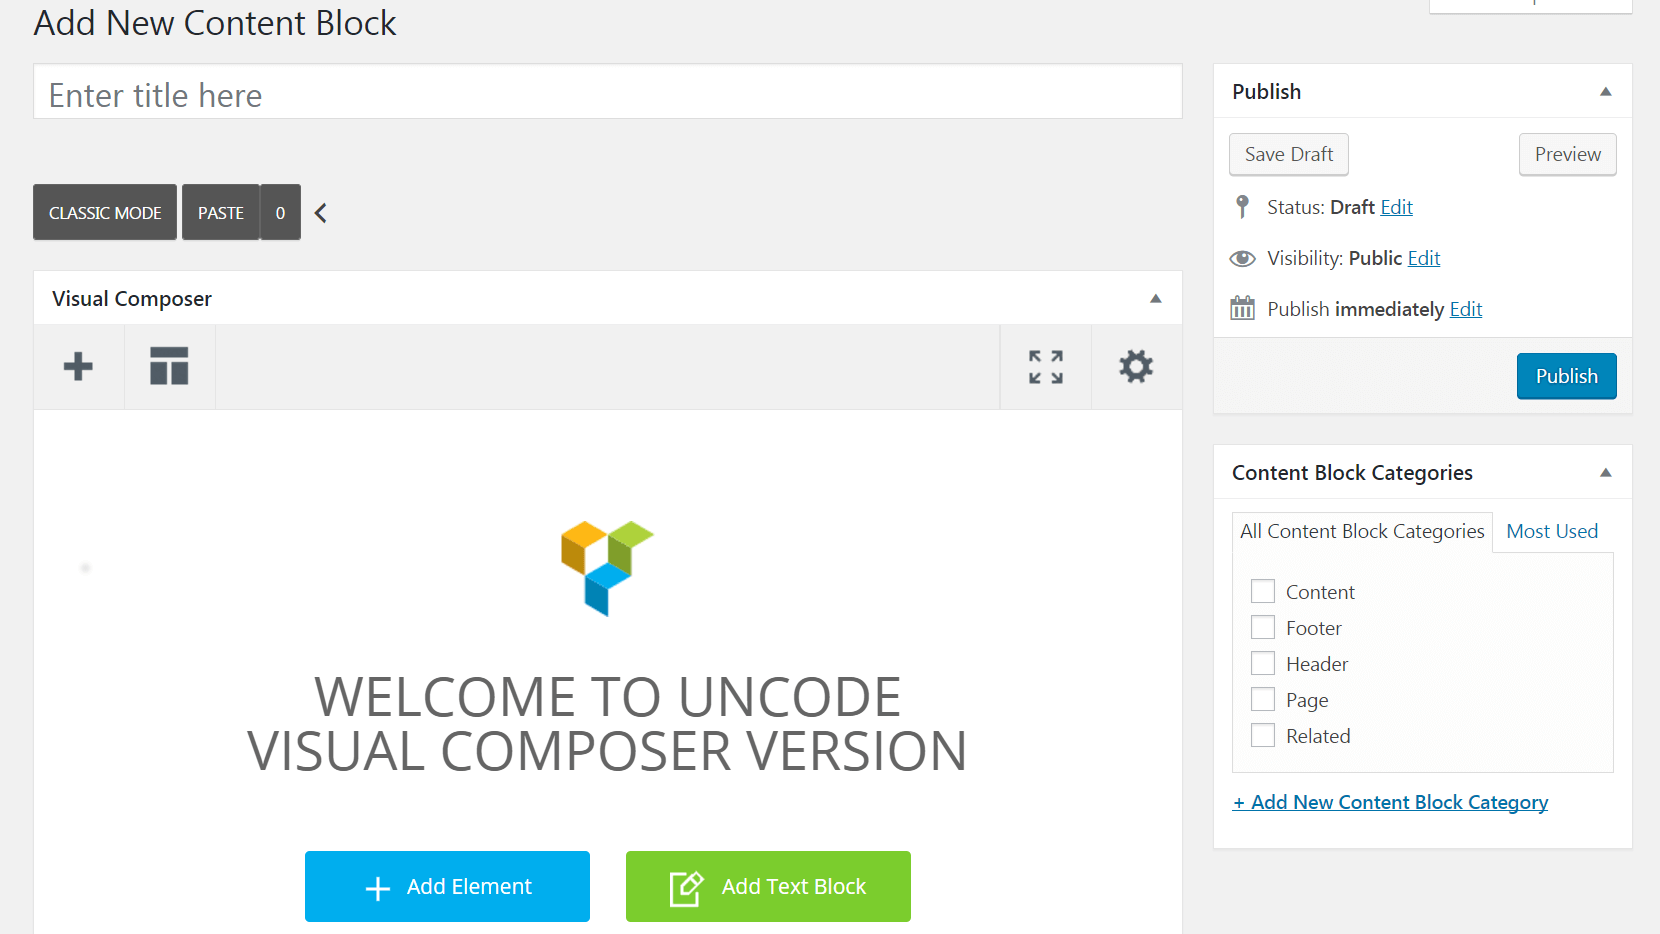
First, you’ll need to create the content block that will contain your header. Navigate to Content Block in the left-hand menu of your WordPress dashboard, and select Add New. You’ll be taken to the editor, where you can enter a title for your header. Make sure you’re in Classic Mode here (which enables Visual Composer). If you’re not, click on the Backend Editor button to switch modes:
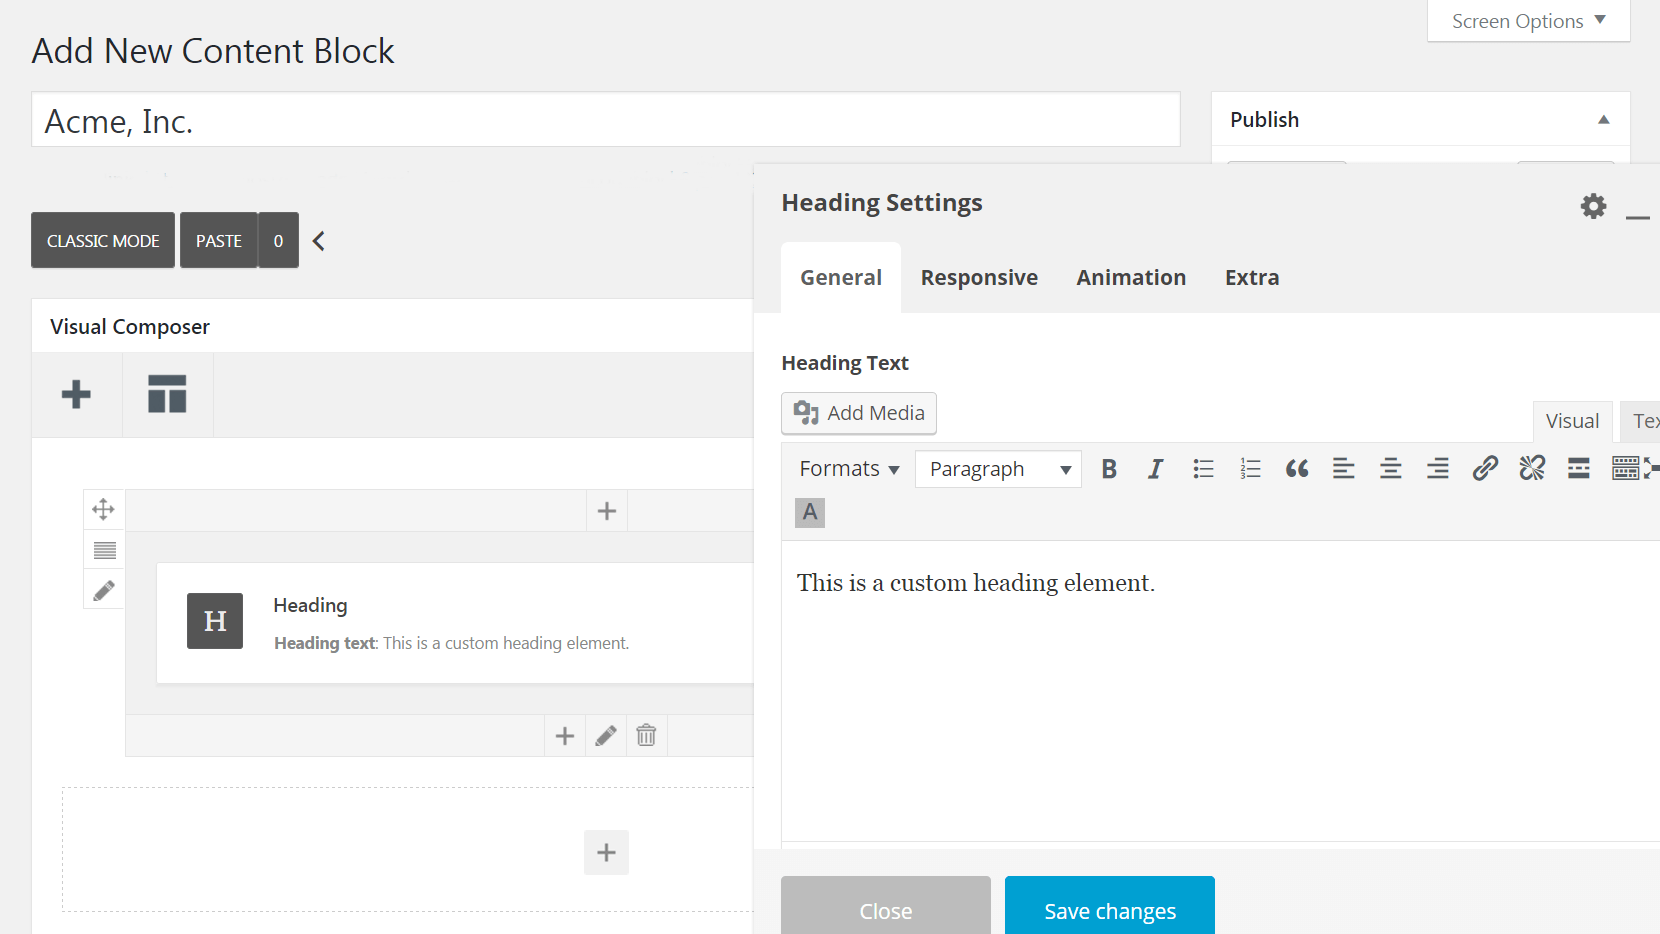
You’ll see a box labeled Add Element – select it and choose Heading from the menu that appears. This will place a header element into the editor, and bring up the Heading Settings menu:
Now you can start designing your header!
Step 2: Customize Your Header
This is your chance to get creative and personalize options in the Heading Settings menu to build the header you want. Let’s go through your choices tab by tab.
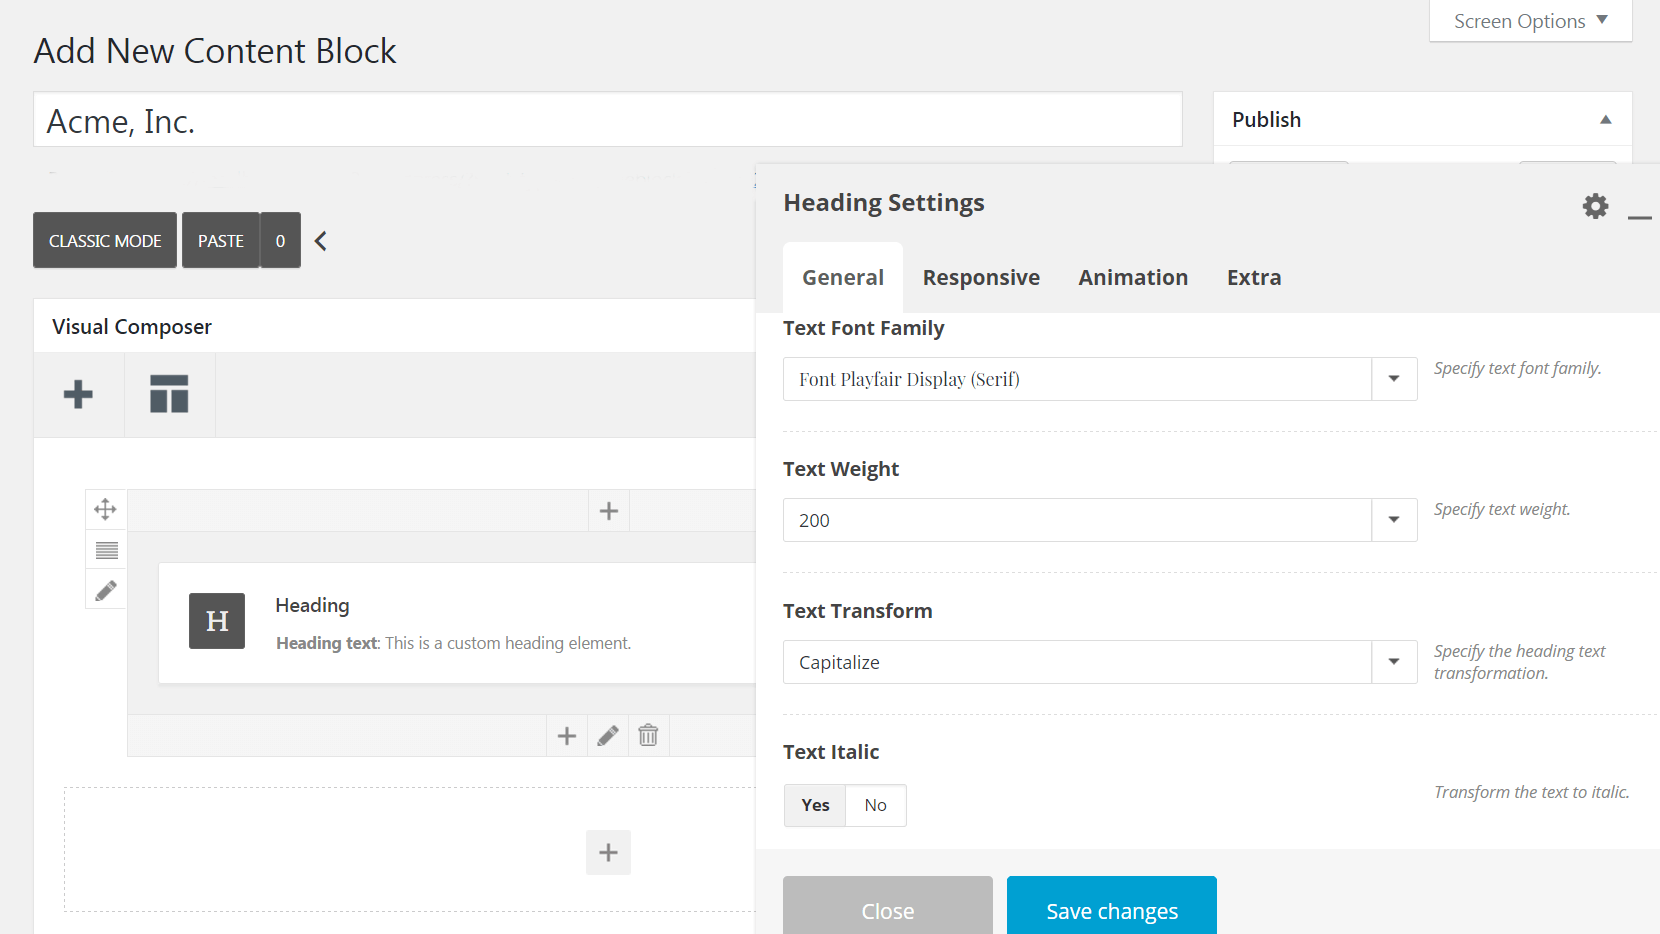
First, check out the General tab. Here you can enter your header text and determine its size, formatting, and appearance:
If you want, you can instead select the Automatic Heading Text option, which will tell the module to use the page title as your main header text. This enables you to create a header that can be used on multiple pages, without requiring you to make manual changes to each version.
You can also include a subheading that will display underneath the main text. If you want, you can use the Separator drop-down to create a dividing line between the main header and subheading:
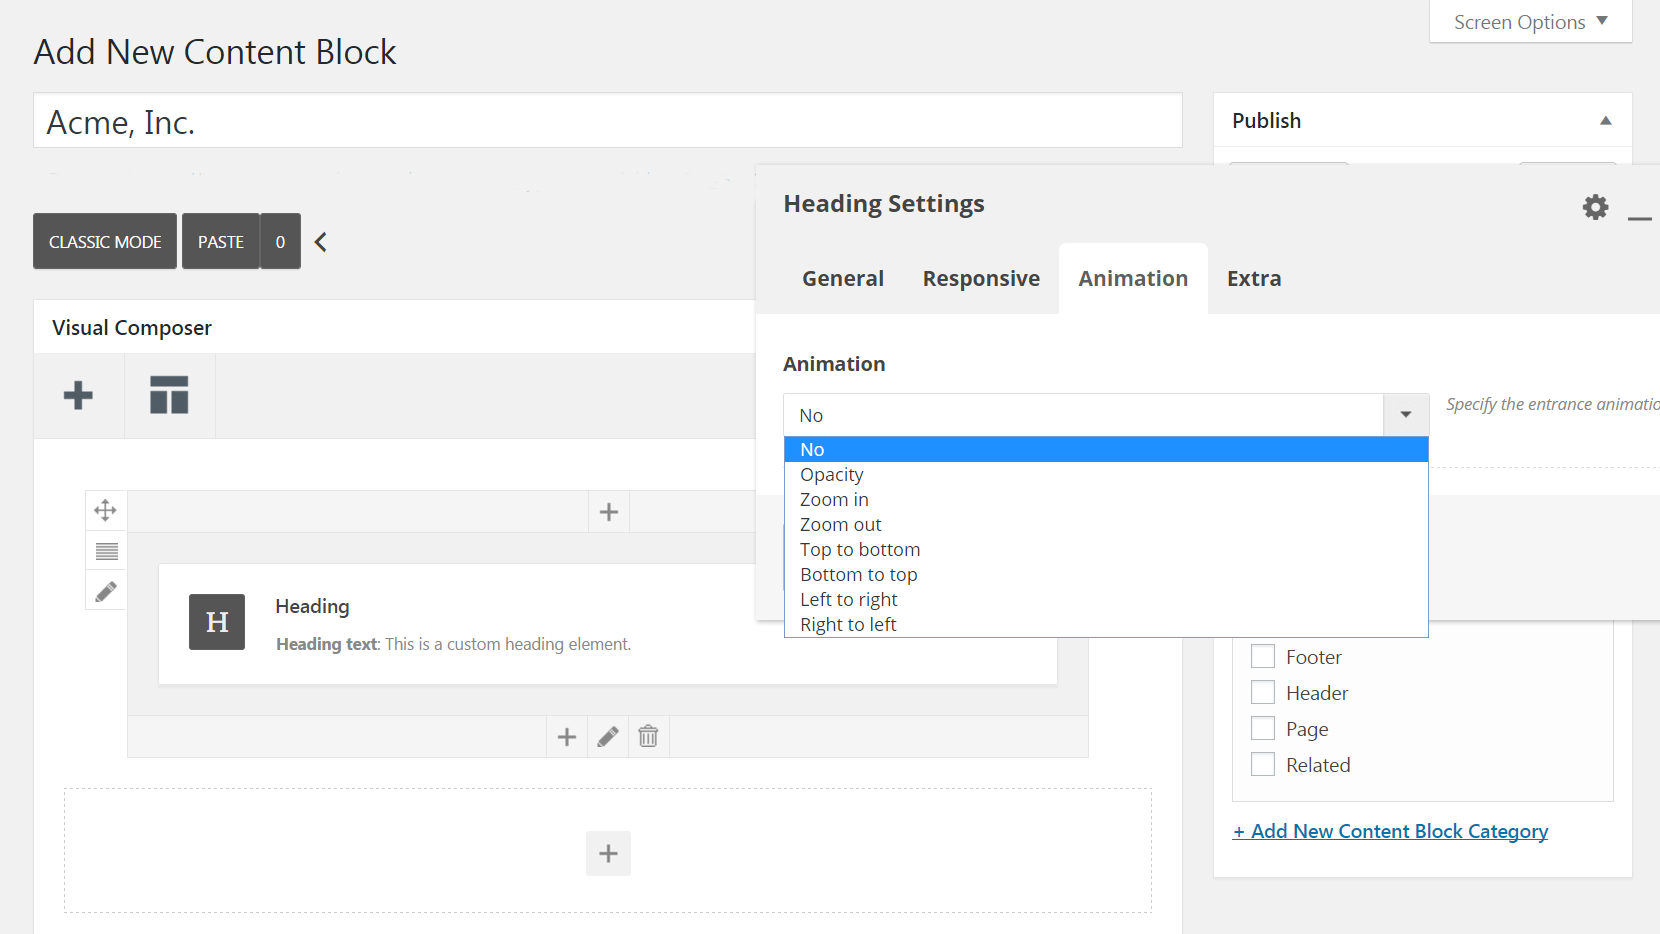
When you’re finished customizing your text, switch over to the Responsive tab. This is where you can decide whether your custom header will show up on desktop, tablet, and/or mobile devices. Then, in the Animation tab, you can choose whether or not your header will appear with a special animation:
Before we move on, close the Heading Settings box for a moment and click on the pencil icons at the left and bottom sides of your Heading element. This will open up the Row Settings and Column Settings, where you can make additional design changes.
For example, in Column Settings > Aspect, you can adjust the horizontal and vertical placement of your text. Then in Row Settings > Style, you can set a background color for your header, or import an image instead using the Background Media box:
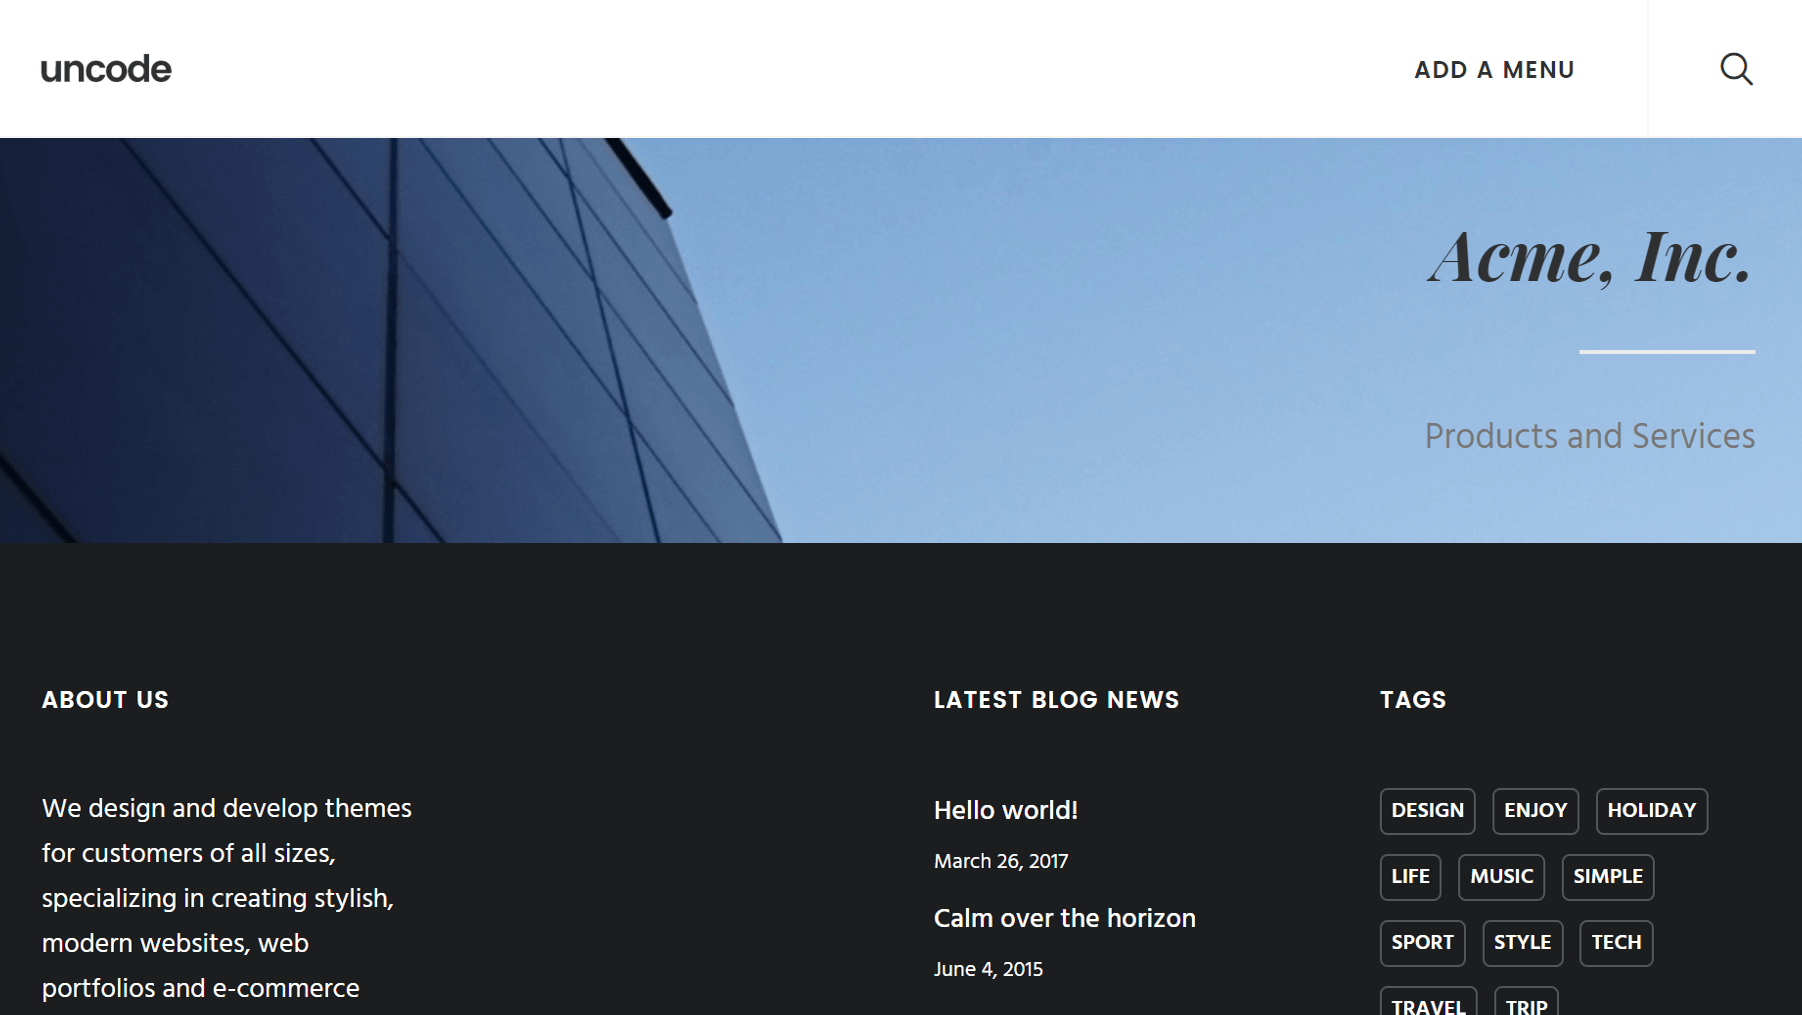
Also in Row Settings > Style, you can enable the Automatic Background feature. This way, when you add your header to a post it will automatically pull in a background image that is specific to that post’s category. You can set featured images for each category in Posts > Categories.
There are plenty of additional options to discover here, so we encourage you to explore them at your own pace until you’re happy with your design. When you’re done, hit the Publish button.
Step 3: Place the Header on Your Posts and Pages
Now your header is designed and ready, but it won’t yet appear on your site. It’s time to change that! First we’ll talk about how to add your custom header to an individual post or page, then we’ll explain how to incorporate it throughout your entire site.
Start by opening up the post or page on which you’d like your header to appear. Next, scroll down to the Page Options meta box underneath the editor, and click on Header in the left-hand menu. Under Type, make sure Content Block is selected. Then, under Content Block choose the header you just published:

There are a few other options you can set here, such as Scroll Opacity (which will enable an animation when users move down the page), and Scroll Down Arrow (which creates an arrow button that does just what the name implies). You can also turn on Remove Menu Content Padding to reduce the space between the header and menu.
However, if you want to add your header to all of your pages, you’ll need to go to Uncode > Theme Options and click on the Page tab. From here, select Header, and choose Content Block in the Type drop-down menu. Just as before, find the header you published under Content Block, and select it:
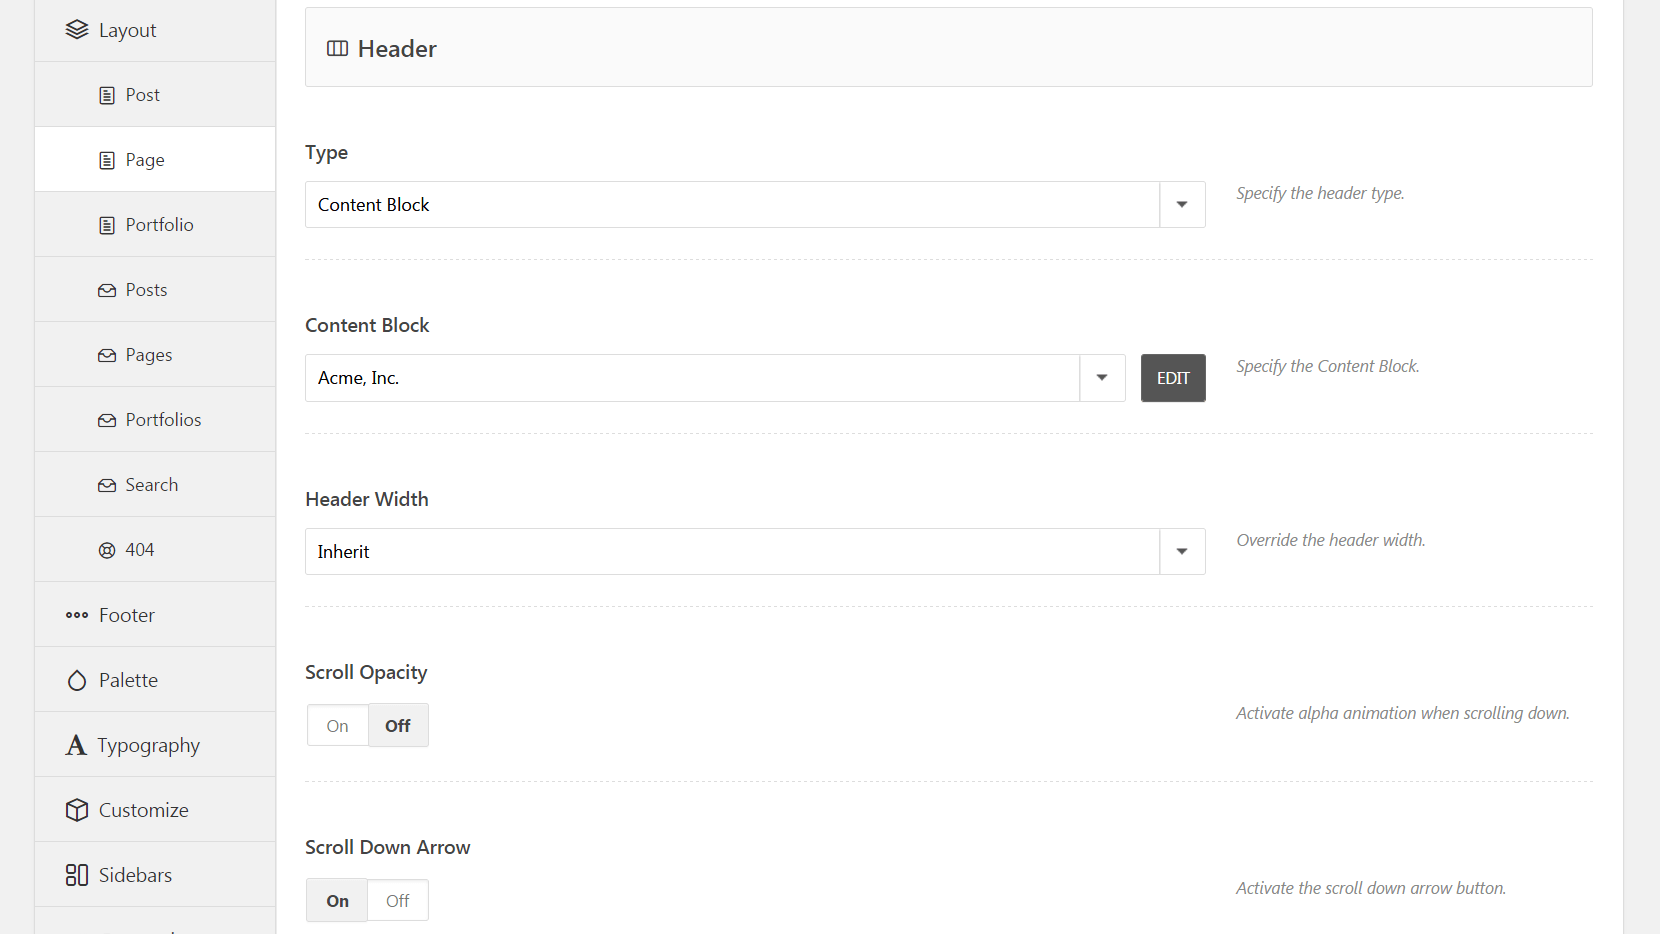
You also have access to the Scroll Opacity and Scroll Down Arrow options here, and you can change the Header Width as well. When you’re done editing the settings, hit Save Changes and your custom header will appear on all of your site’s pages. It’s important to note that this same process also applies to posts – just navigate to the Posts tab instead of Pages.
An Alternative Approach: Design a Carousel Header
So far, we’ve explained how to build and customize a static header, which is ideal for many situations. However, if you’d prefer a dynamic version you can create a carousel that will cycle between several different headers. The process is similar to the steps outlined above, with a few key differences.
Start out by creating a new content block as in Step 1, but this time add a Content Slider module. You’ll see a box labeled Slide – click on the plus sign and add a Heading element. From there, you can select the Add slide button as many times as you need to create your desired number of slides, and place a Heading element into each one:
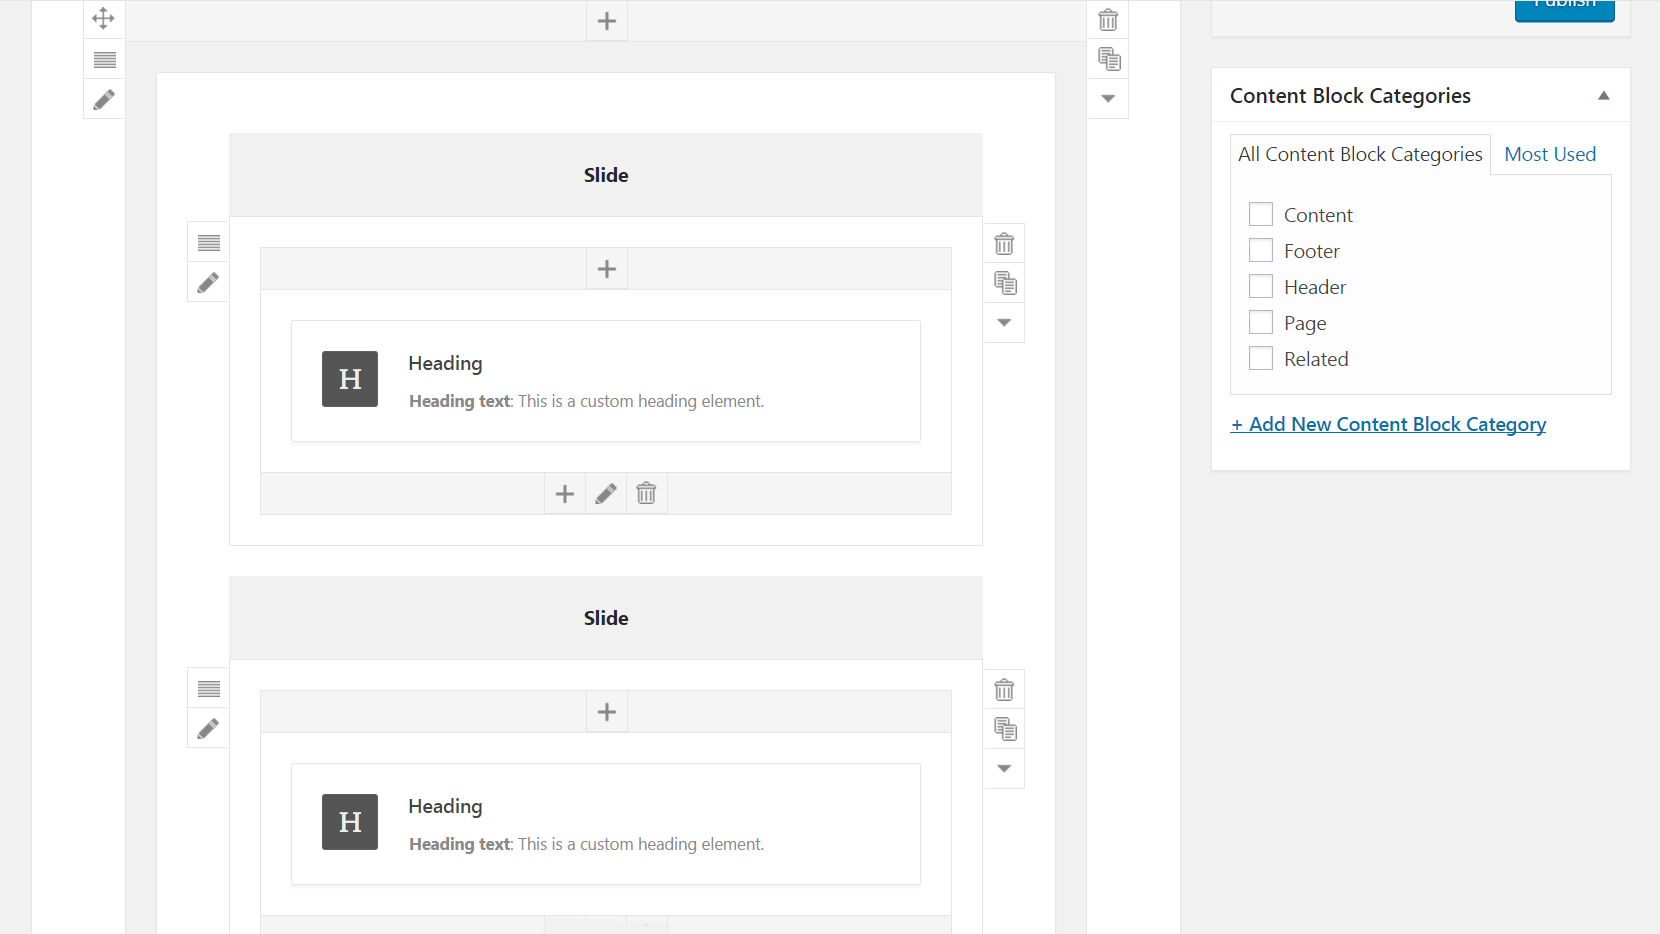
Next, design each of the headers you’d like to include as outlined in the second step. From here you can also duplicate your headers by hovering over a completed one and selecting Clone Heading to make a copy. You can then drag it to a different slide, and make your changes accordingly.
When you’re finished designing your headers, hover over Slide and click the pencil icon to enter the Content Slider Settings menu. Under Auto Rotate Slides, you can change how quickly your header will cycle from slide to slide, with higher numbers causing the slides to rotate more slowly:
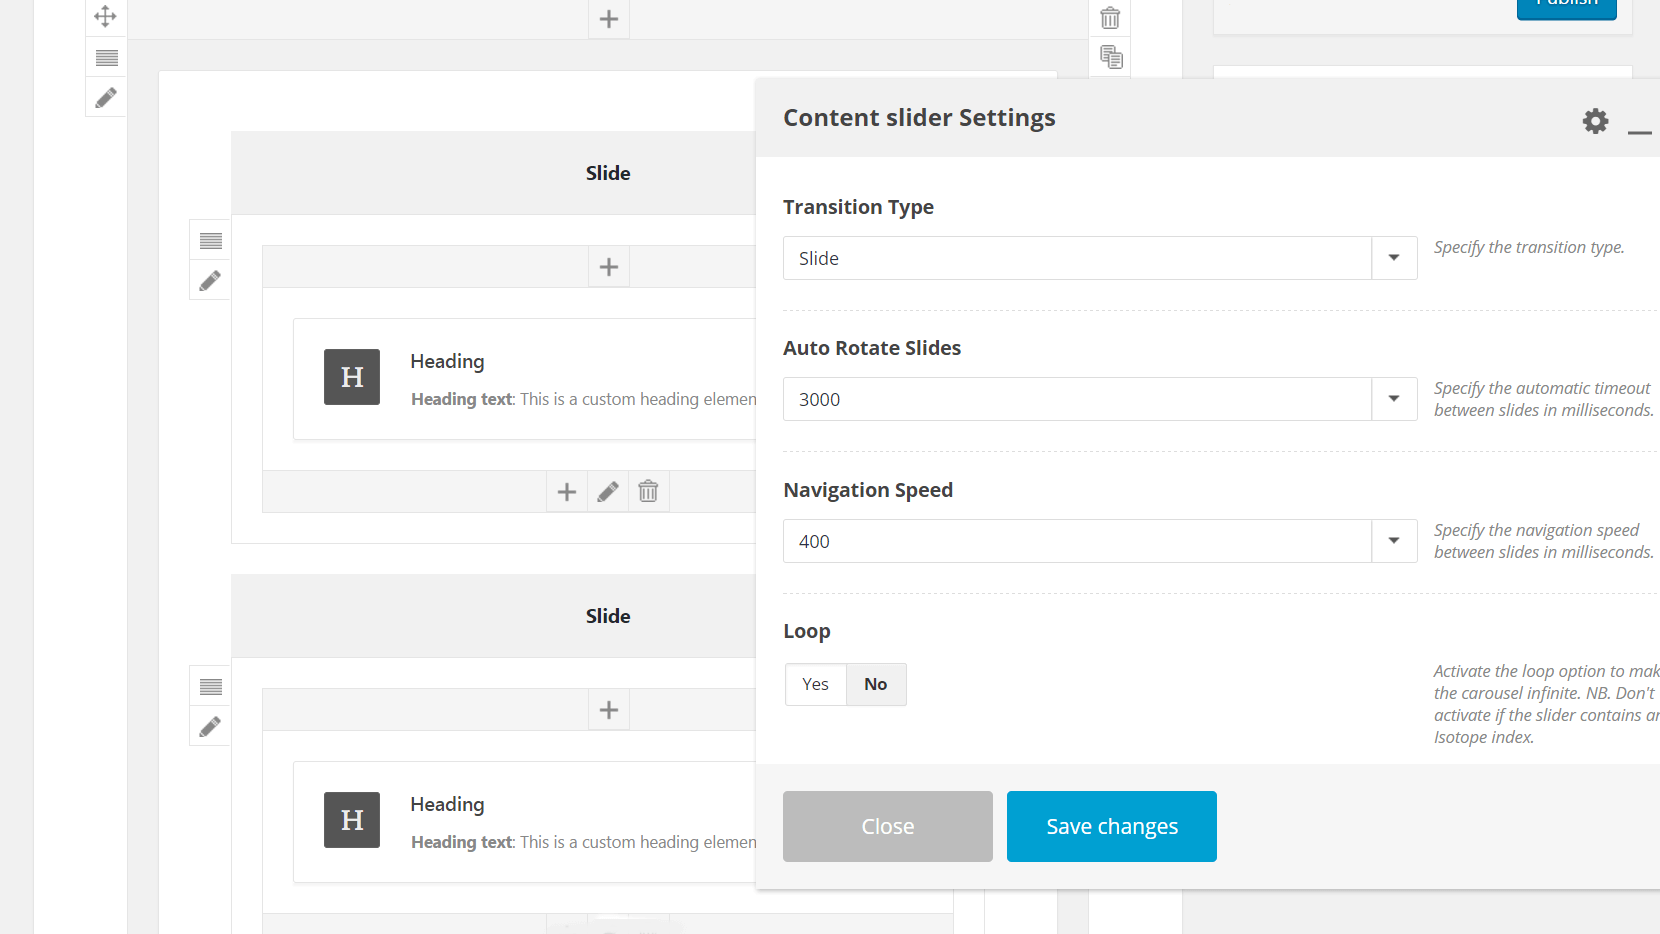
In this menu, you can also set the Navigation Speed. This will change how quickly the slides rotate when a user manually navigates through them – you can also disable this option if you wish. Finally, you can change the Transition Type to Fade to make the headers fade in and out rather than cycle horizontally, and you can turn on Loop if you want the slides to rotate infinitely.
When you’re done, hit Publish and add your new carousel header to your pages and posts as described in step three. It’s that easy!
Conclusion
If you want to make your site memorable and visually appealing, it’s a good idea to go beyond the basic options and add some personalized elements to your design. Building a custom header to introduce your pages and posts is a creative way to do just that. What’s more, Uncode makes the process simple and straightforward.
In this post, we’ve outlined how to use the Content Block feature to create custom headers. Let’s quickly recap the steps:
- Create a new content block.
- Customize your header.
- Place the header on your posts and pages.
- Alternatively, design a carousel header instead of a static one.
Do you have any questions about how to create an awesome custom header in Uncode? Ask away in the comments section below!