
Content Delivery Networks (CDNs) are one of the best tools at your disposal to enhance your website’s performance. However, figuring out which one to use and how to integrate it with your WordPress site can seem a little overwhelming at first.
Fortunately, there are a lot of outstanding CDNs that you can use with WordPress, and it’s usually easy to integrate your site with these services. That’s good news, since your site’s performance should improve dramatically in response. After all, CDNs are often able to handle much more traffic than your regular servers can.
In this article, we’re going to explain what CDNs are and how using one can benefit you. Then we’ll teach you how to integrate WordPress with one of our favorite CDNs in three simple steps. Let’s get to work!
An Introduction to Content Delivery Networks (CDNs)
Usually, when someone visits your website, their browser sends a request to your server. The server processes that request, and sends along all the data necessary to display the page in question. The more people who try to access your website simultaneously, the more your server has to work at this task. In some cases, this can lead to your site taking longer to load, since the server can’t process all those requests fast enough.
What a Content Delivery Network (CDN) does is store a copy of your website in various external data centers. This is known as ‘caching’. A quality CDN will have datacenters all over the world, so it can serve content even faster no matter where your visitors are located. If you integrate your website with a CDN, when someone tries to visit it, the CDN will process that request and serve the stored copy of your site from its servers. This cuts down on the time it takes to transmit all that data, which can result in a host of secondary benefits.
That’s the simple version, of course. CDNs are complex in how they work, but the upsides they offer are pretty straightforward. With a CDN, you’ll get:
- Faster loading times. In most cases, CDNs can display your website much faster than your hosting provider might.
- Less strain on your servers. Since CDNs will handle the brunt of your traffic, your servers should be able to handle an increased number of visitors.
- Help dealing with spikes in traffic. Budget hosting plans are often ill-equipped to deal with unexpected traffic spikes, but CDNs are built for that kind of event.
- Built-in image optimization features. Some CDNs take things a step further, and help you optimize your website’s images for even faster loading times.
To sum it up, CDNs are well worth your time. However, as you might imagine, the kind of services they offer don’t often come cheap. There are a few CDNs that offer limited free plans, but most will set you back a fair bit. After all, the types of websites that can benefit the most from using a CDNs (such as online stores and service sites) can usually afford their prices.
If you have a limited budget, though, don’t worry. In the next section, we’ll introduce you to a CDN with a free plan you can use, and teach you how to set it up. If you’re looking for other options, there are also plenty of CDNs with basic and affordable plans, such as MaxCDN and Amazon CloudFront.
However, it’s important to understand that while CDNs are excellent, they’re not the only route when it comes to optimizing your website’s loading times. There are a lot of factors that determine how fast your site is. For example, the web hosting provider you use plays a significant role, as does the theme you use in WordPress. Some themes, such as Uncode, even include specific features that can help you improve loading times. When paired with a CDN, your Uncode site should be able to handle just about anything.
How to Integrate WordPress With Cloudflare (In 4 Steps)
Now, let’s take a look at the process of actually setting up a CDN on your site. We chose to feature Cloudflare in this section, because its a powerful, reliable CDN that offers a free plan you can try out. Moreover, it’s pretty easy to get started with. Let’s see how that works!
Step 1: Create a Cloudflare Account and Set Up the Official Plugin
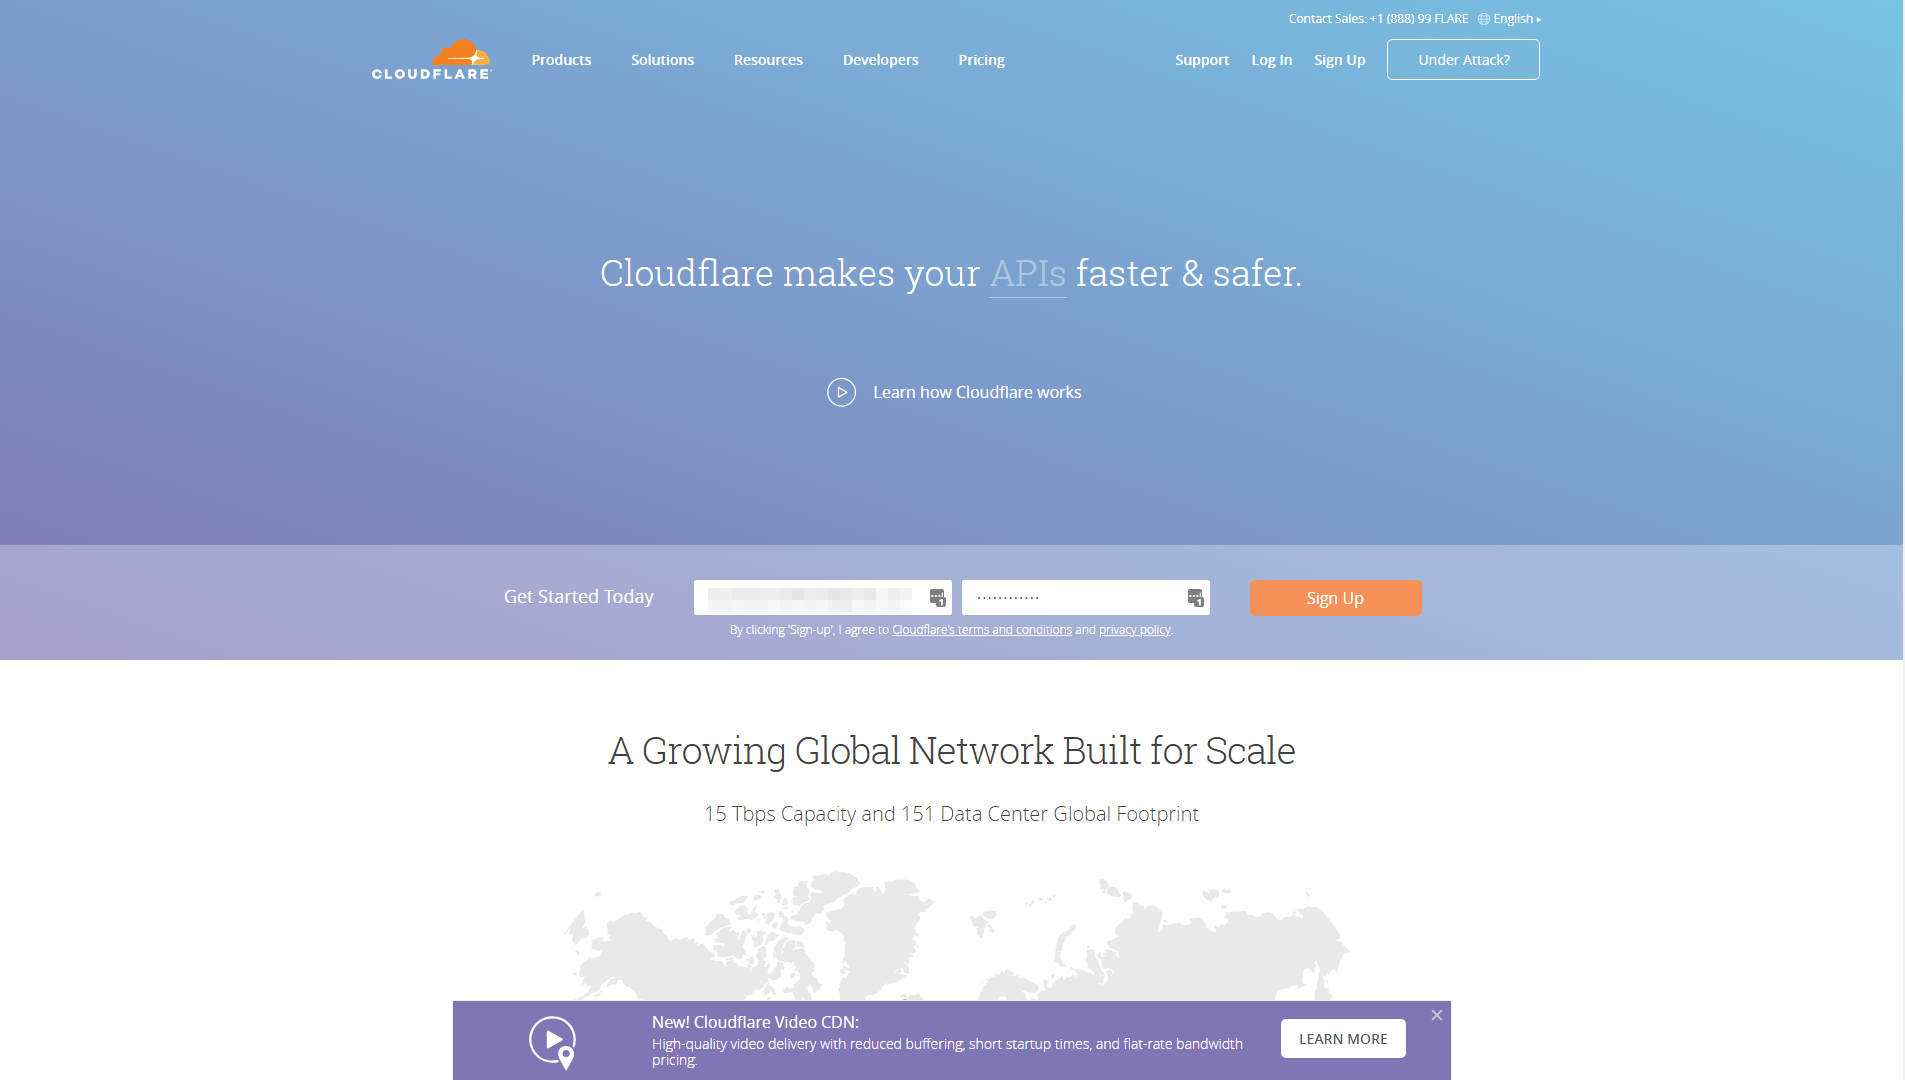
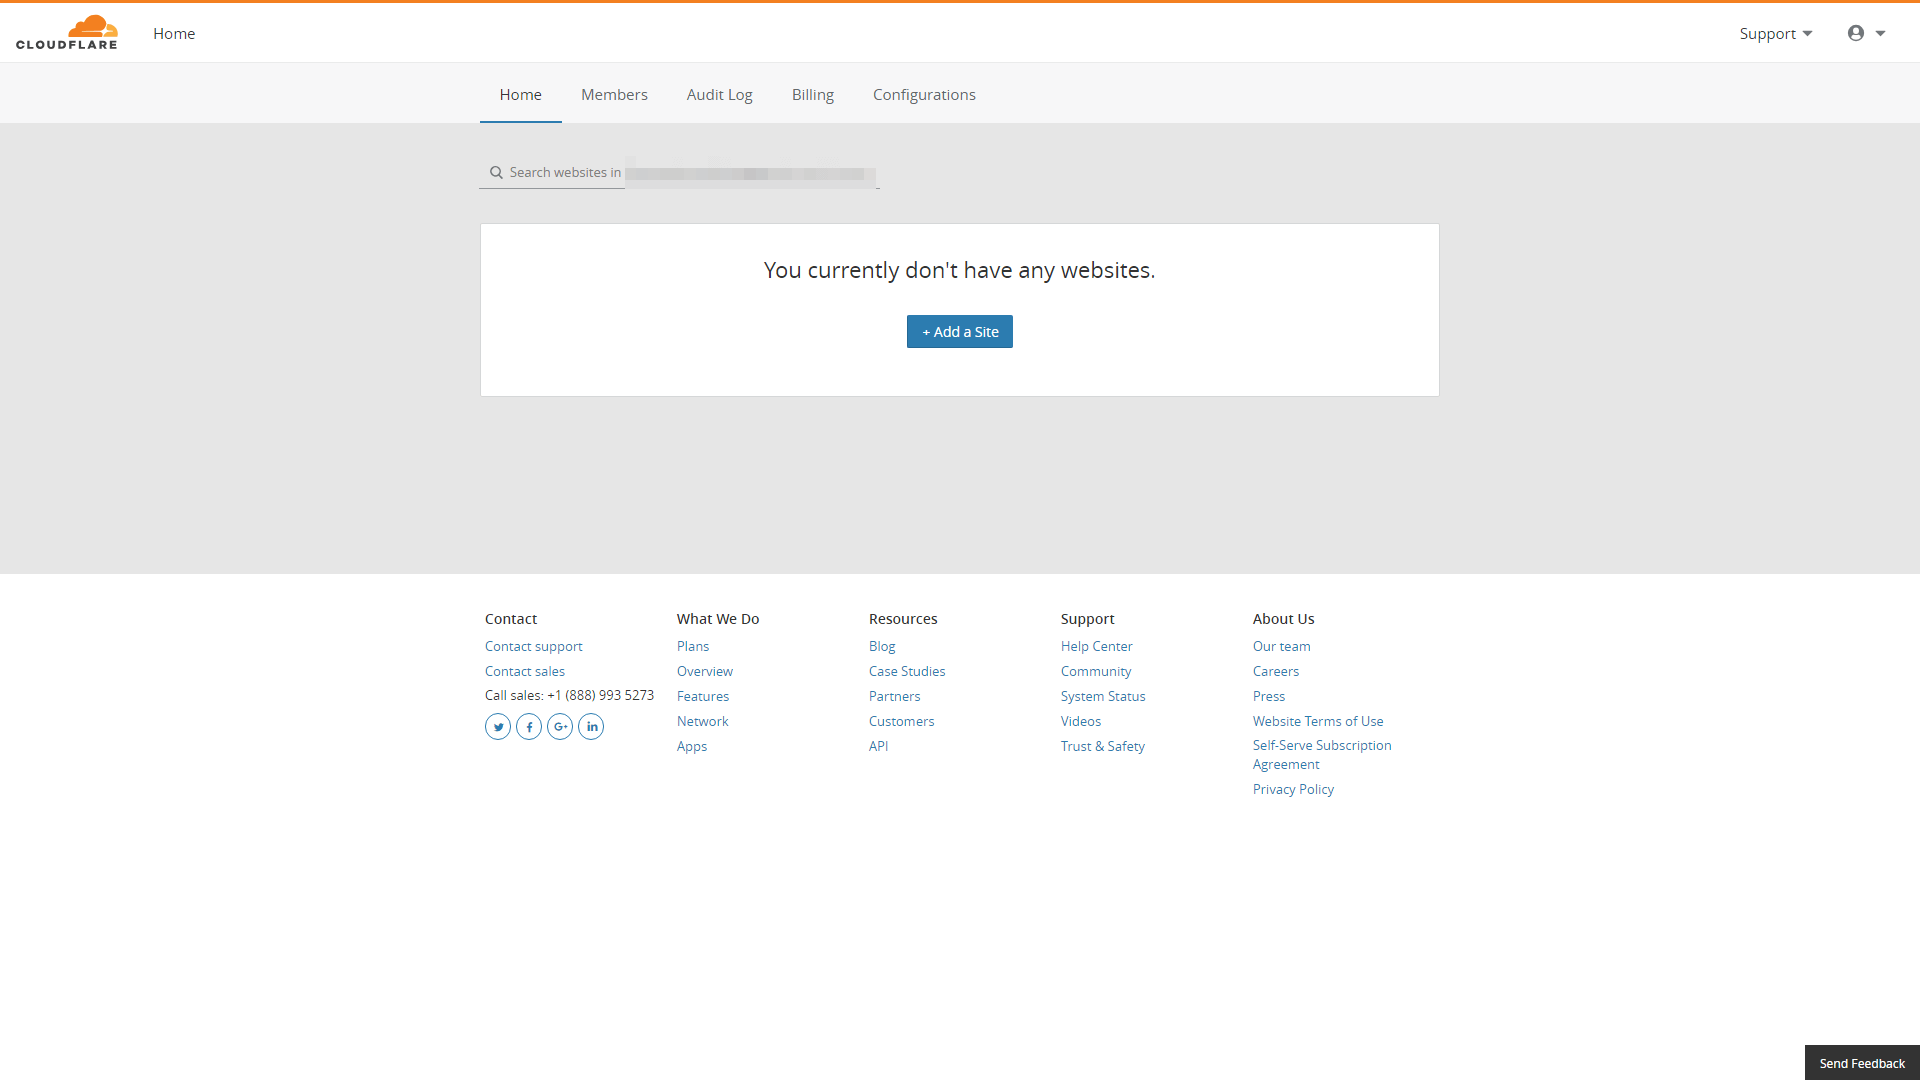
The first thing you need to do is go to the Cloudflare homepage and sign up for a new account. This part of the process is simple – just fill out all the information asked for, and stop once you reach your new Cloudflare dashboard:
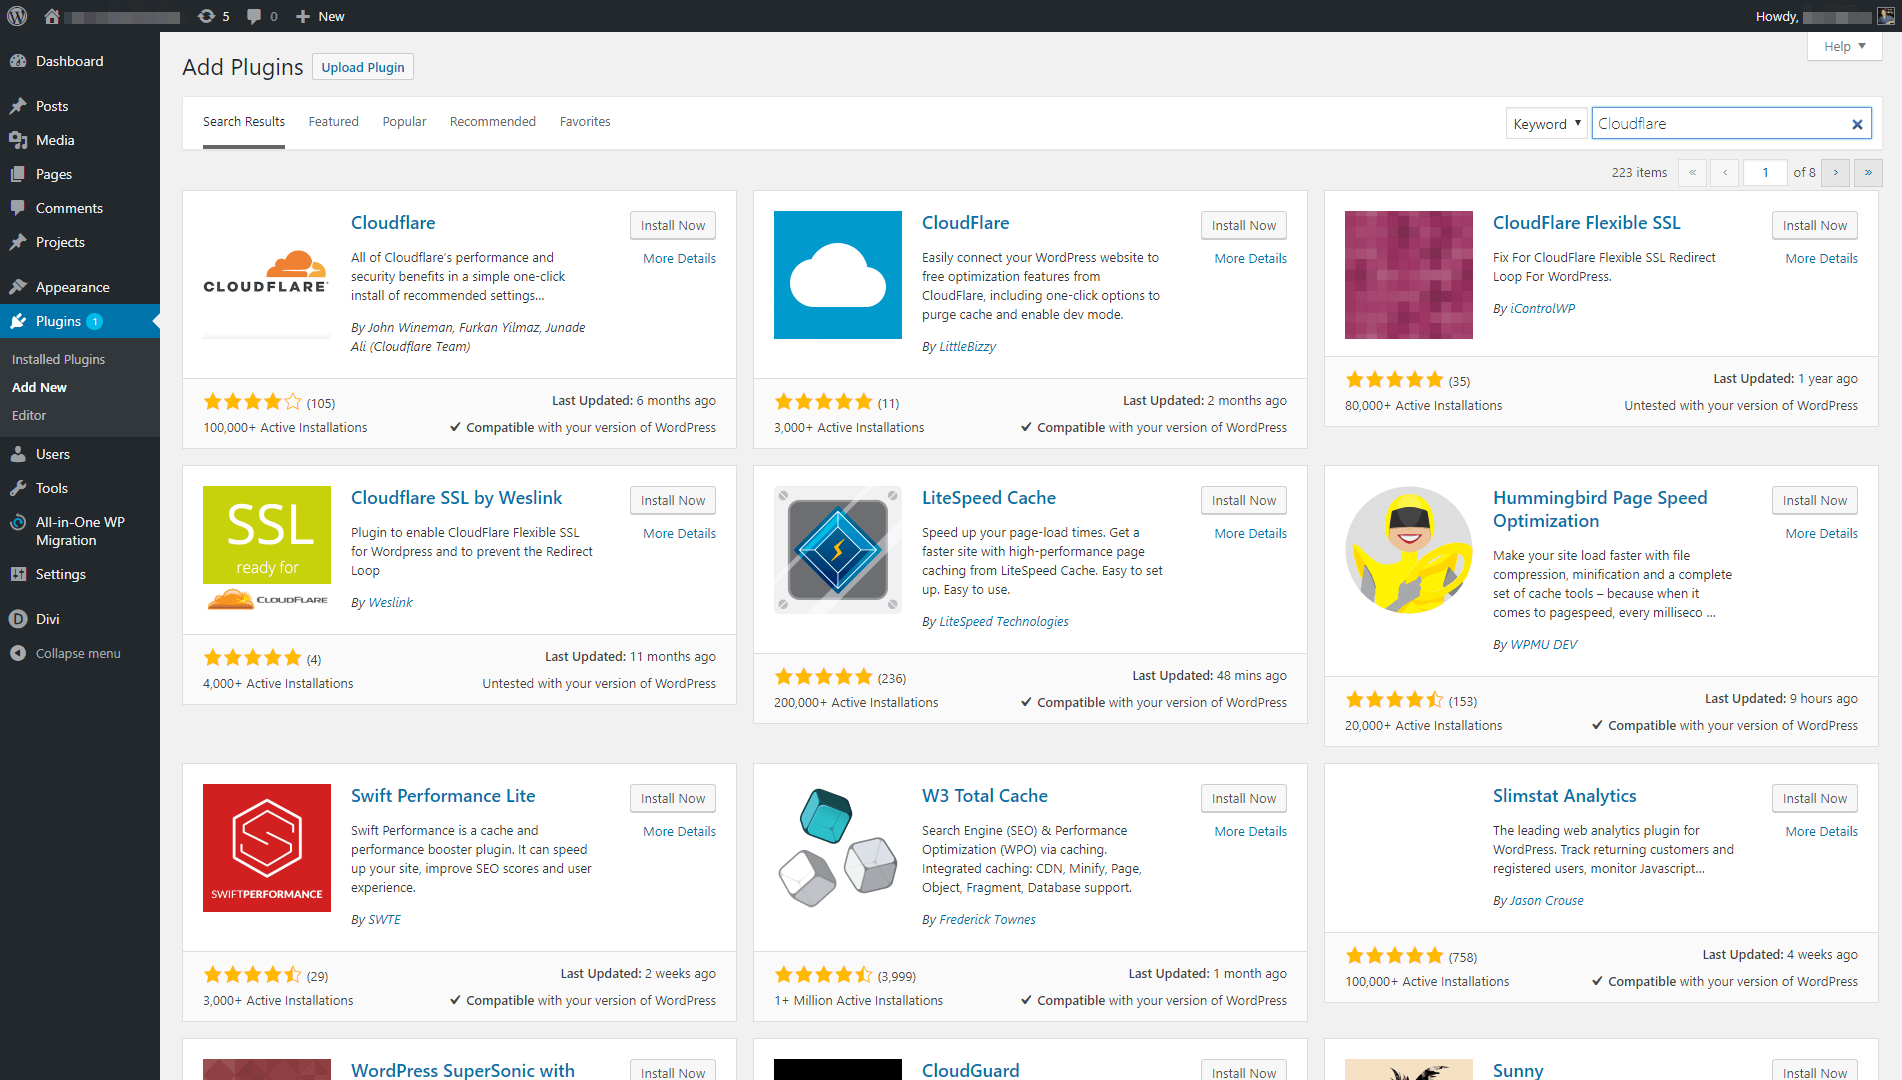
Now, you’ll need to log into your WordPress dashboard and install the official Cloudflare plugin, which is required to link both platforms together. To do that, navigate to the Plugins > Add New screen. Once inside, type Cloudflare into the search bar, and look for the plugin with the official Cloudflare logo:
Click on the Install Now button next to the plugin’s name, and wait while WordPress sets everything up. When the plugin is ready to go, you’ll see a blue Activate button. Click on that and you’re ready for the next step.
Step 2: Connect the Plugin to Cloudflare
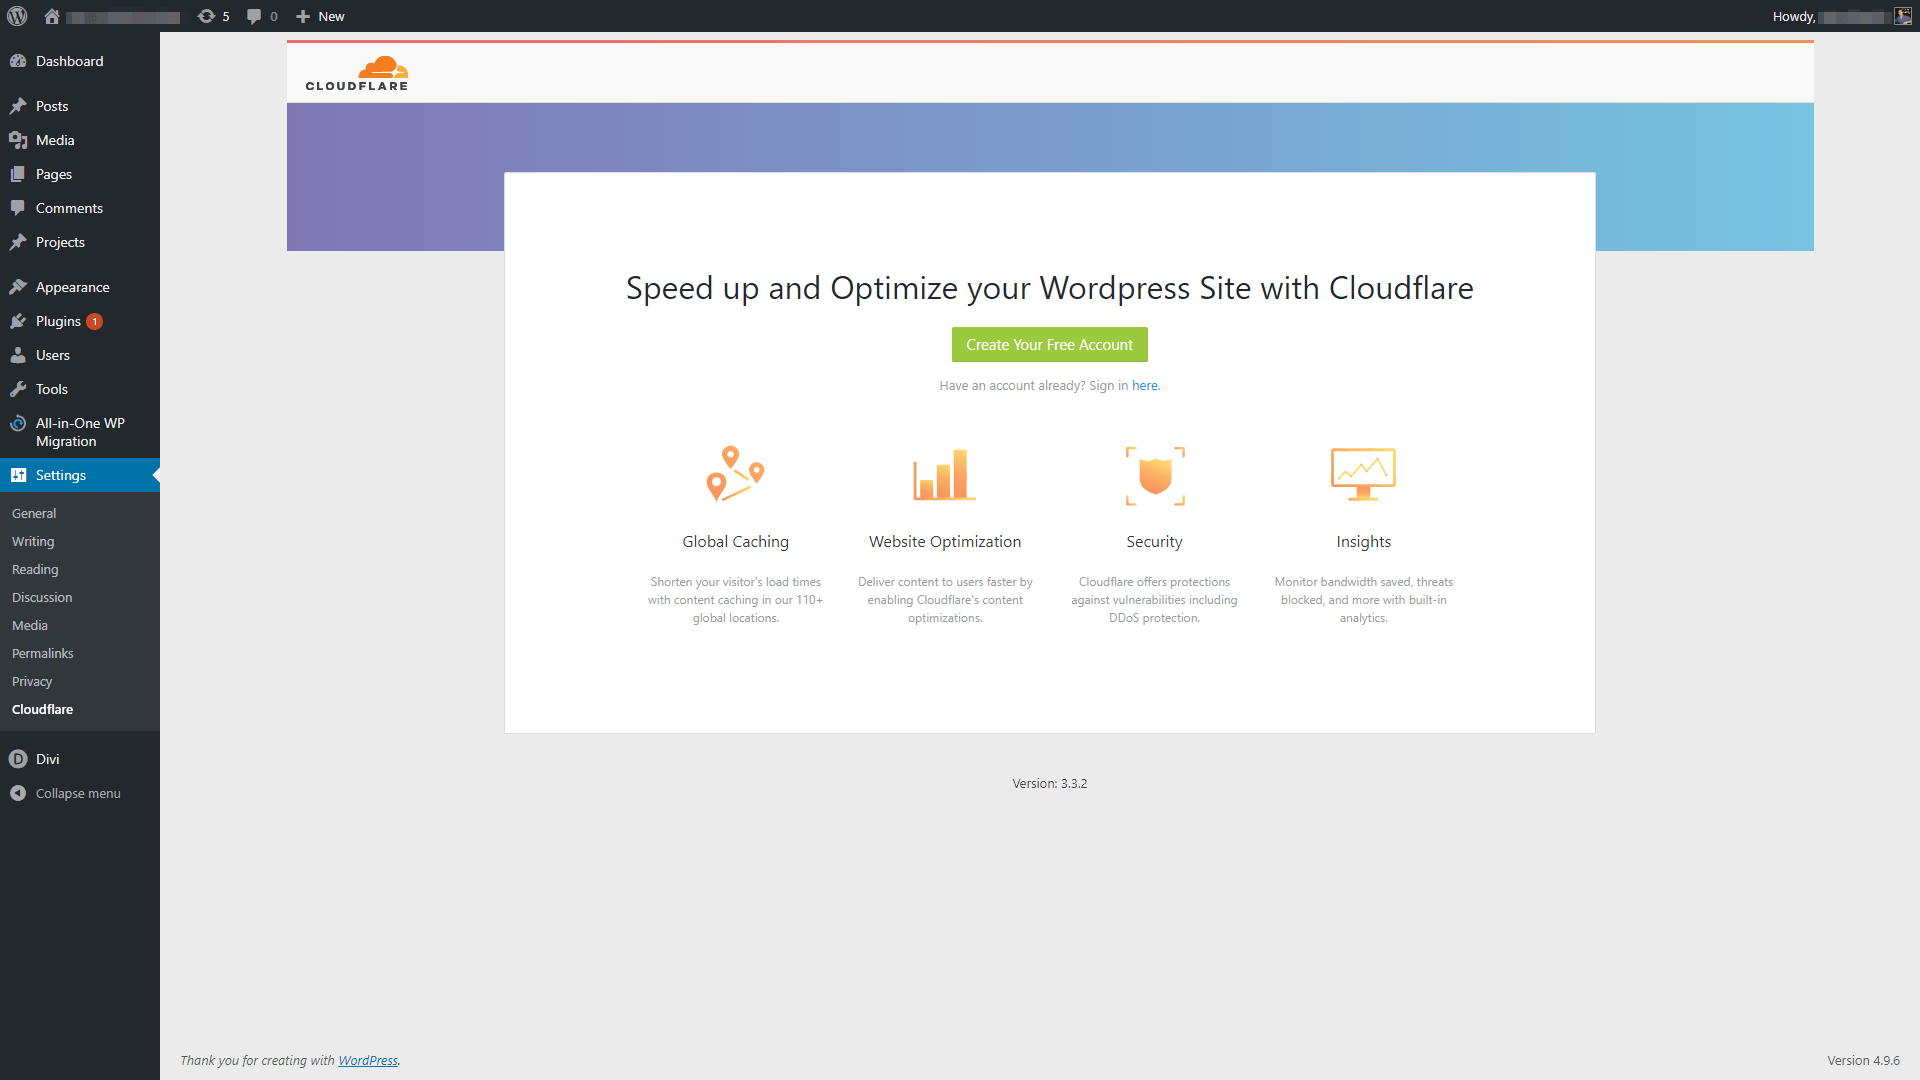
Once the Cloudflare plugin is ready to go, a new tab will appear in your WordPress dashboard under Settings > Cloudflare. Go there, and you’ll see a screen prompting you to log into your Cloudflare account:
You’ll notice that the plugin asks you for your Cloudflare email, and an API key instead of your password. To find your key, return to your Cloudflare dashboard and click on the account icon on the top right corner. Then, choose the option labeled My Profile. On the next screen, scroll all the way to the bottom until you see a section called API Keys:
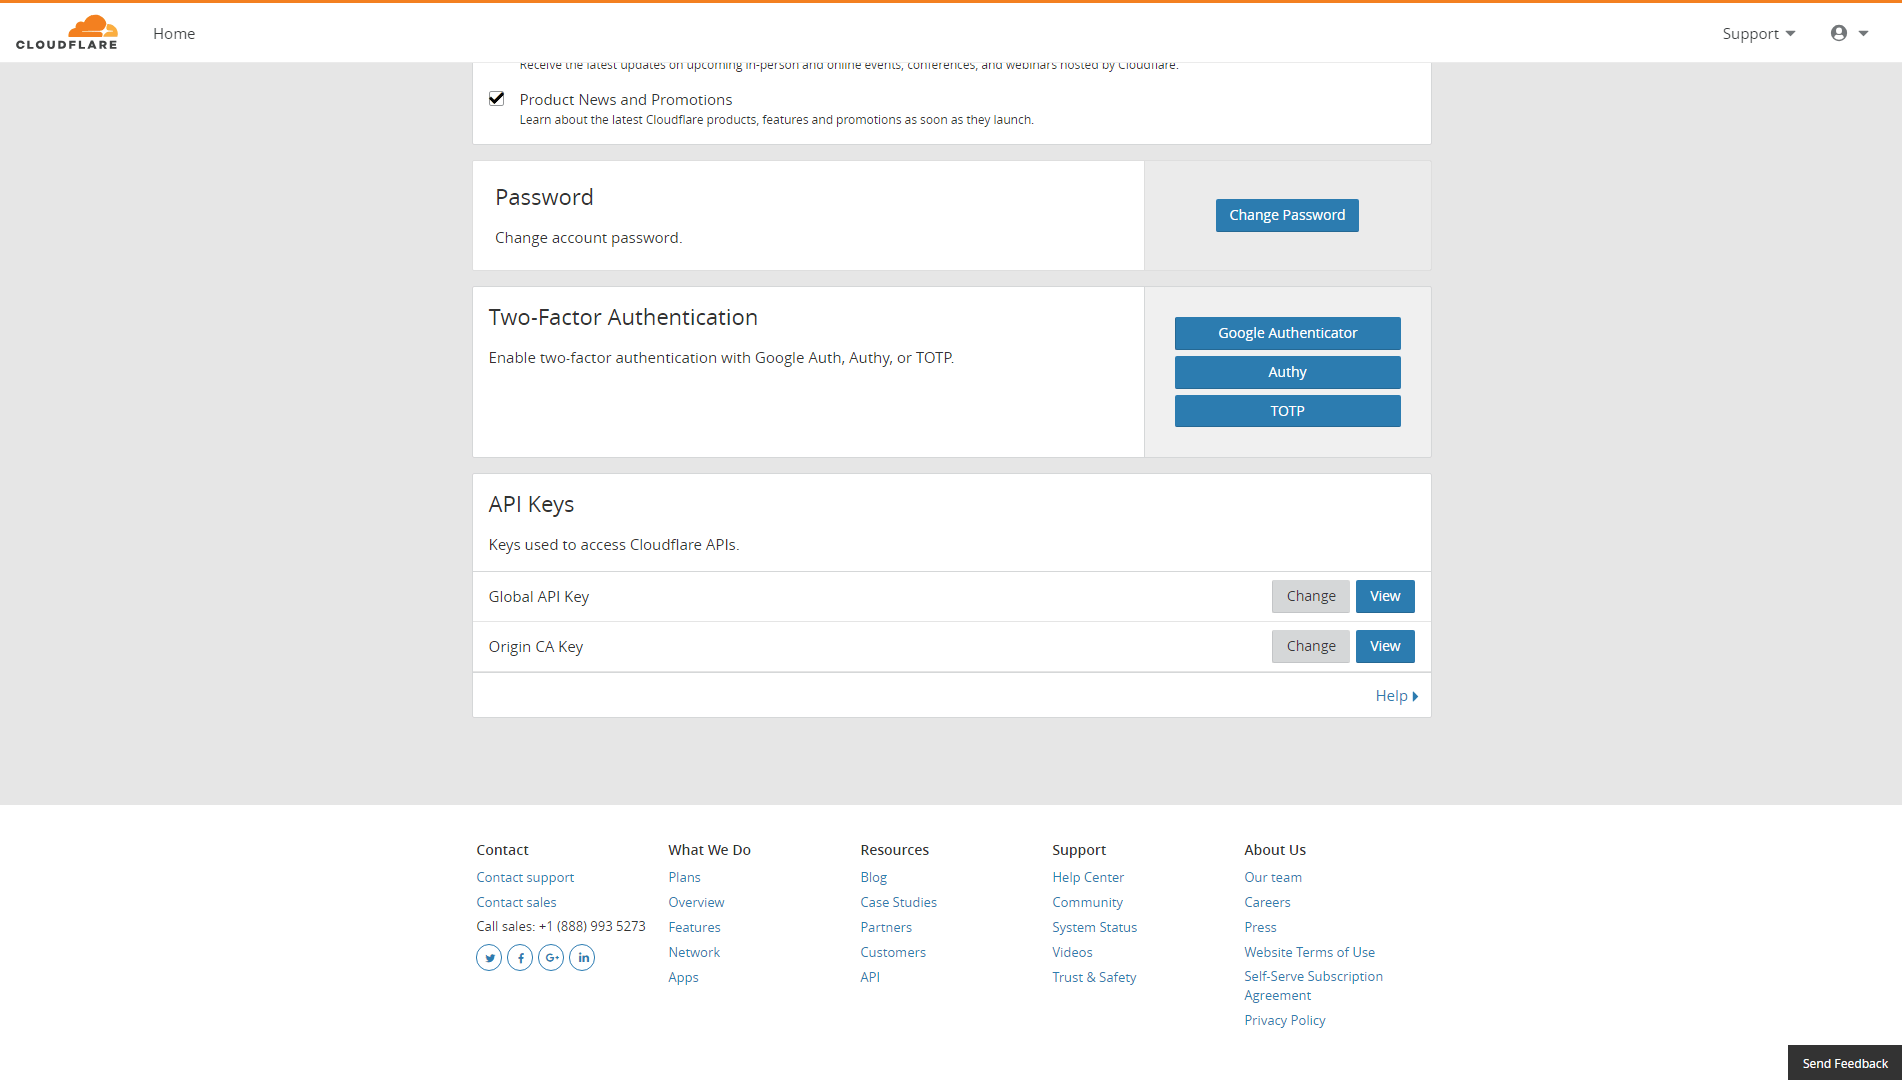
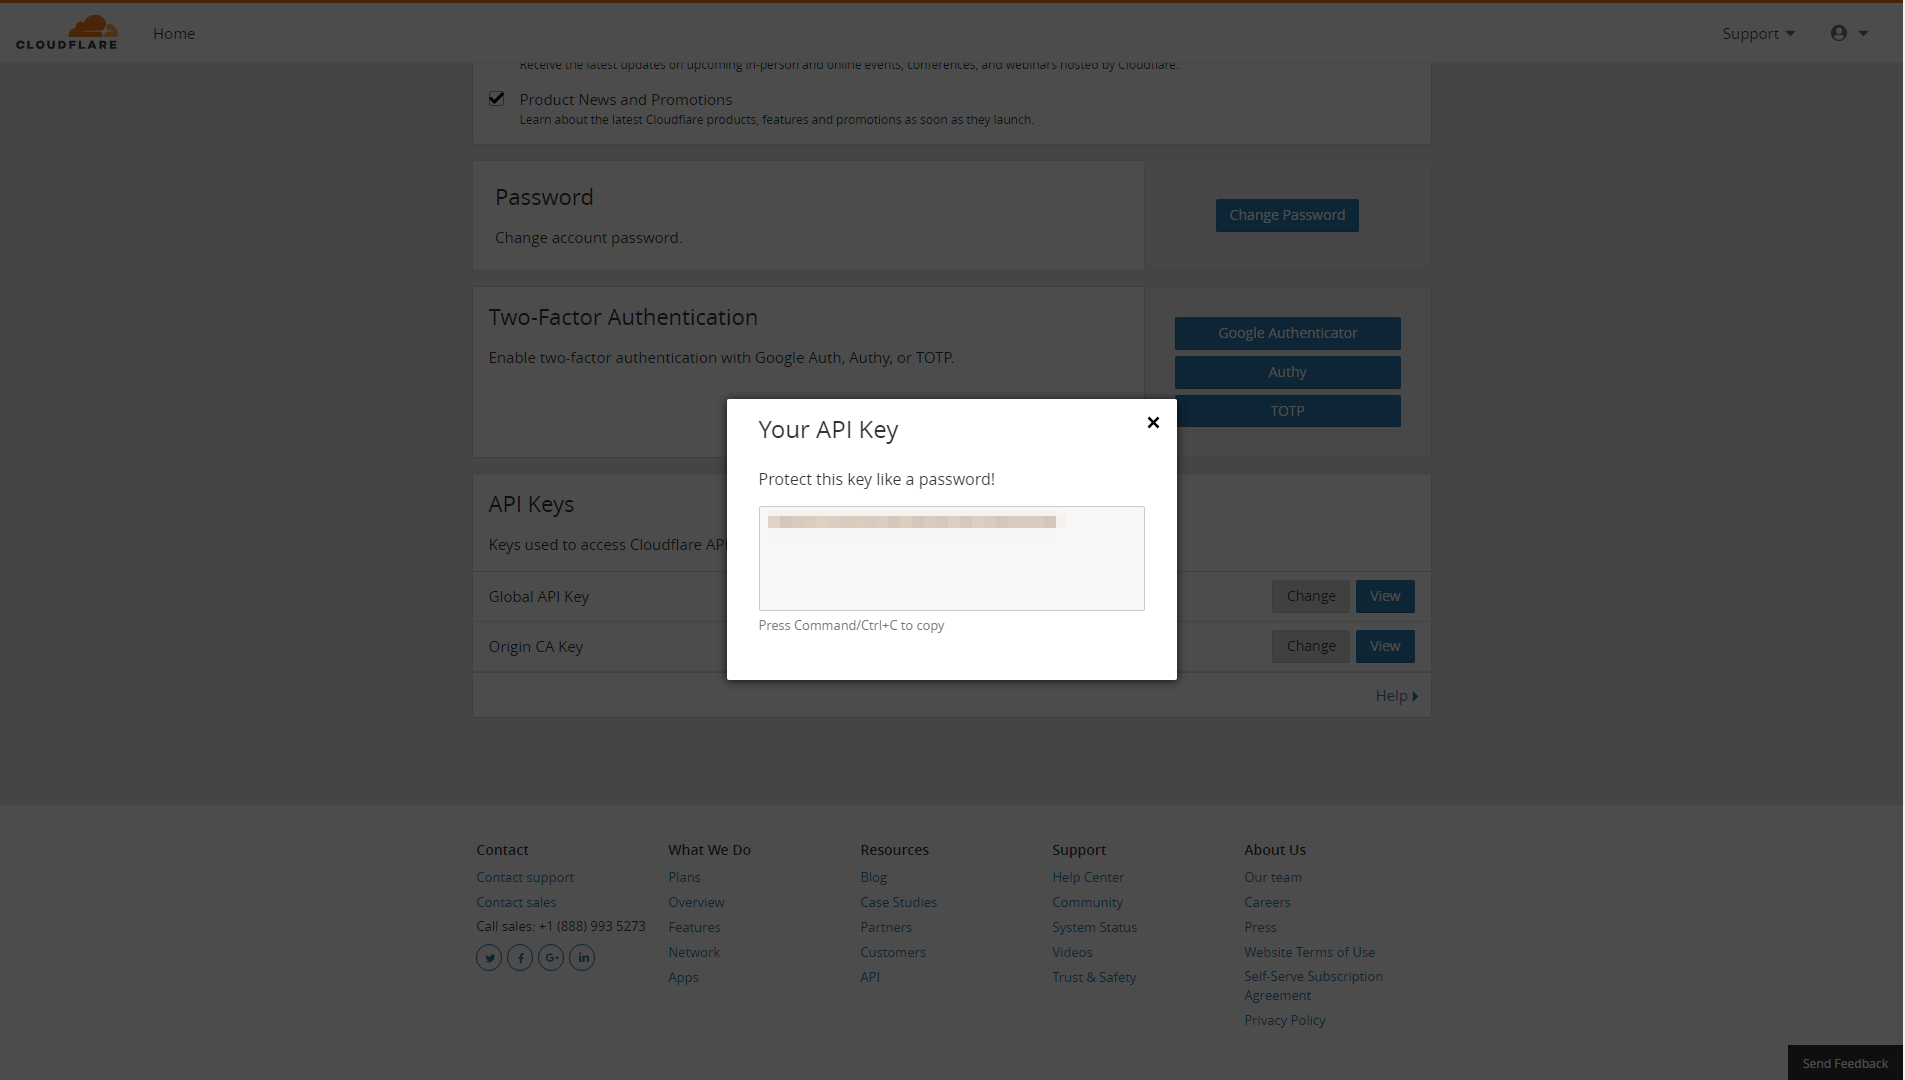
The key you’re looking for is the Global API Key, so click on the View button next to that option. Cloudflare will ask for your password, so enter it and then copy your API key:
Now, return to WordPress and paste your key into the Cloudflare plugin’s settings. This will connect it to Cloudflare, but you still have to add your website to the platform.
Step 3: Add Your WordPress Website to Cloudflare
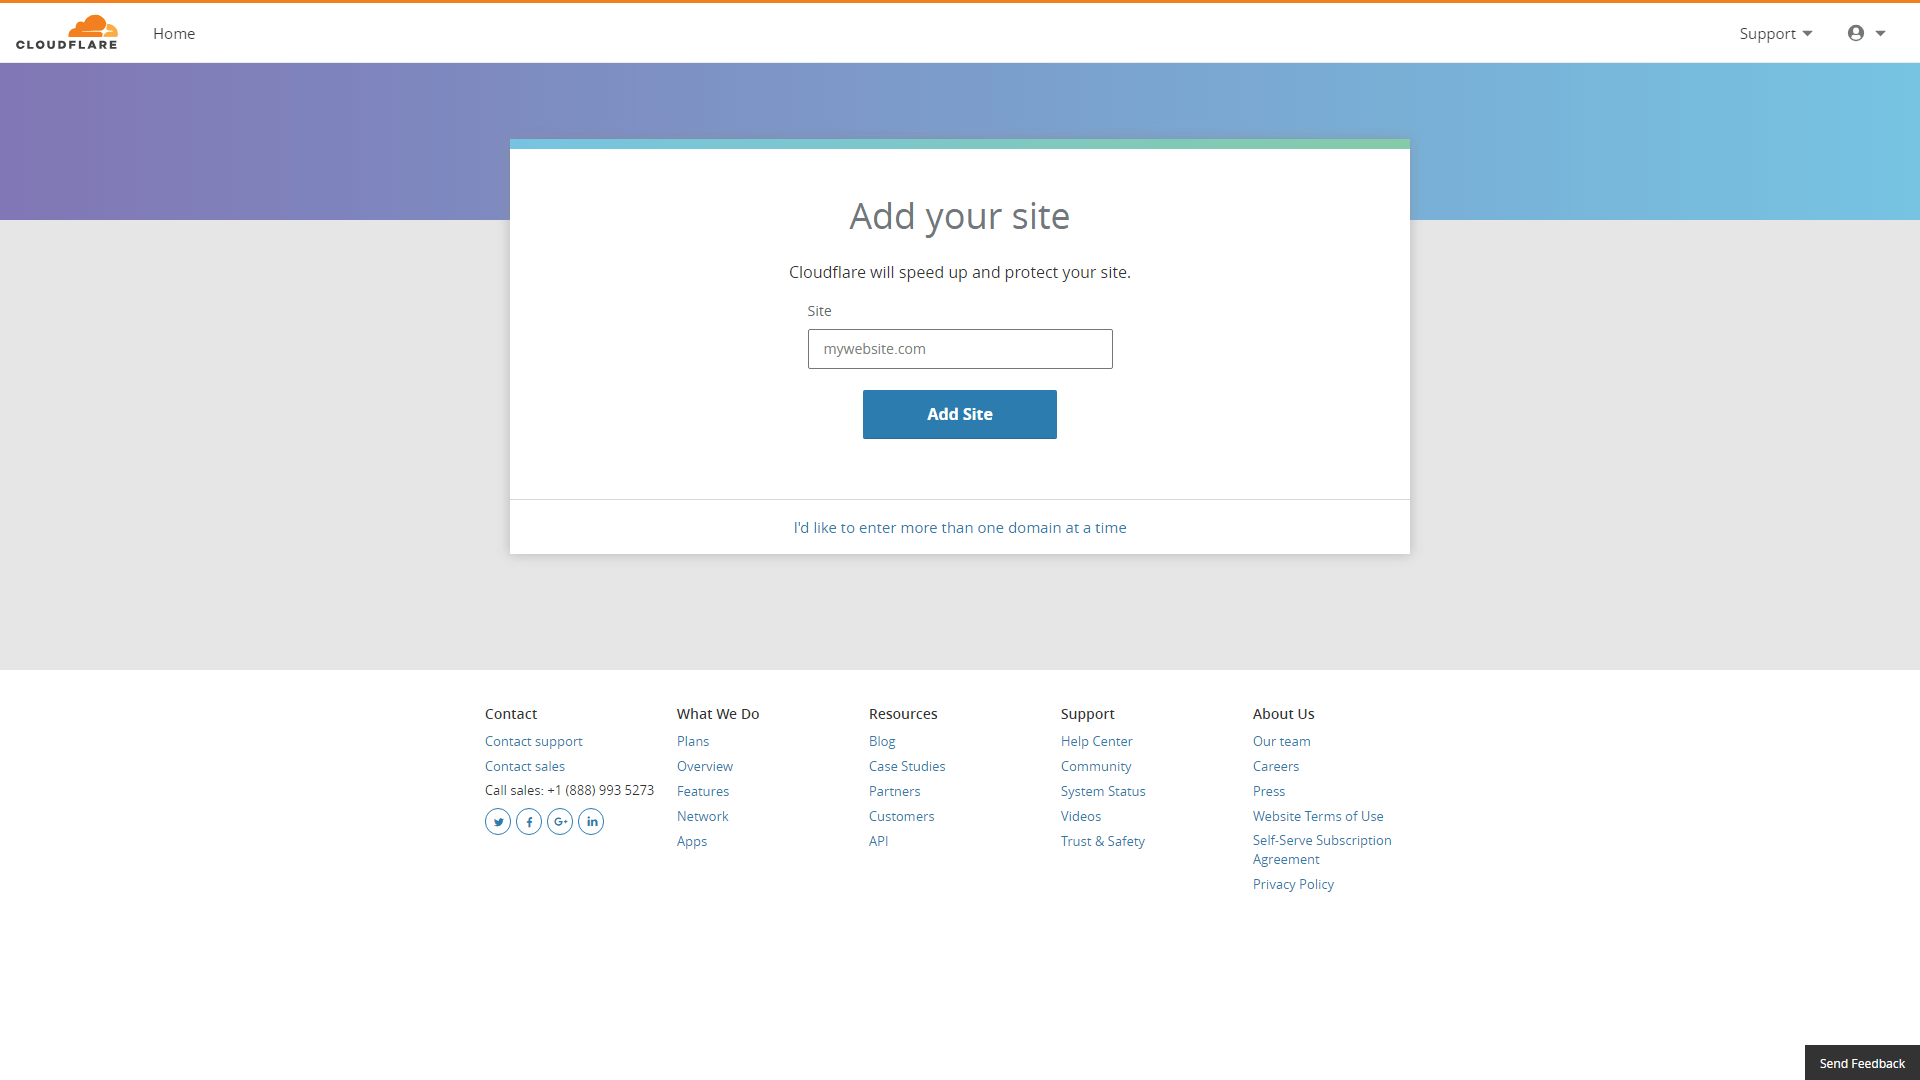
At this point, you’ll want to return to your Cloudflare dashboard. Click on the big button that says Add a Site. Then, the platform will ask you for your WordPress website’s URL:
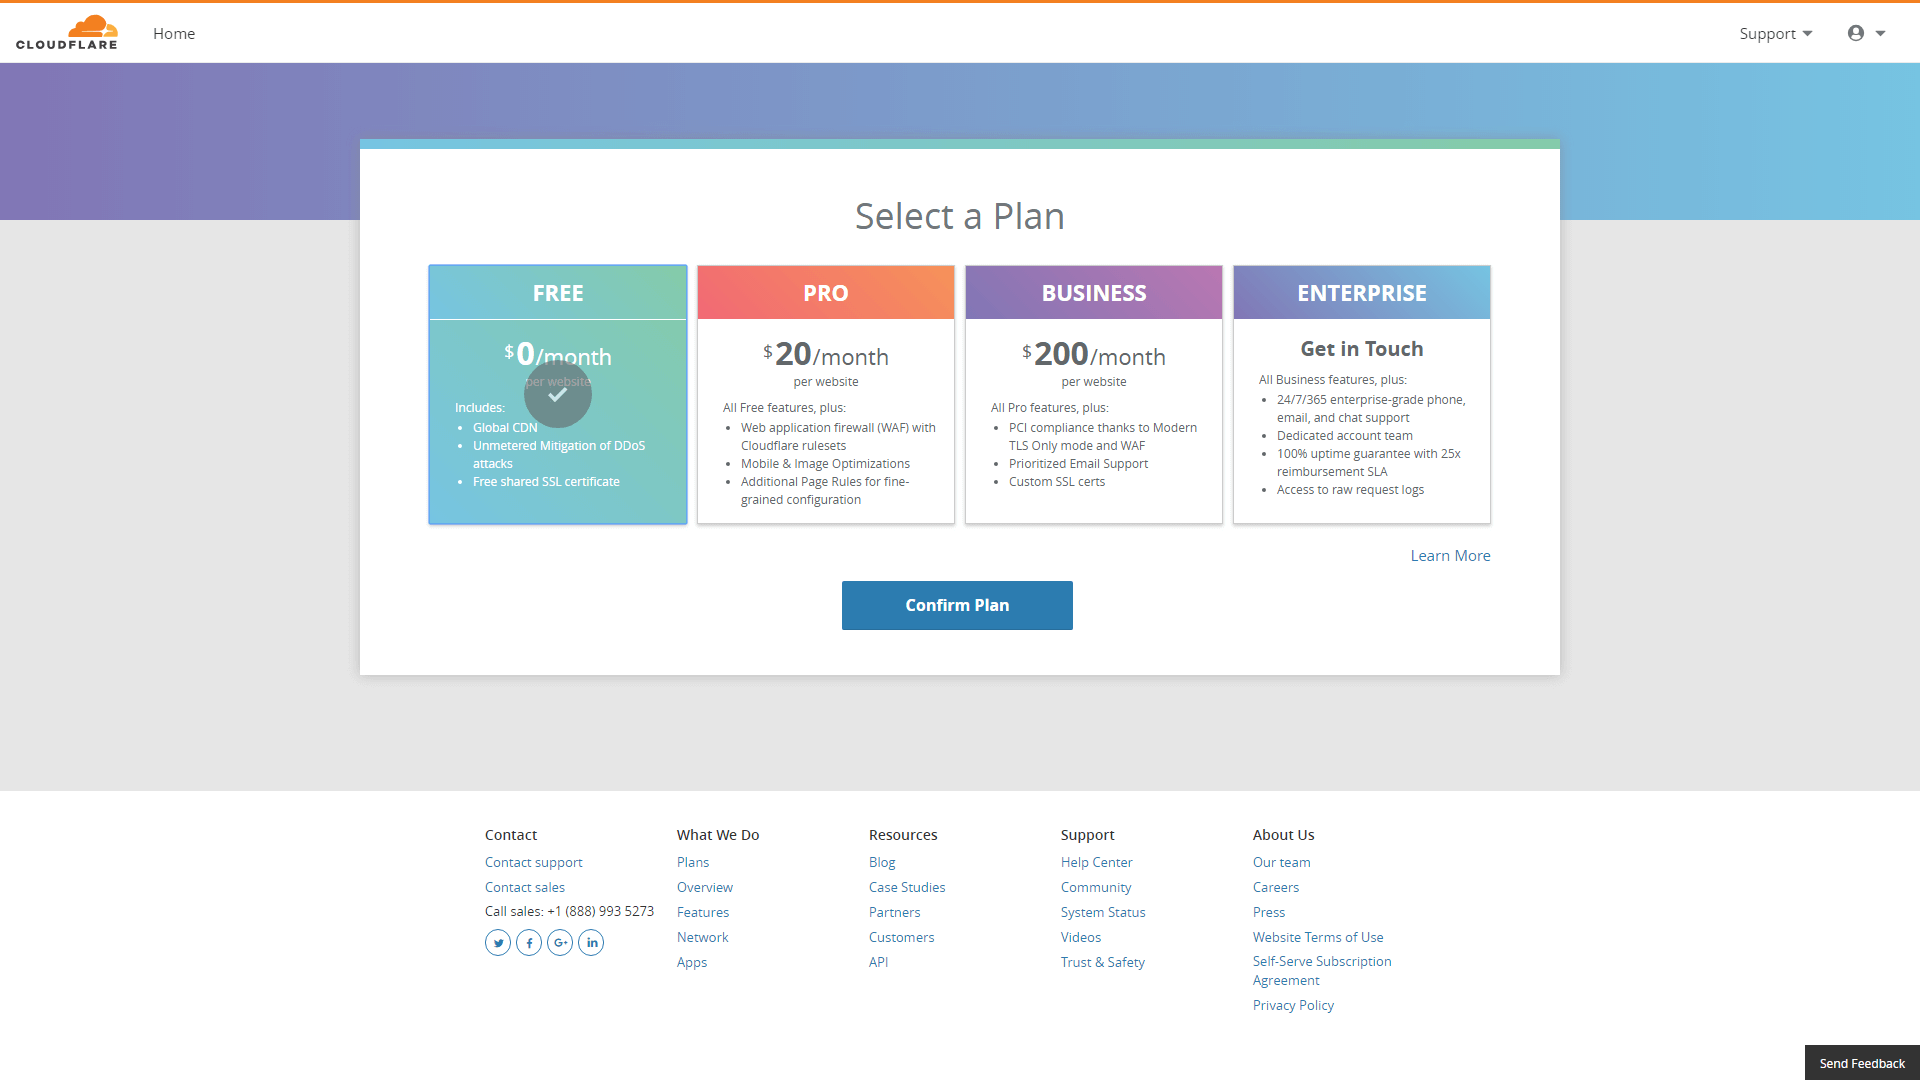
Cloudflare will warn you that it will try to import your site’s DNS records manually, and explain what the next steps will involve. If you feel a little lost, don’t worry – we’ll guide you through the entire thing. On the next screen, you’ll need to choose which plan to use for your website. Let’s stick with the free tier for now (you can always upgrade later):
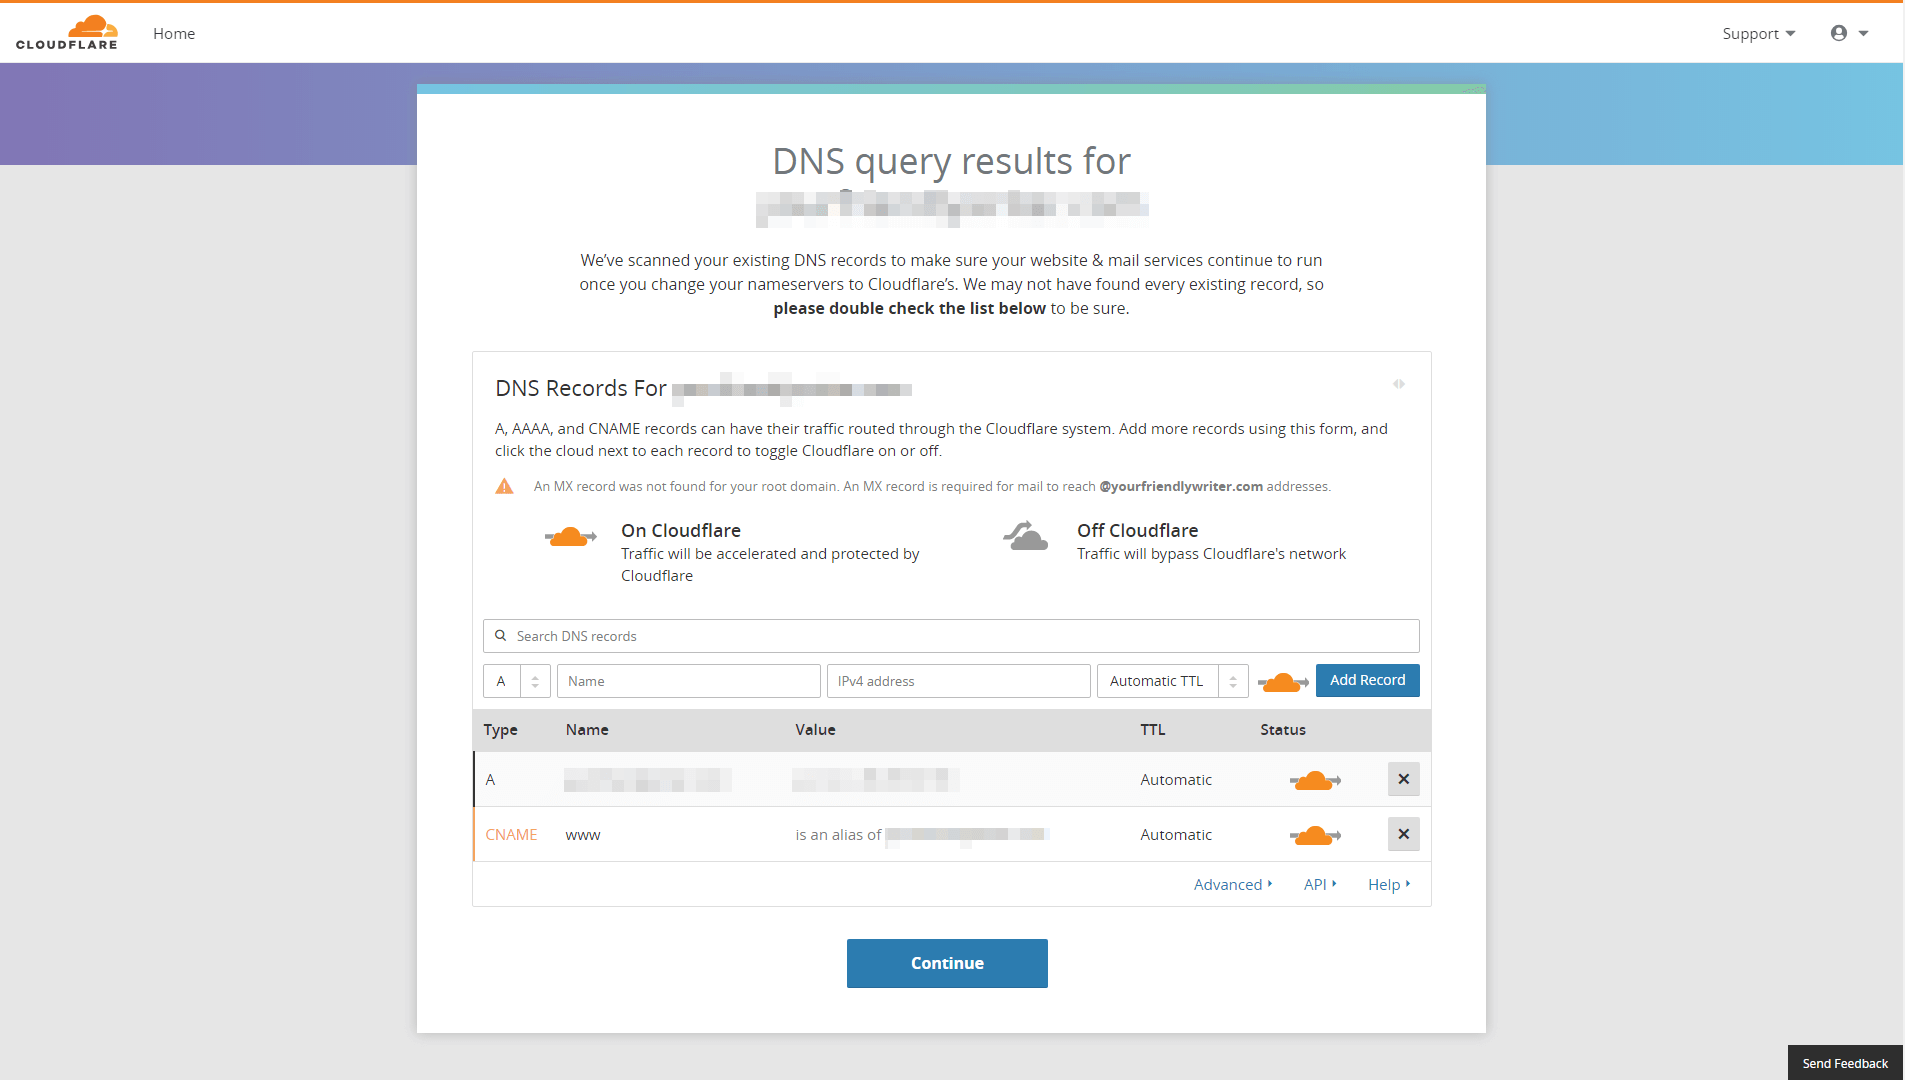
After that, Cloudflare will ask you to review your DNS records. The platform is pretty good about not missing anything here, so just go ahead and click on the Continue button:
This is where things get a bit tricky – Cloudflare will ask you to replace your site’s nameservers with its own:
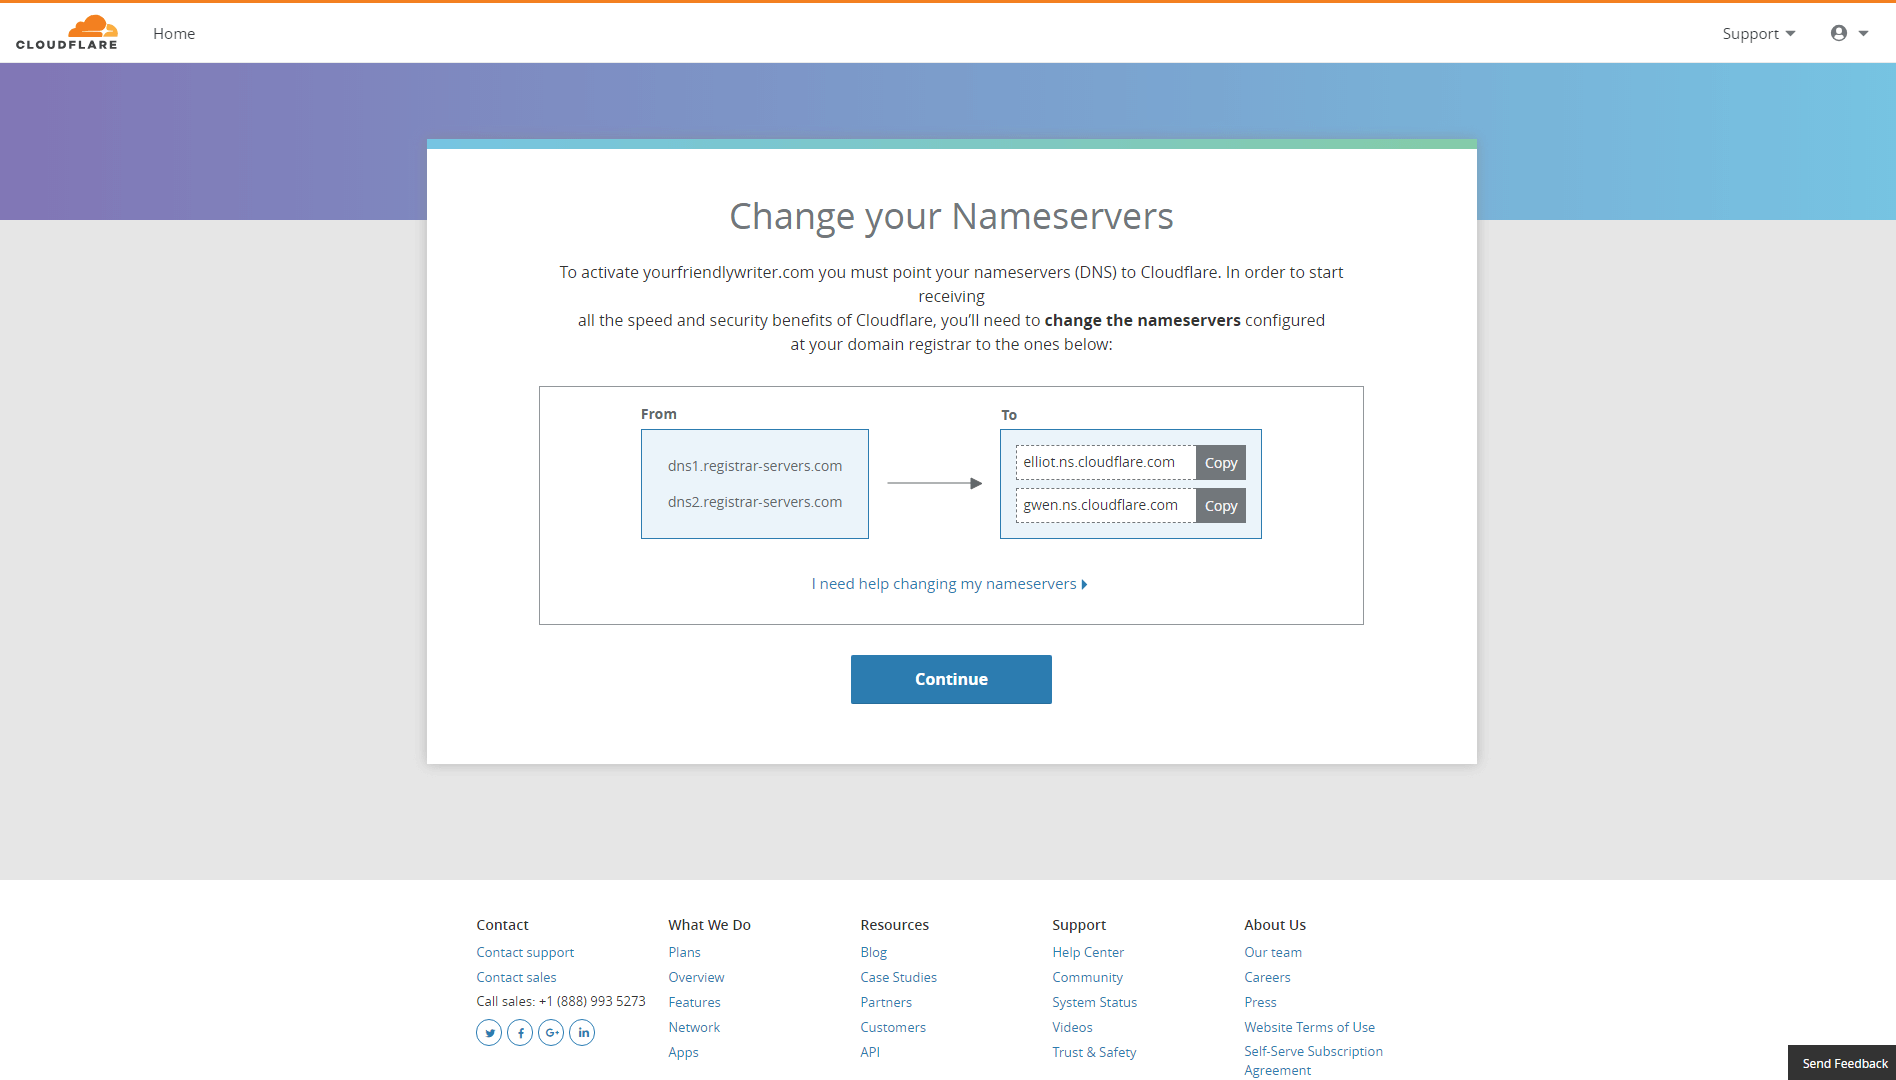
This step is necessary for the CDN to work. To take care of it, you’ll need to log into the platform you used to register your site’s domain name. Once there, locate your nameserver settings screen and replace the information there with what Cloudflare has provided:
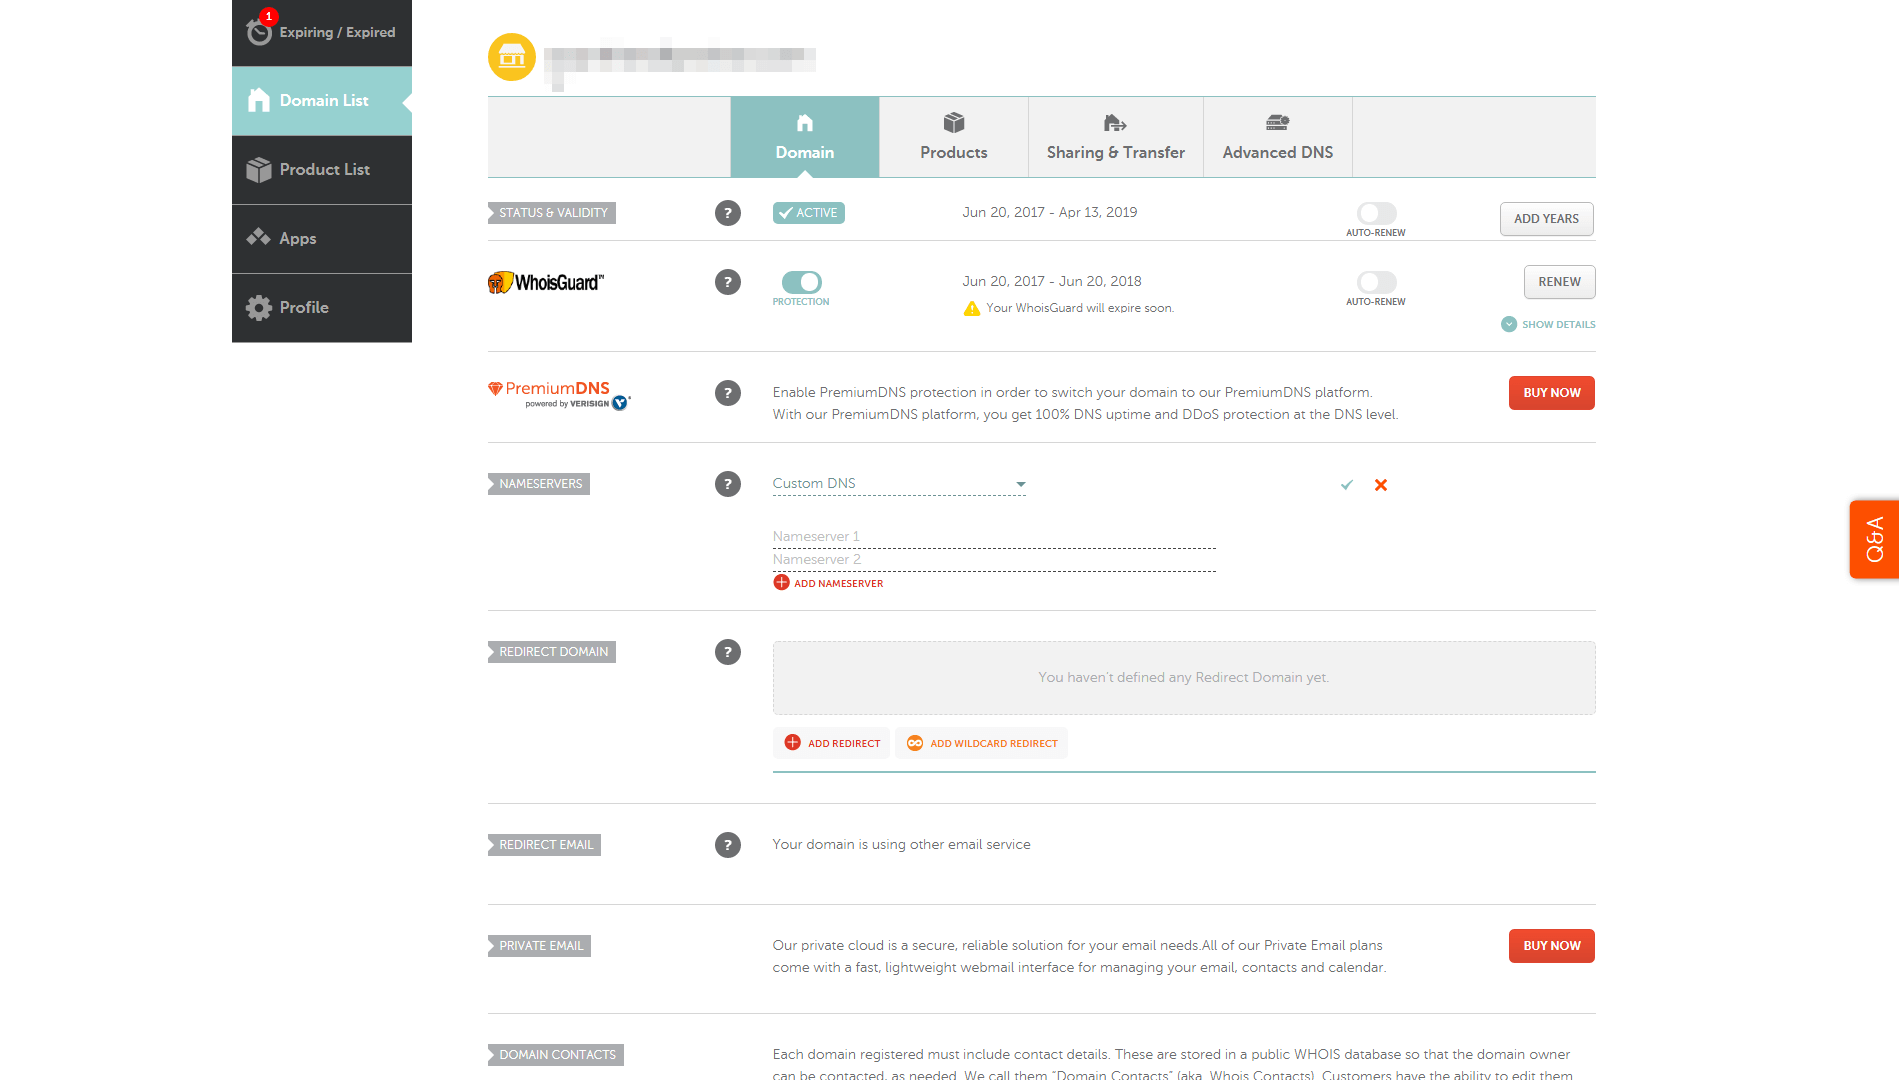
The exact process for doing this will vary depending on which domain registrar you use, so you may need to check their documentation. You can also contact your registrar’s support team to help you make the change if necessary.
Once that’s done, return to Cloudflare and click on the Continue button. Cloudflare will now be active on your website! All that’s left to do is to tweak a few options.
Step 4: Configure Your Cloudflare Settings
At this stage, Cloudflare is already working. However, you might want to learn a bit more about its settings before you start playing around with them. When you log into your Cloudflare dashboard, you’ll notice that you have access to over ten tabs’ worth of options, which can be quite overwhelming.
Fortunately, you don’t need to know what all of them do, although reading through the platform’s documentation is certainly recommended. For the most part, you’ll spend your time in the Overview, Speed, and Caching tabs.
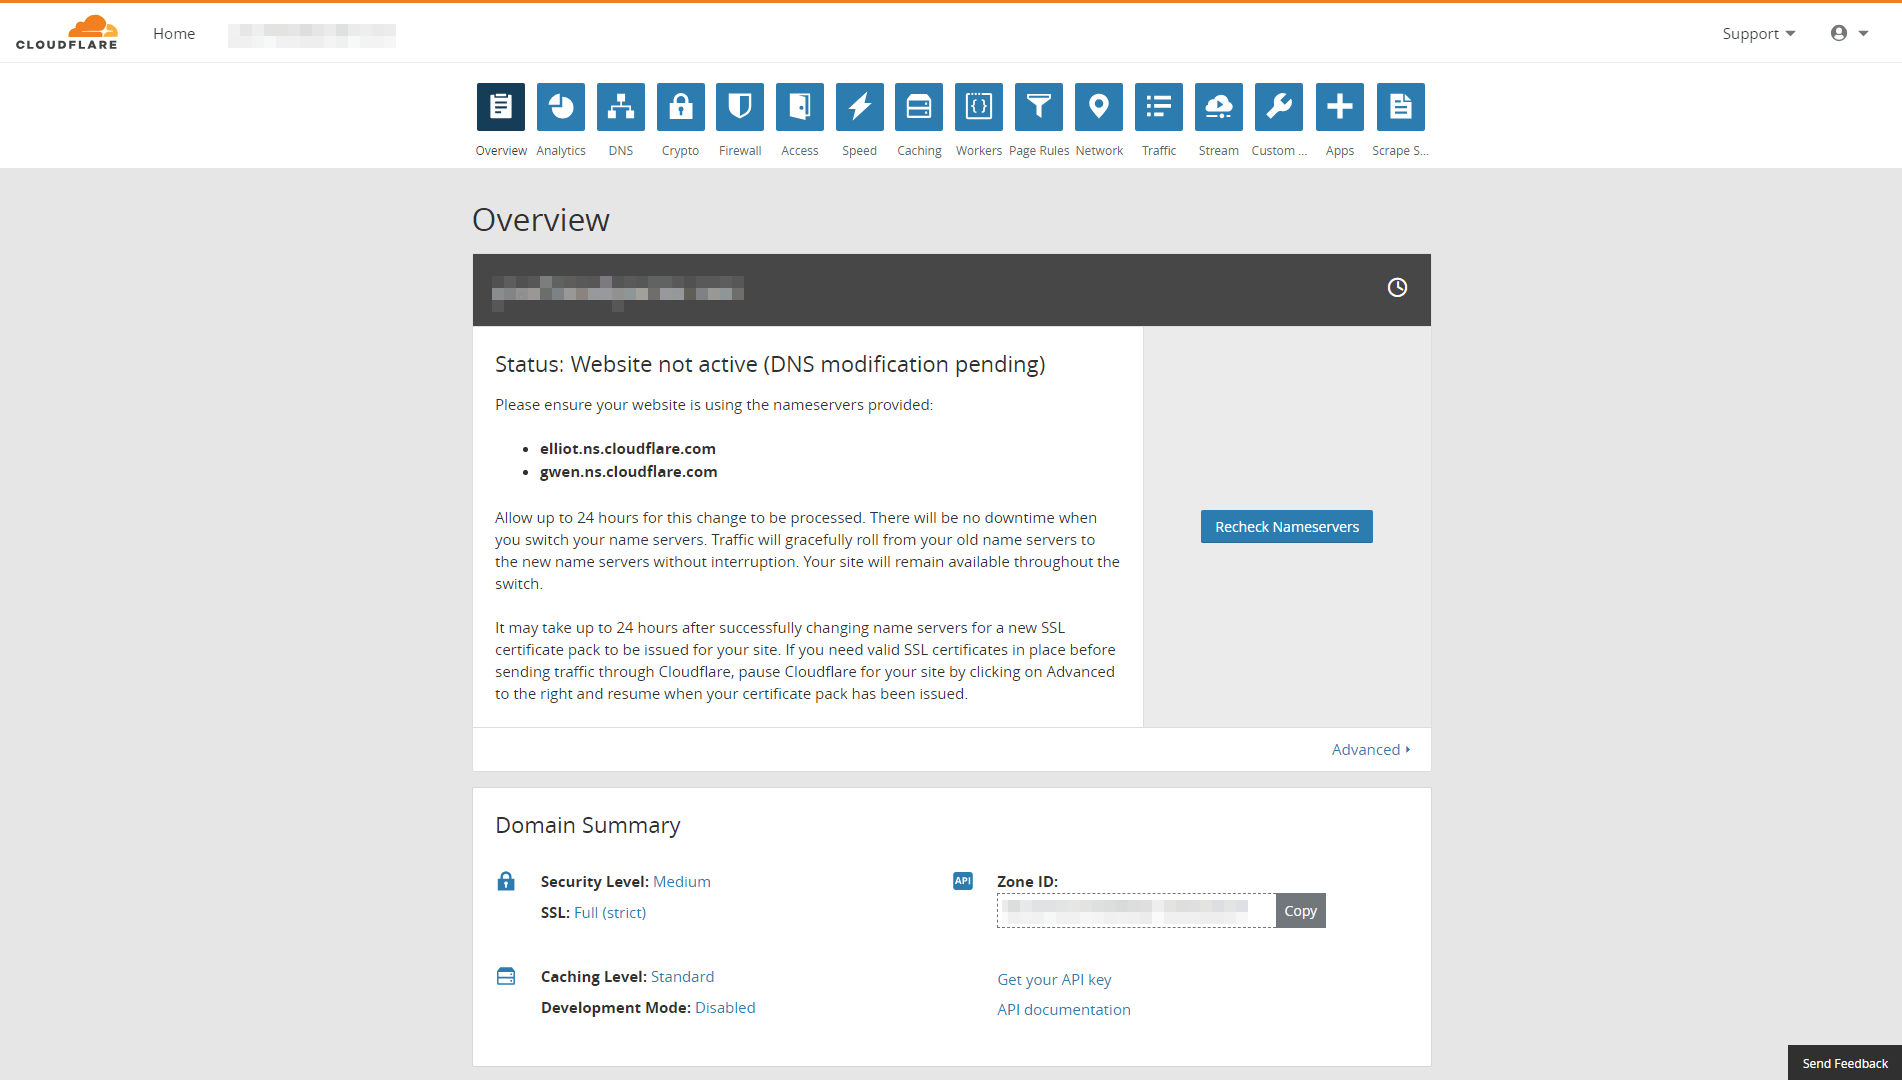
From the Overview tab, you’ll be able to pause Cloudflare temporarily, should you ever need to, or delete your website from the service:
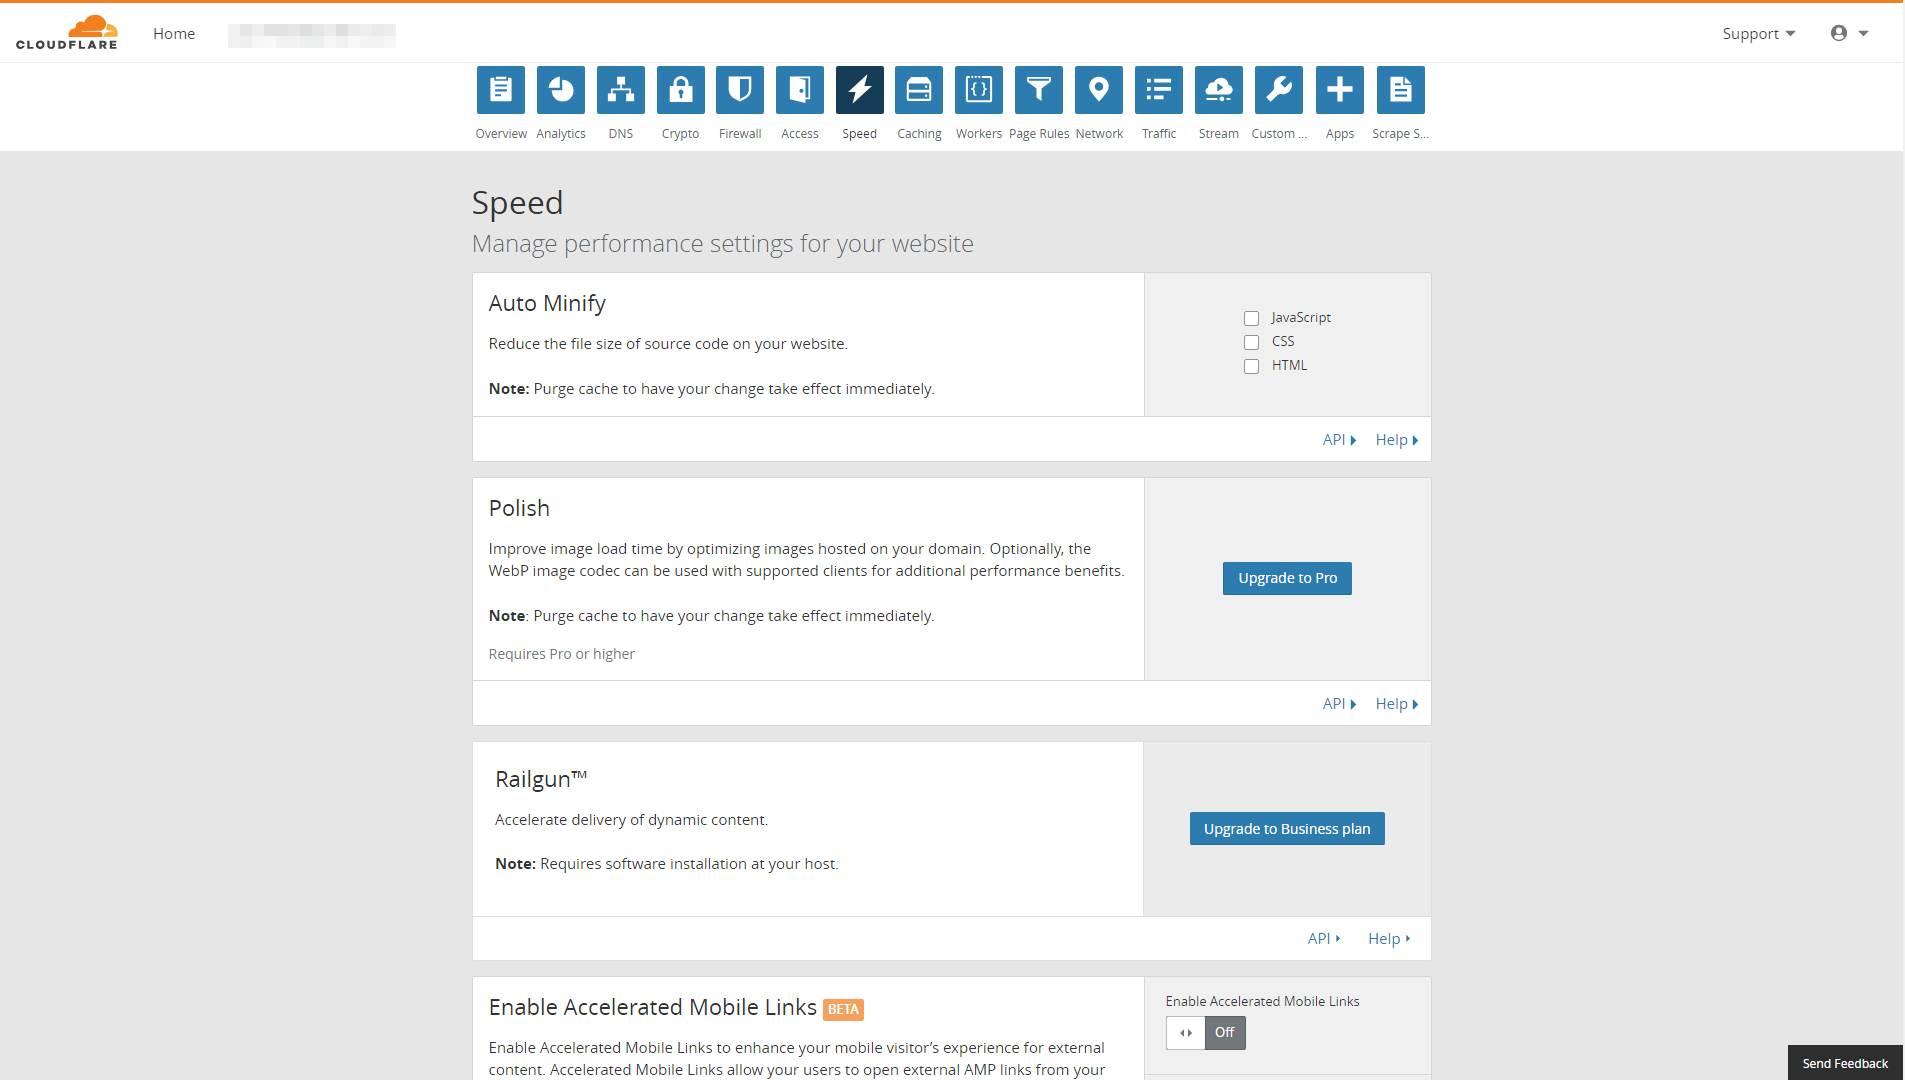
In the Speed section, you can enable minification for your website’s elements, which can improve your overall loading times. There are a host of other features here, but they’re mostly limited to premium plans:
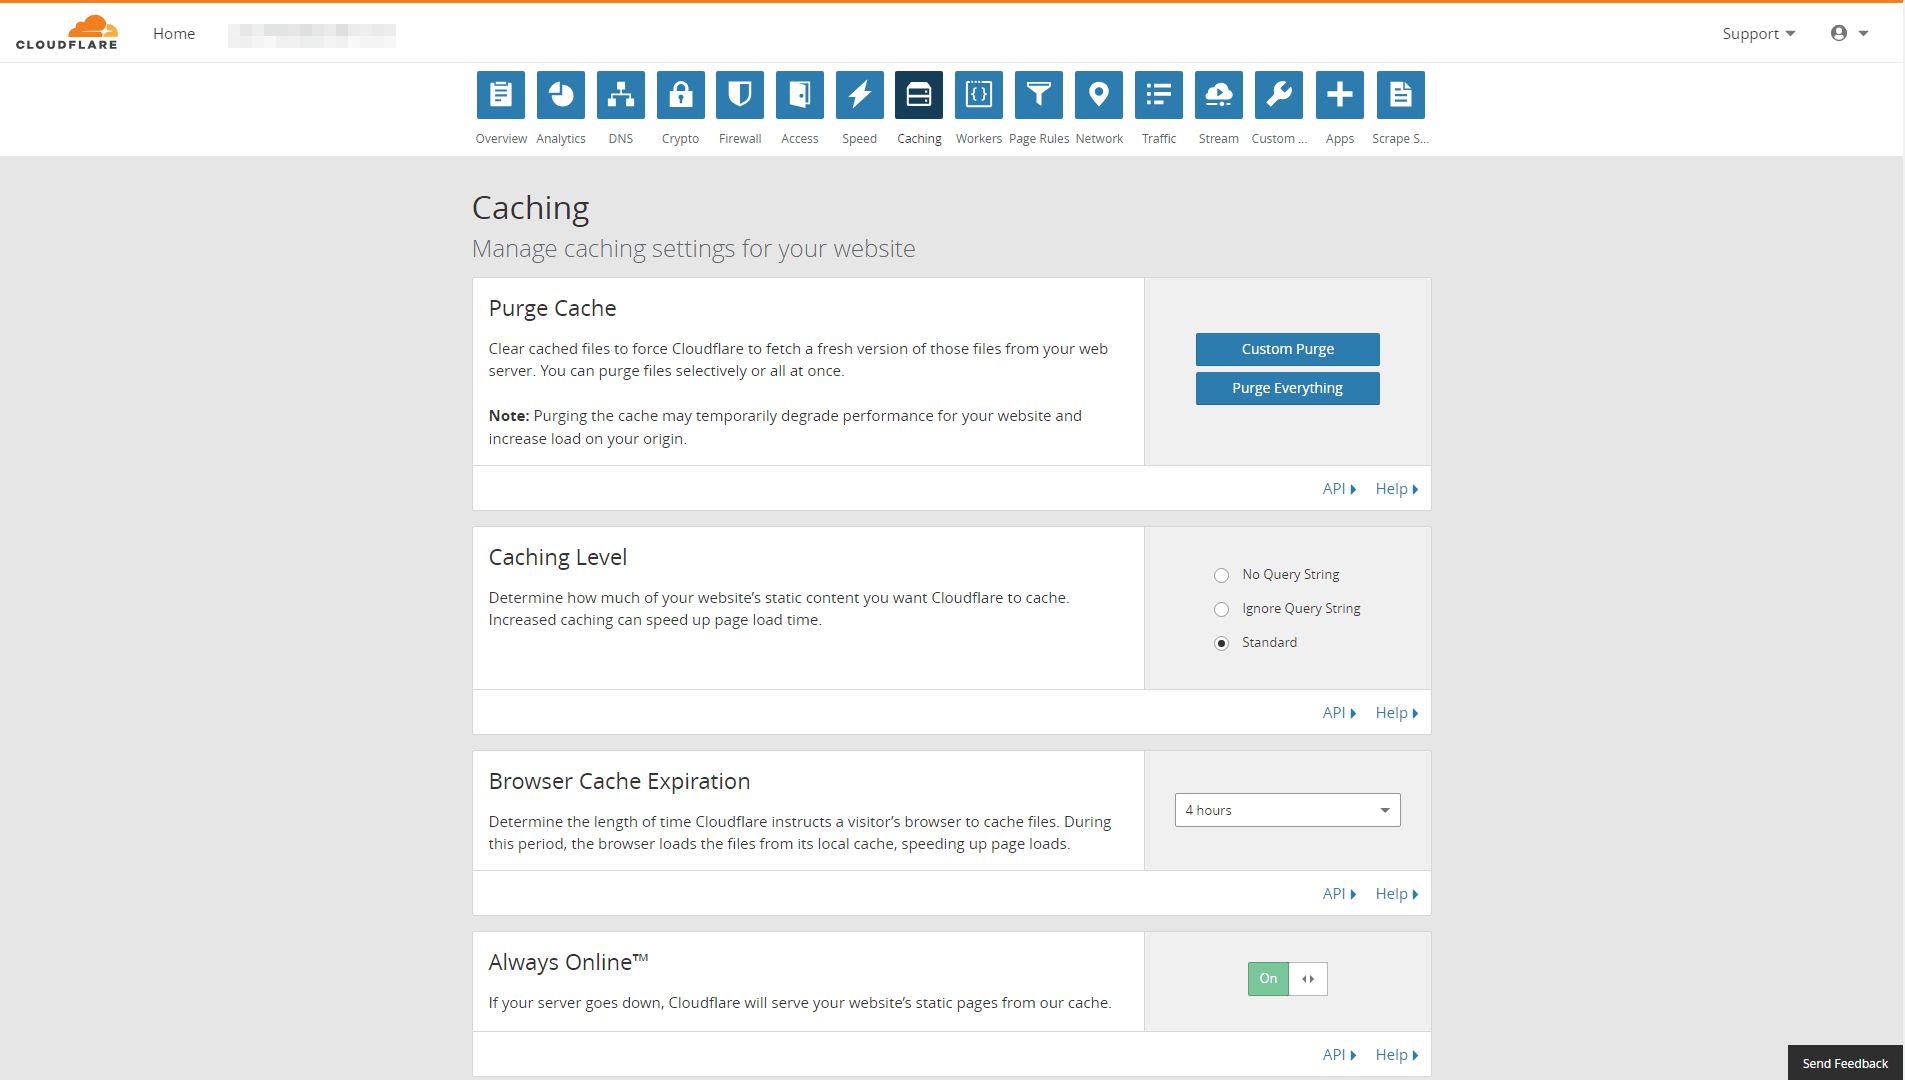
Finally, there’s the Caching tab. Here, you can empty your site’s cache manually, and configure what content Cloudflare should save. More importantly, you can decide how long visitors’ browsers will store cached versions of your website. The default is set to four hours, but going a bit higher (such as a week or two) won’t hurt unless your website is under active development:
If you’re making a lot of changes to your site, you’ll want to enable the feature called Development Mode, which lets you bypass Cloudflare’s cache. Keep in mind that this feature is meant to be used sparingly. So don’t forget to turn it off once you’re done making changes!
Conclusion
These days, even small websites can benefit from using a CDN. There are plenty of services that offer free plans, and integrating them with your site can help you handle more traffic than your regular servers can deal with. If there’s one thing users like, it’s a fast website, so there are no real downsides to using a CDN.
If you’re using WordPress, you can easily integrate your site with Cloudflare in just four steps:
- Create a Cloudflare account and set up the official plugin.
- Connect the plugin to Cloudflare.
- Add your WordPress website to Cloudflare.
- Configure your Cloudflare settings.
Do you have any questions about how to configure your new CDN? Let’s talk about them in the comments section below!
Article image: Pixabay.