These days, every website needs to take security seriously. This is particularly true if it uses a Content Management System (CMS) such as WordPress. This type of platform usually stores a lot of sensitive information, which makes it a target. If someone breaks into your website, you’ll need to spend valuable time figuring out how they got in and repairing the damage.
The good news is that WordPress is very flexible when it comes to increasing your website’s security measures. For example, there are several ways you can protect your login page from attacks and hide it from people you don’t know. With a few tweaks here and there, your website can quickly become a fortress.
In this article, we’re going to discuss the importance of WordPress security. Then we’ll introduce you to three methods you can use to make your website safer. Let’s get to it!
Why WordPress Security Is Important
Just to be clear, WordPress is already a very secure platform out of the box. However, it’s also a massive piece of software with millions of users, and thousands of plugin and theme options. With so much going on, it’s only natural that some users will end up having to deal with security issues. In most cases, you can trace these problems back to easily-cracked credentials, a failure to update consistently, and other user errors.
On the other hand, you’ll be a lot safer if you’re the kind of person who stays up to date with the latest version of WordPress and monitors all the plugins and themes you use. Keeping up with your site’s security may sound like a lot of work, but being cautious is the best course of action. Here’s why:
- WordPress is a target for attacks. The Content Management System’s (CMS’s) popularity makes it a favorite of online attackers. After all, finding a vulnerability in a single plugin or theme can help them gain access to thousands of websites.
- You need to safeguard sensitive user information. Even if you’re not dealing with any credit card numbers through your website, that doesn’t mean you shouldn’t protect your users’ privacy.
- Hijackers could spread malware through your website. These days, it’s a common practice for attackers to use hacked sites to serve malware to their visitors. Needless to say, you don’t want your users’ devices to get infected because of lax security practices on your end.
Fortunately, there’s a lot you can do to protect your WordPress website preemptively. For example, using a well-coded theme that receives constant updates is always a smart idea. Our own Uncode theme has excellent ratings and security features, for example, and we’re always around to answer any questions you might have about how to further protect your website. After you have your theme sorted out, there are a few other simple measures you can take.
3 Ways to Secure Your WordPress Website Against Attacks
In this section, we’ll teach you three ways to secure your WordPress website against attacks, both with and without plugins. Since you’ll be making some pretty significant changes to your website’s functionality, you should create a backup before getting started. That way, if something goes wrong (which it shouldn’t!), you’ll be able to restore your site in minutes and try again.
1. Use Two-Factor Authentication (2FA)
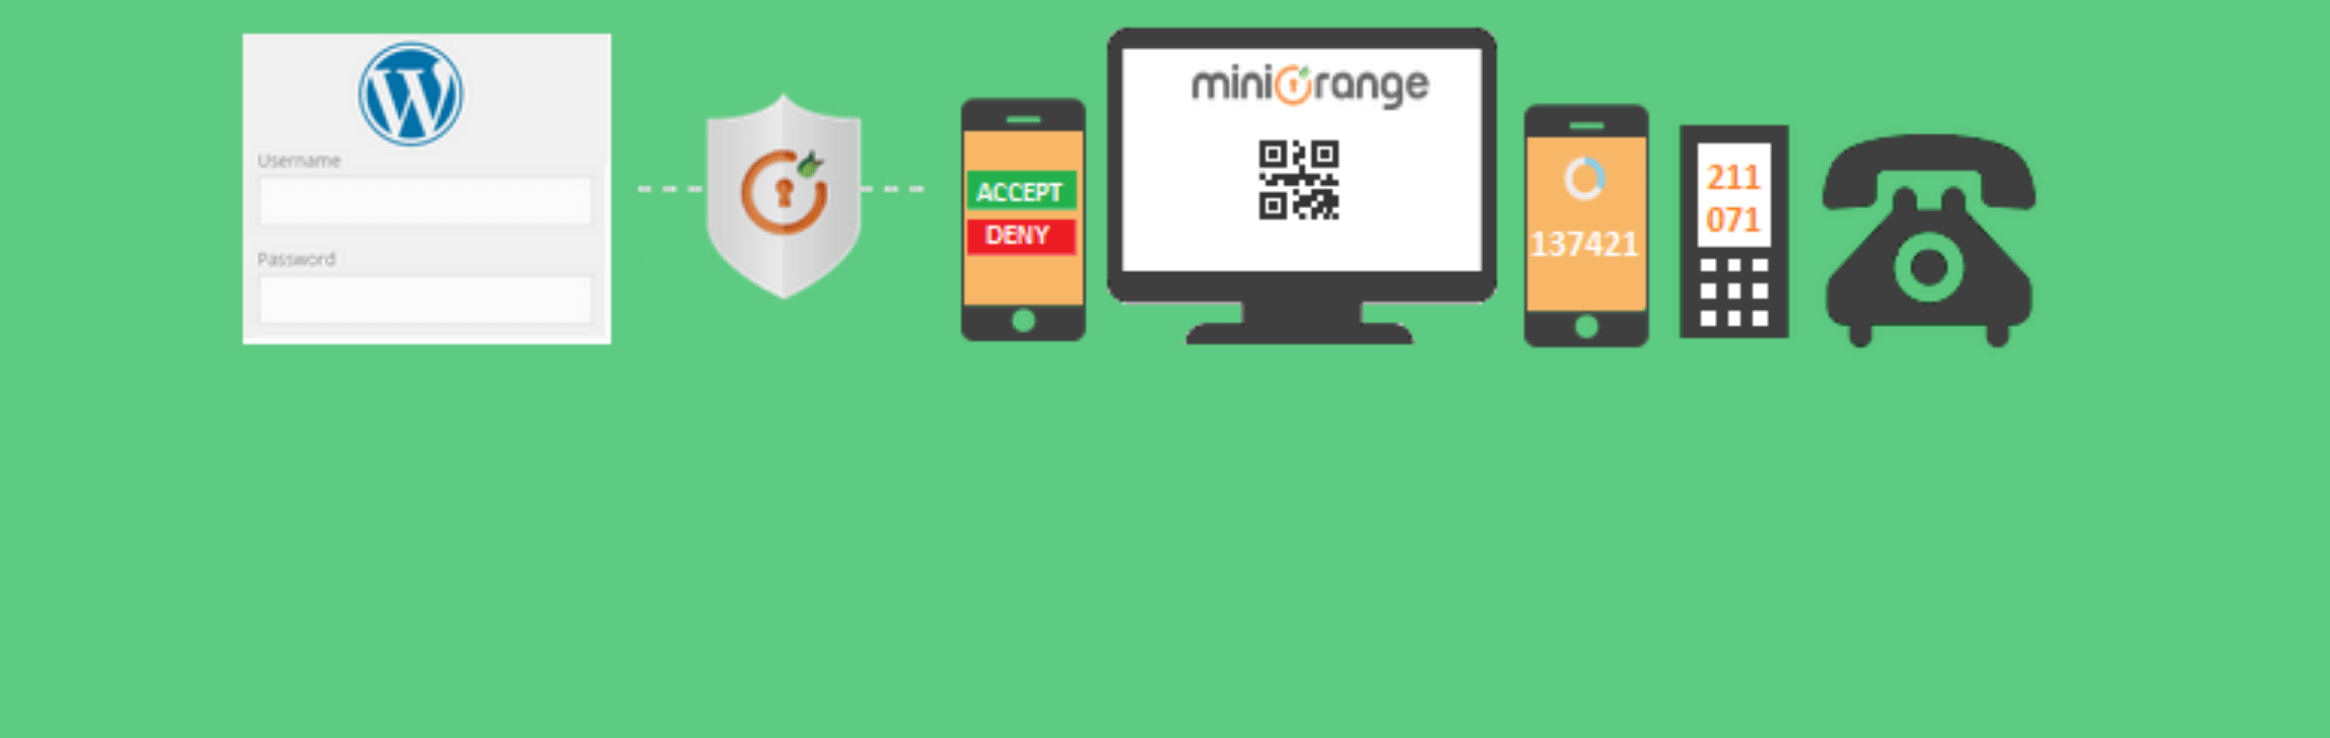
Usually, all it takes to log into a website are your username and password. Some sites take that one step further, however, and ask you to enter a one-time code sent to your email or smartphone. This is known as Two-Factor Authentication (2FA). Using this method, even if someone gets hold of your credentials, they still won’t be able to access your account.
WordPress doesn’t support 2FA out of the box. However, you can implement it using the right tools. There are plenty of excellent 2FA plugins available, but we’re partial to miniOrange Two Factor Authentication because of all the features it offers:
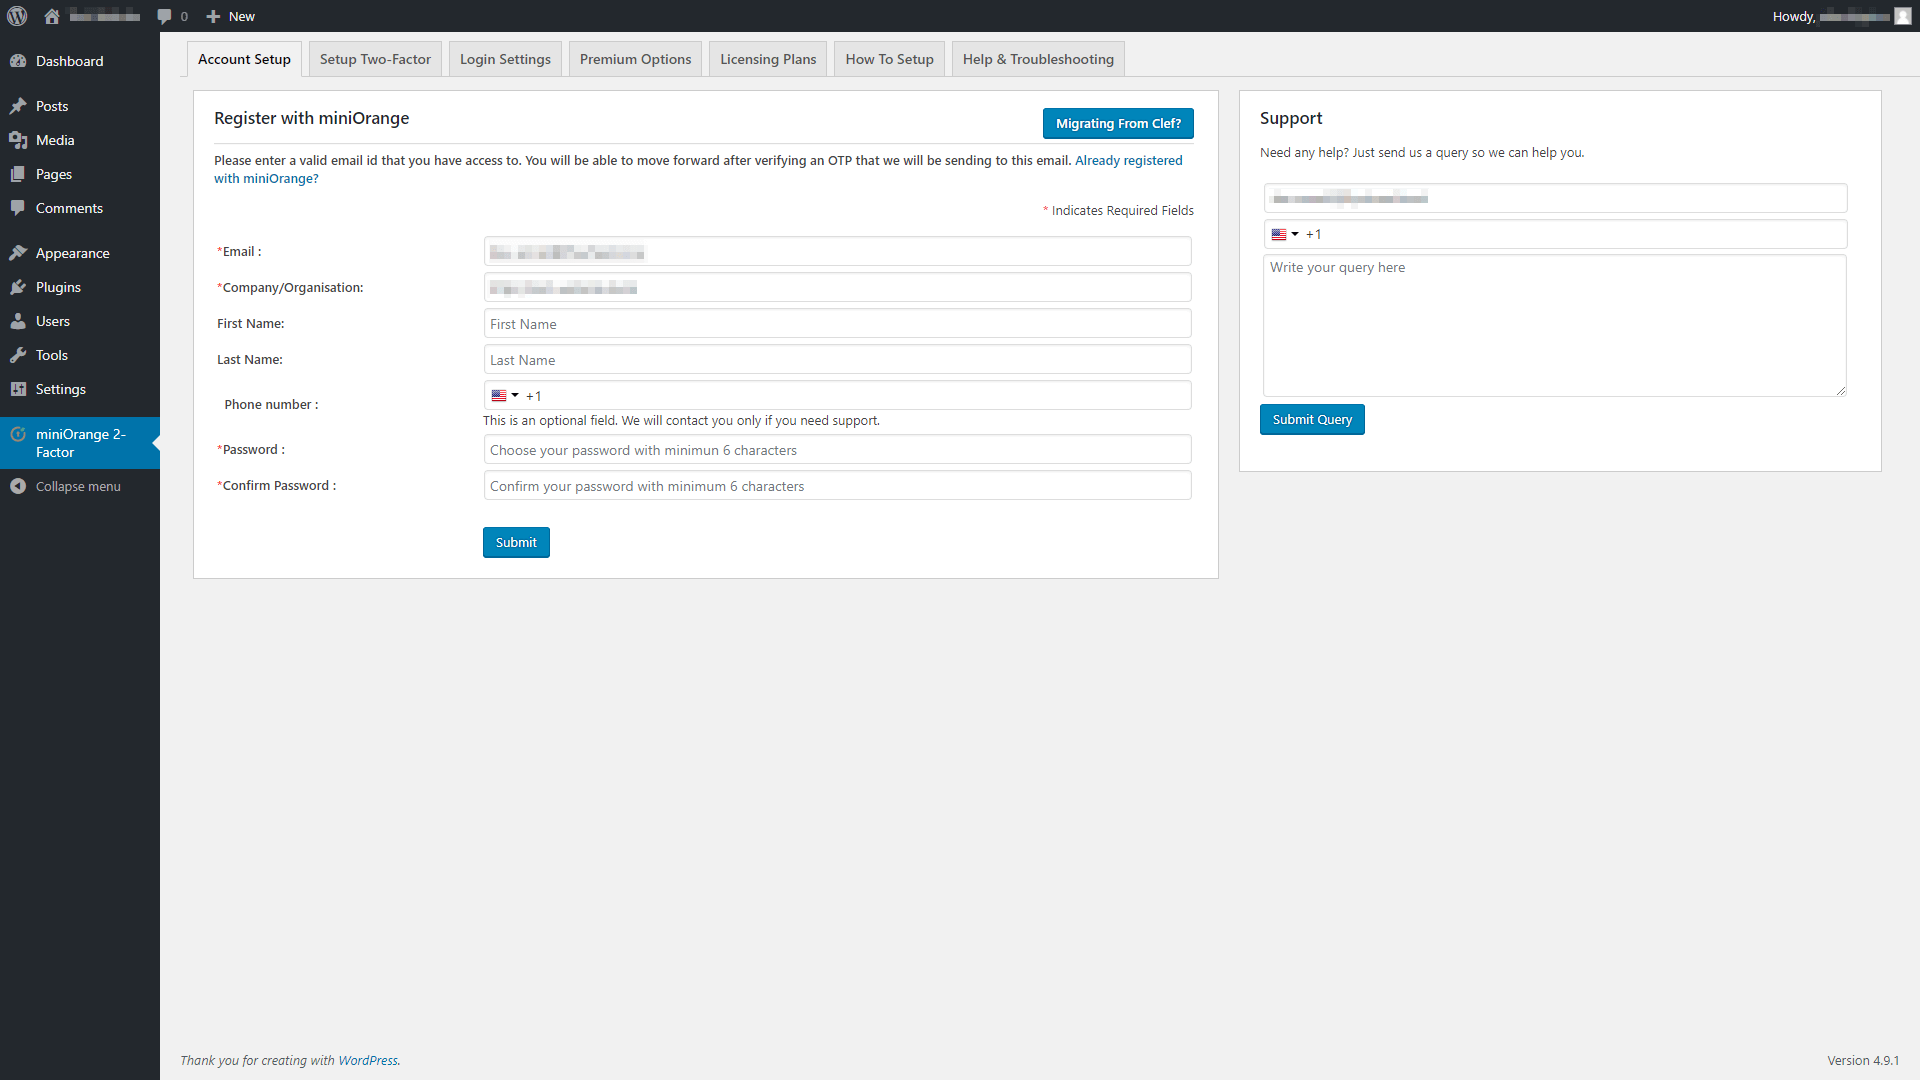
To get started with this technique, you’ll first need to install and activate the plugin. Then, you’ll be able to access a new miniOrange 2-Factor tab from your dashboard. The first time you click on it, you’ll have to fill out a few fields to register a miniOrange account:
Afterward, you’ll receive a one-time code through an email or text message, which you can use to activate the plugin.
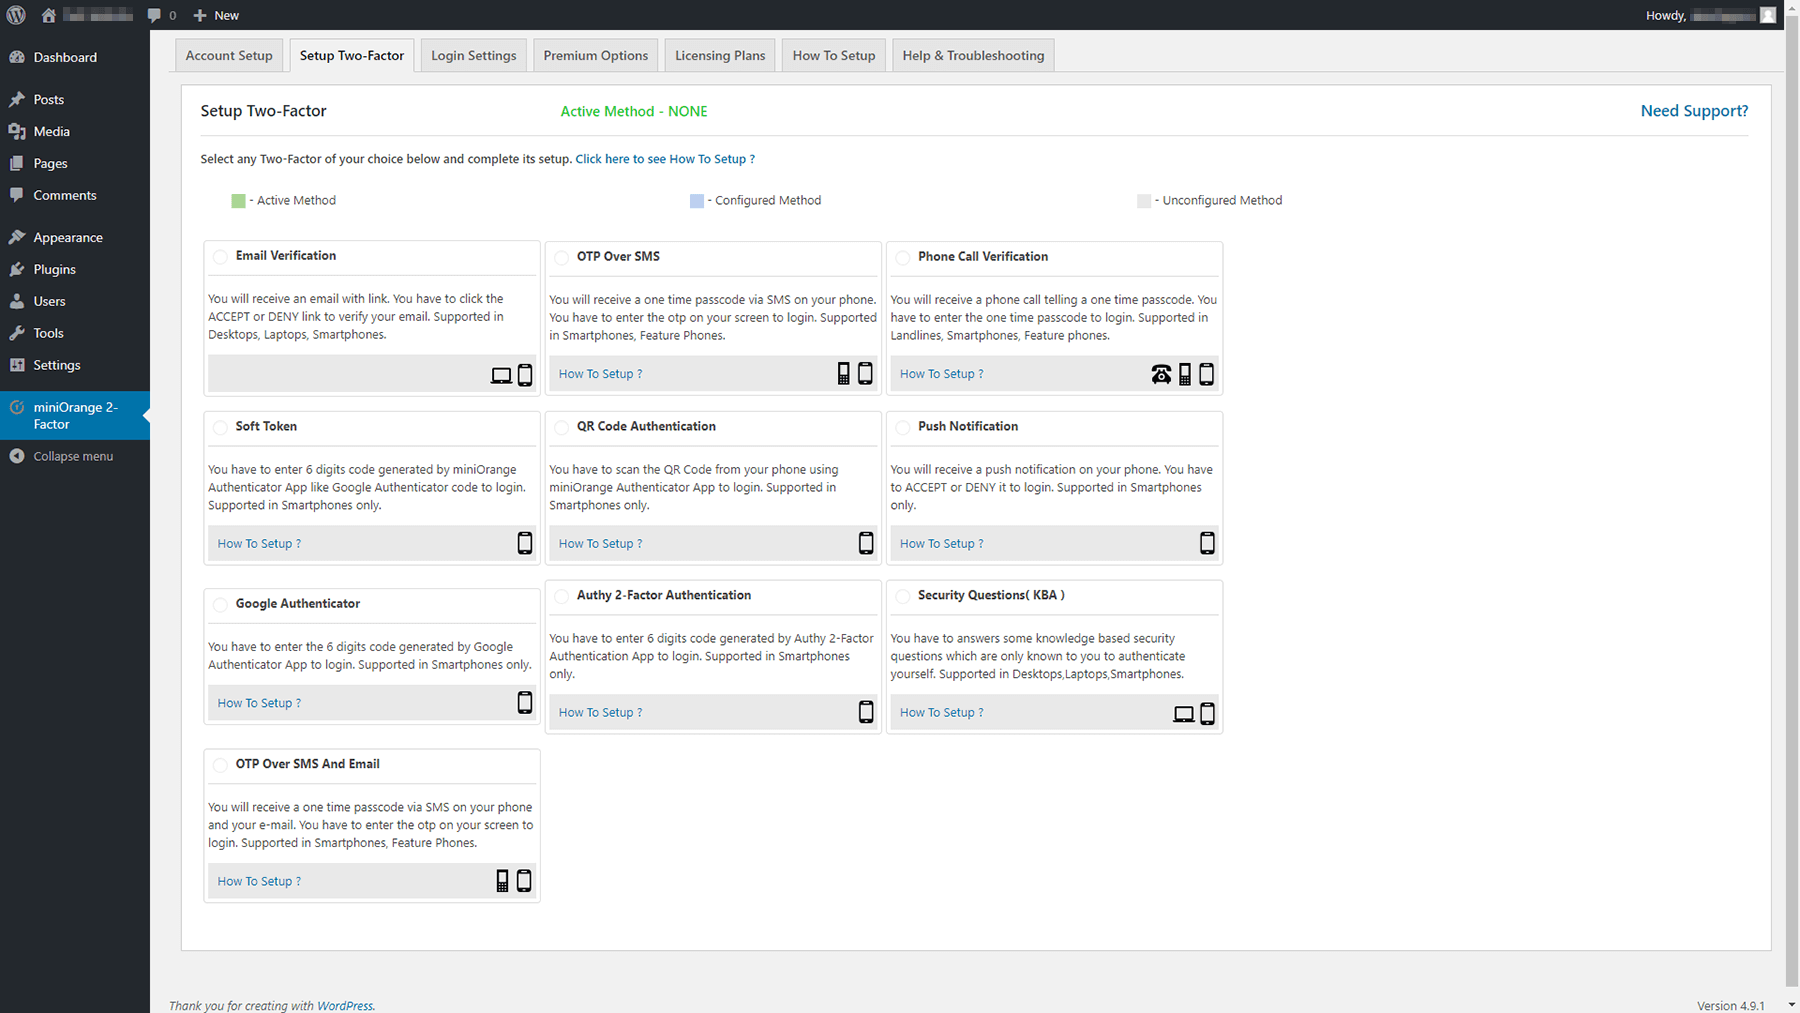
When that’s done, you can jump over to the Setup Two-Factor tab at the top of the screen, and choose which types of 2FA your visitors will be able to use. To provide users with the most options, we recommend using Email Verification as your default method:
After choosing the methods you want, you can log out. The next time you try to access your dashboard, you’ll see an option to enable 2FA for your account. Now, all of your site’s users will be able to opt into 2FA. Your WordPress website will be safer for it!
2. Whitelist the IP Addresses That Can Access Your Dashboard
The WordPress dashboard is where most of the magic happens. As such, you don’t want just anyone to have access. Only trusted team members should be able to get into your site’s dashboard and make use of its key features.
Your login page is your primary line of defense against unwanted intrusions. However, sometimes attackers can gain access to one of your team member’s credentials. If that happens, you’ll need a second line of defense to stop them. That’s where your .htaccess file comes in.
This file enables you to provide specific instructions to your server. For example, you can tell it to block access to your dashboard for anyone whose IP is not on a pre-approved list. When you add an IP address to that list, you’re ‘whitelisting’ it. This method requires a bit of upfront work, but it can turn your website into a fortress.
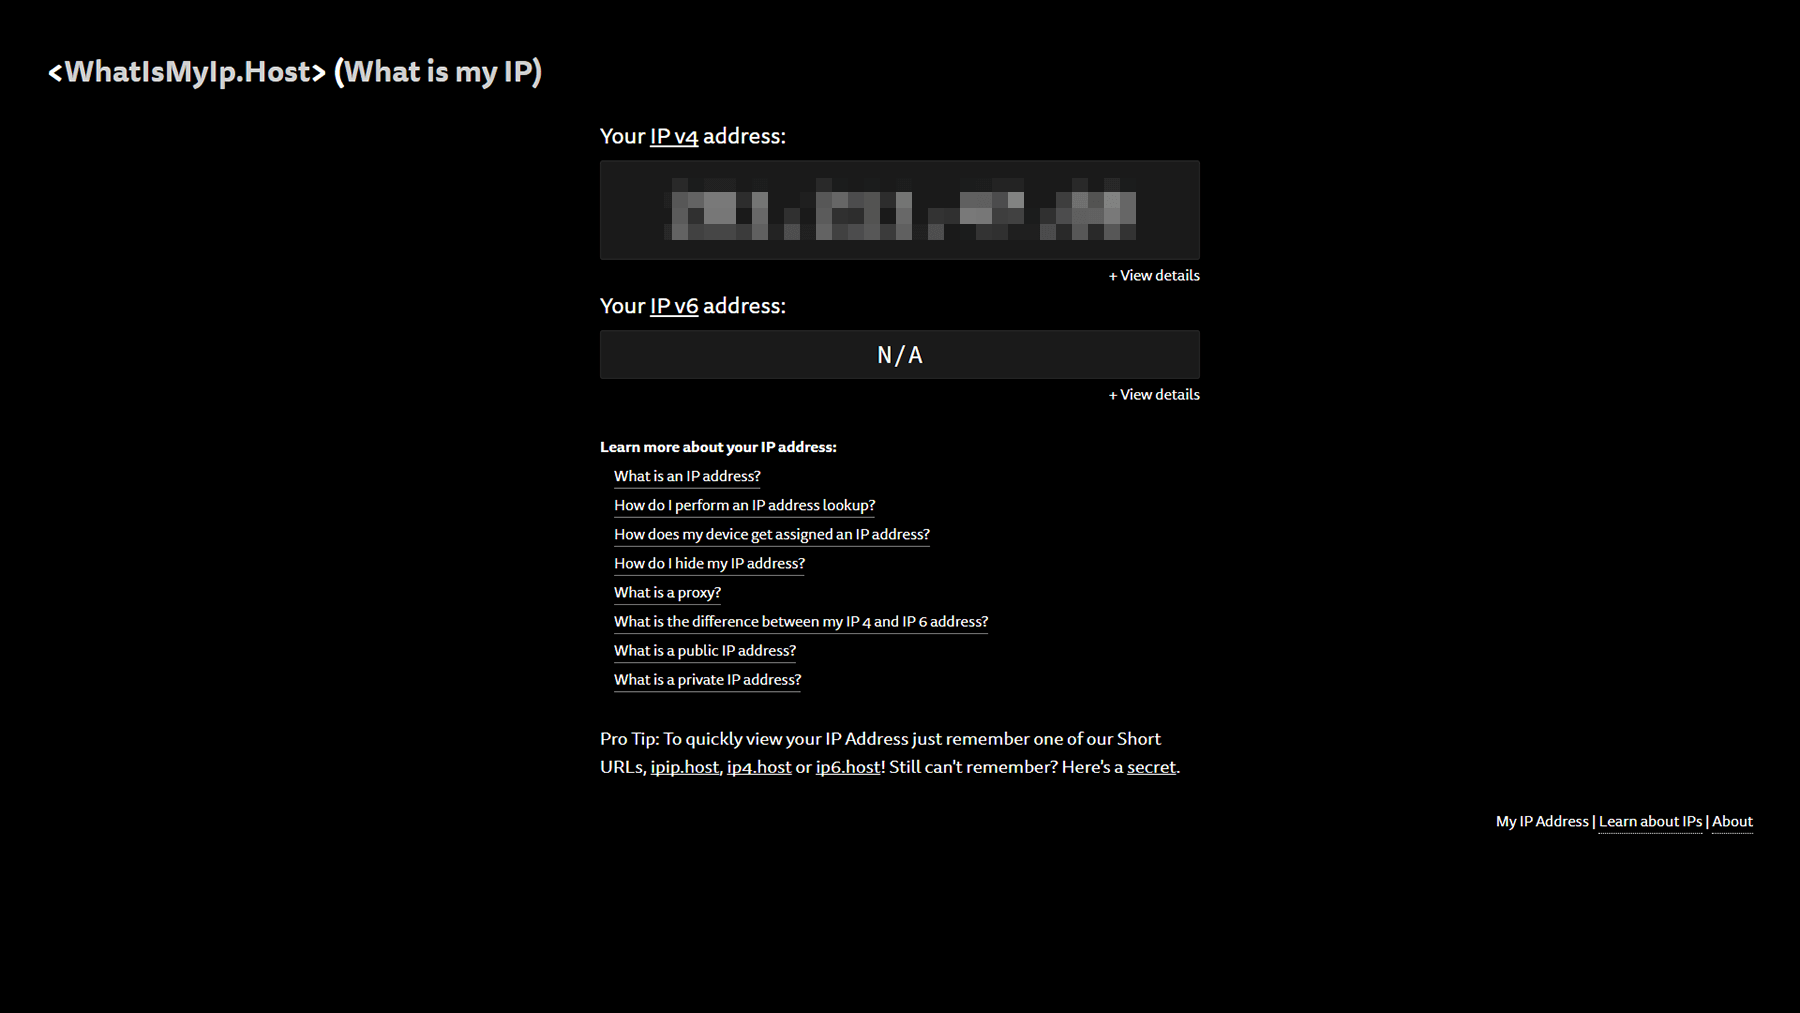
First, you’ll need to know the IP addresses of all your coworkers. For best results, you’ll also want to ensure that those IPs are static. Team members can use a site like What is My IP to find out what their addresses are, and contact their internet providers so they can be assigned a static address if they don’t have one already.
It’s best to get these tasks out of the way first, so you can enter all the whitelisted IPs at once. When you have the list of addresses ready, you’ll need to locate and access your site’s .htaccess file. To do that, we recommend using File Transfer Protocol (FTP) and a tool such as FileZilla.
Just log into your website using your FTP credentials, and access your public_html folder. Then, look for the .htaccess file within:
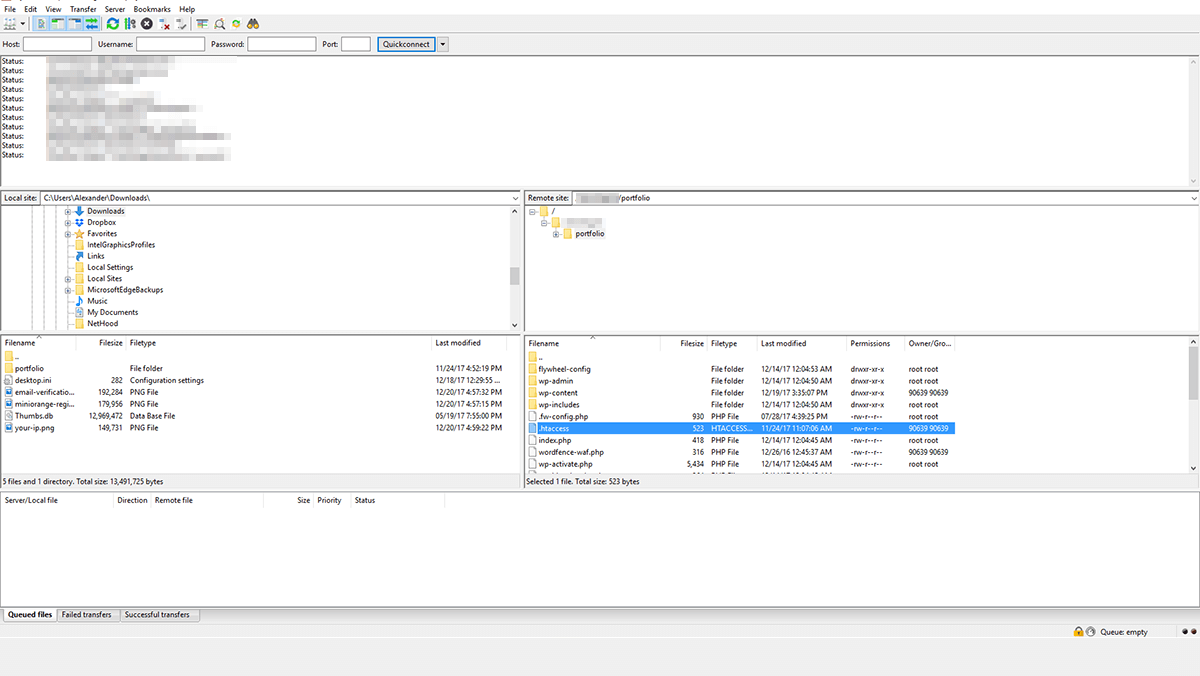
Now, right-click on the file and choose the View/Edit option. Doing this will open the file on your computer using your default text editor. There should already be a few lines of code inside, which you don’t want to alter. Instead, scroll to the bottom of the file and look for the #END WordPress line.
You’ll need to paste the following snippet right before that line:
<IfModule mod_rewrite.c>
RewriteEngine on
RewriteCond %{REQUEST_URI} ^(.*)?wp-admin$
RewriteCond %{REMOTE_ADDR} !^190.46.268.21$
RewriteCond %{REMOTE_ADDR} !^190.45.281.27$
RewriteRule ^(.*)$ - [R=403,L]
</IfModule>
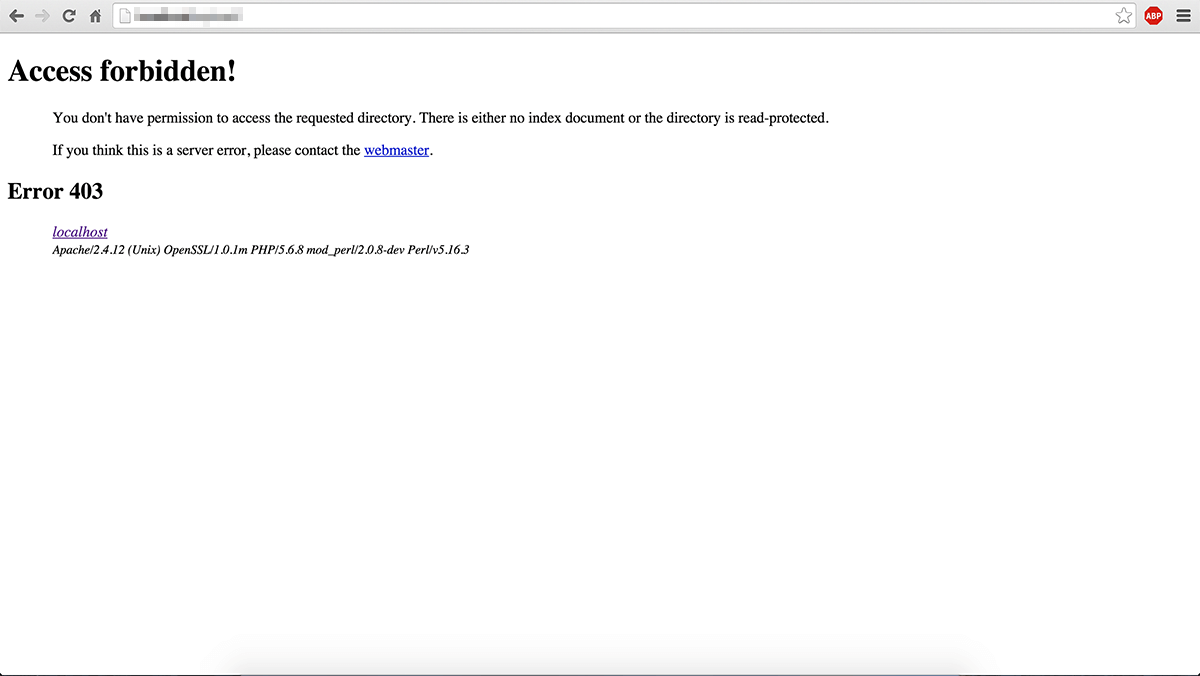
These five lines of code tell WordPress to check the IP address of anyone trying to access your dashboard. If their address doesn’t match one of the ones in your whitelist (there are two in the above example), they’ll get a 403 error:
You can add as many addresses as you want using the same format, and block other pages as well. For example, if you want to block your login page for anyone except those on your whitelist, all you have to do is add one extra line of code:
<IfModule mod_rewrite.c>
RewriteEngine on
RewriteCond %{REQUEST_URI} ^(.*)?wp-login\.php(.*)$ [OR]
RewriteCond %{REQUEST_URI} ^(.*)?wp-admin$
RewriteCond %{REMOTE_ADDR} !^190.46.268.21$
RewriteCond %{REMOTE_ADDR} !^190.45.281.27$
RewriteRule ^(.*)$ - [R=403,L]
</IfModule>
When you’re done making changes to .htaccess, save the file and close your text editor. You should still be able to access your dashboard and login page as usual, unless you forgot to whitelist your own IP address!
3. Use a Comprehensive WordPress Security Plugin
If you choose to take only one measure to protect your WordPress website, using a security plugin can get you the most mileage. There are a ton of popular security plugins available, and many are able to protect your website from most types of attacks.
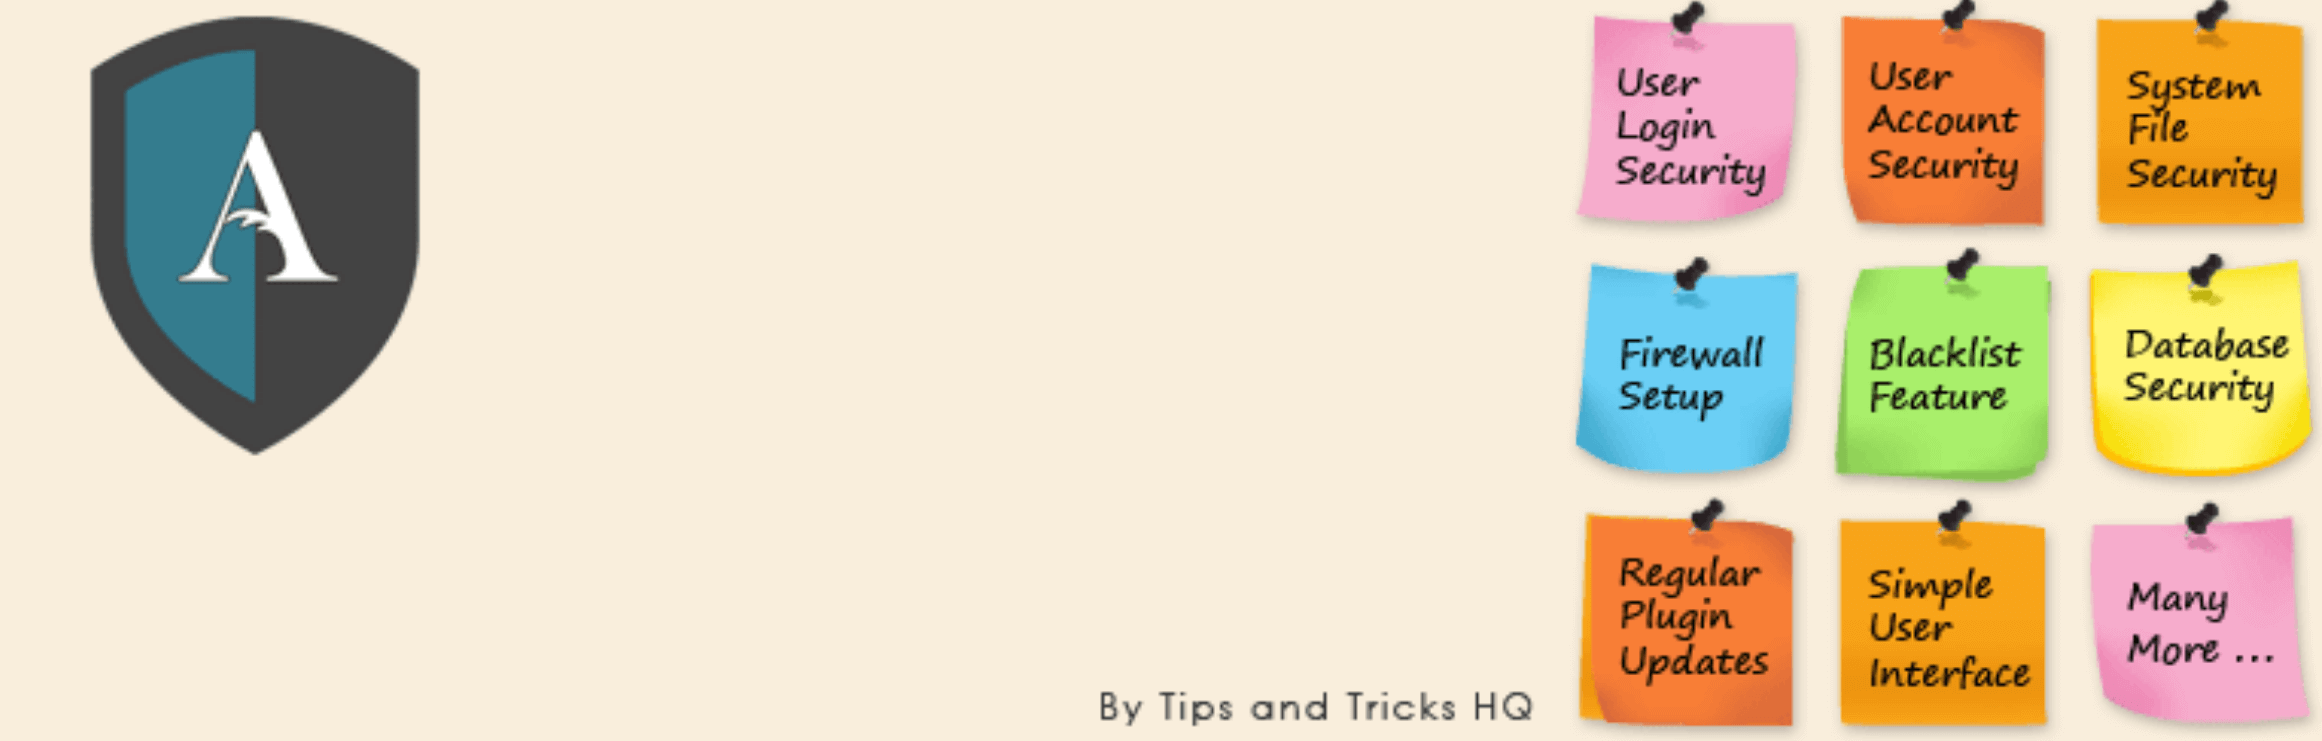
One of our favorites is called All In One WP Security & Firewall. It offers a broad range of features and a user-friendly interface:
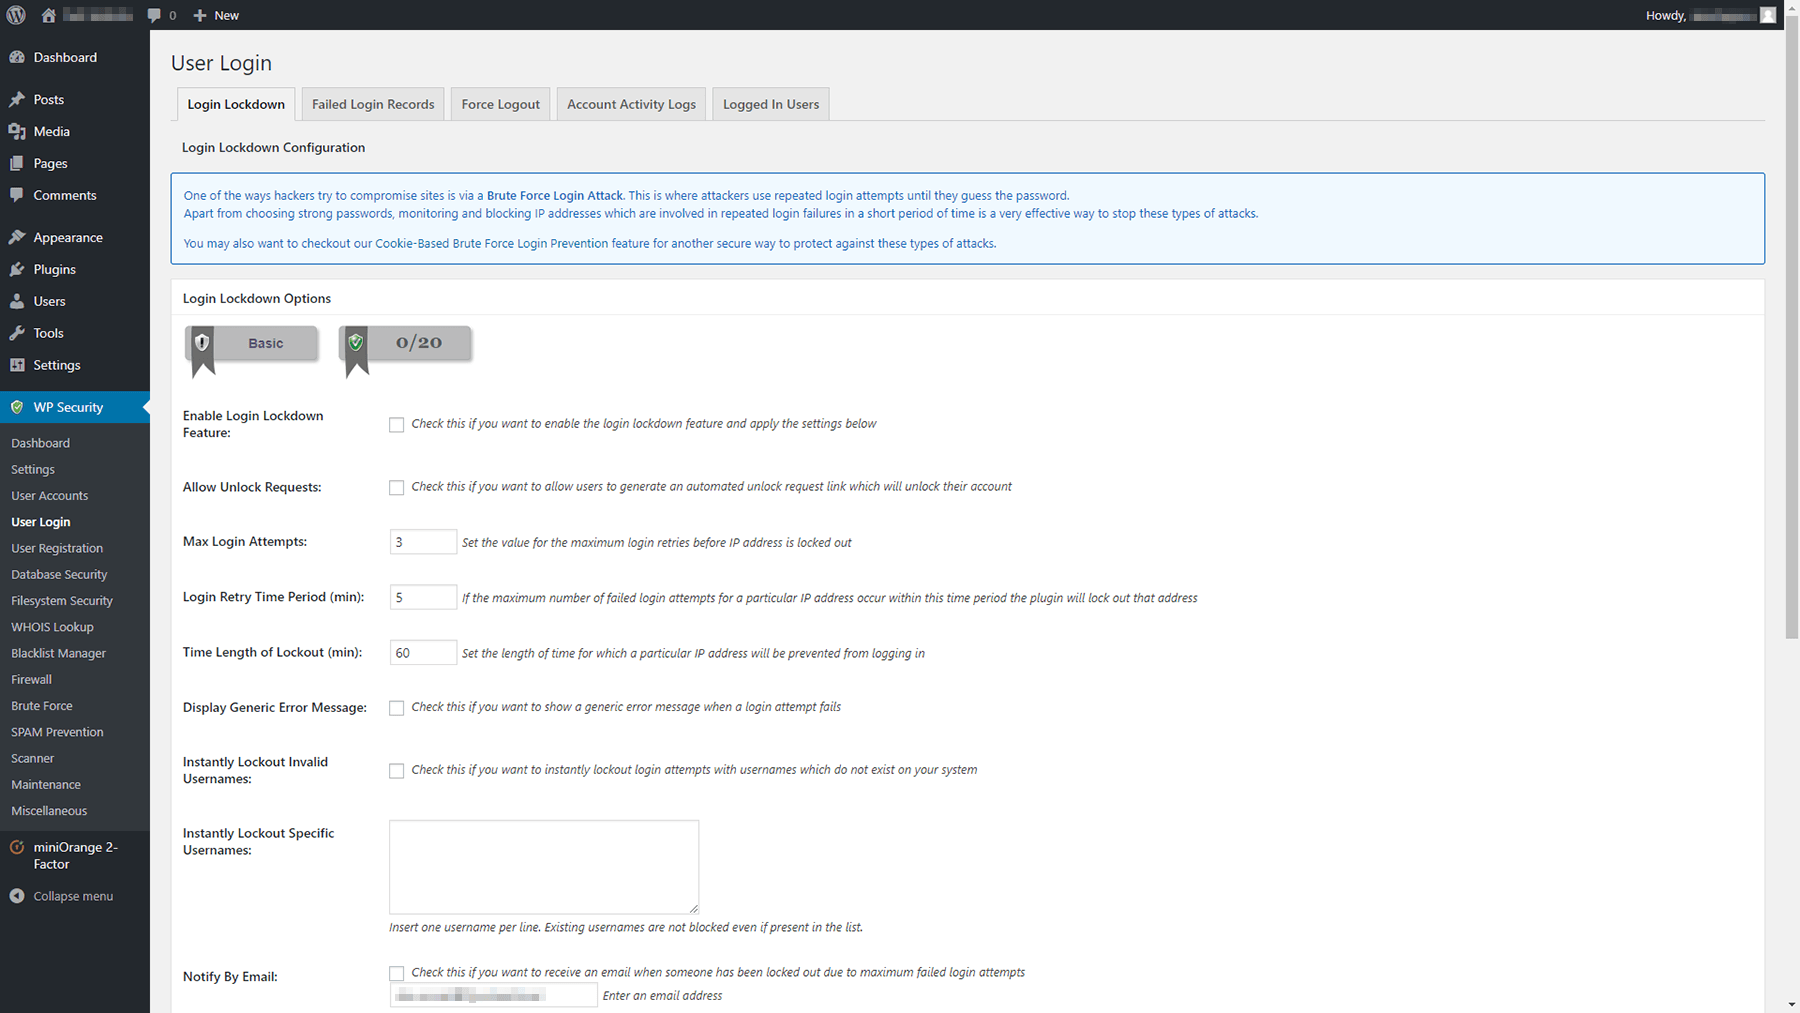
So far, we’ve talked a lot about securing your WordPress login and dashboard pages. This plugin enables you to do both, using built-in functionality that you can turn on with a few clicks. For example, you can limit the number of login attempts someone can make before getting temporarily locked out of the site. This feature is available from the WP Security > User Login tab:
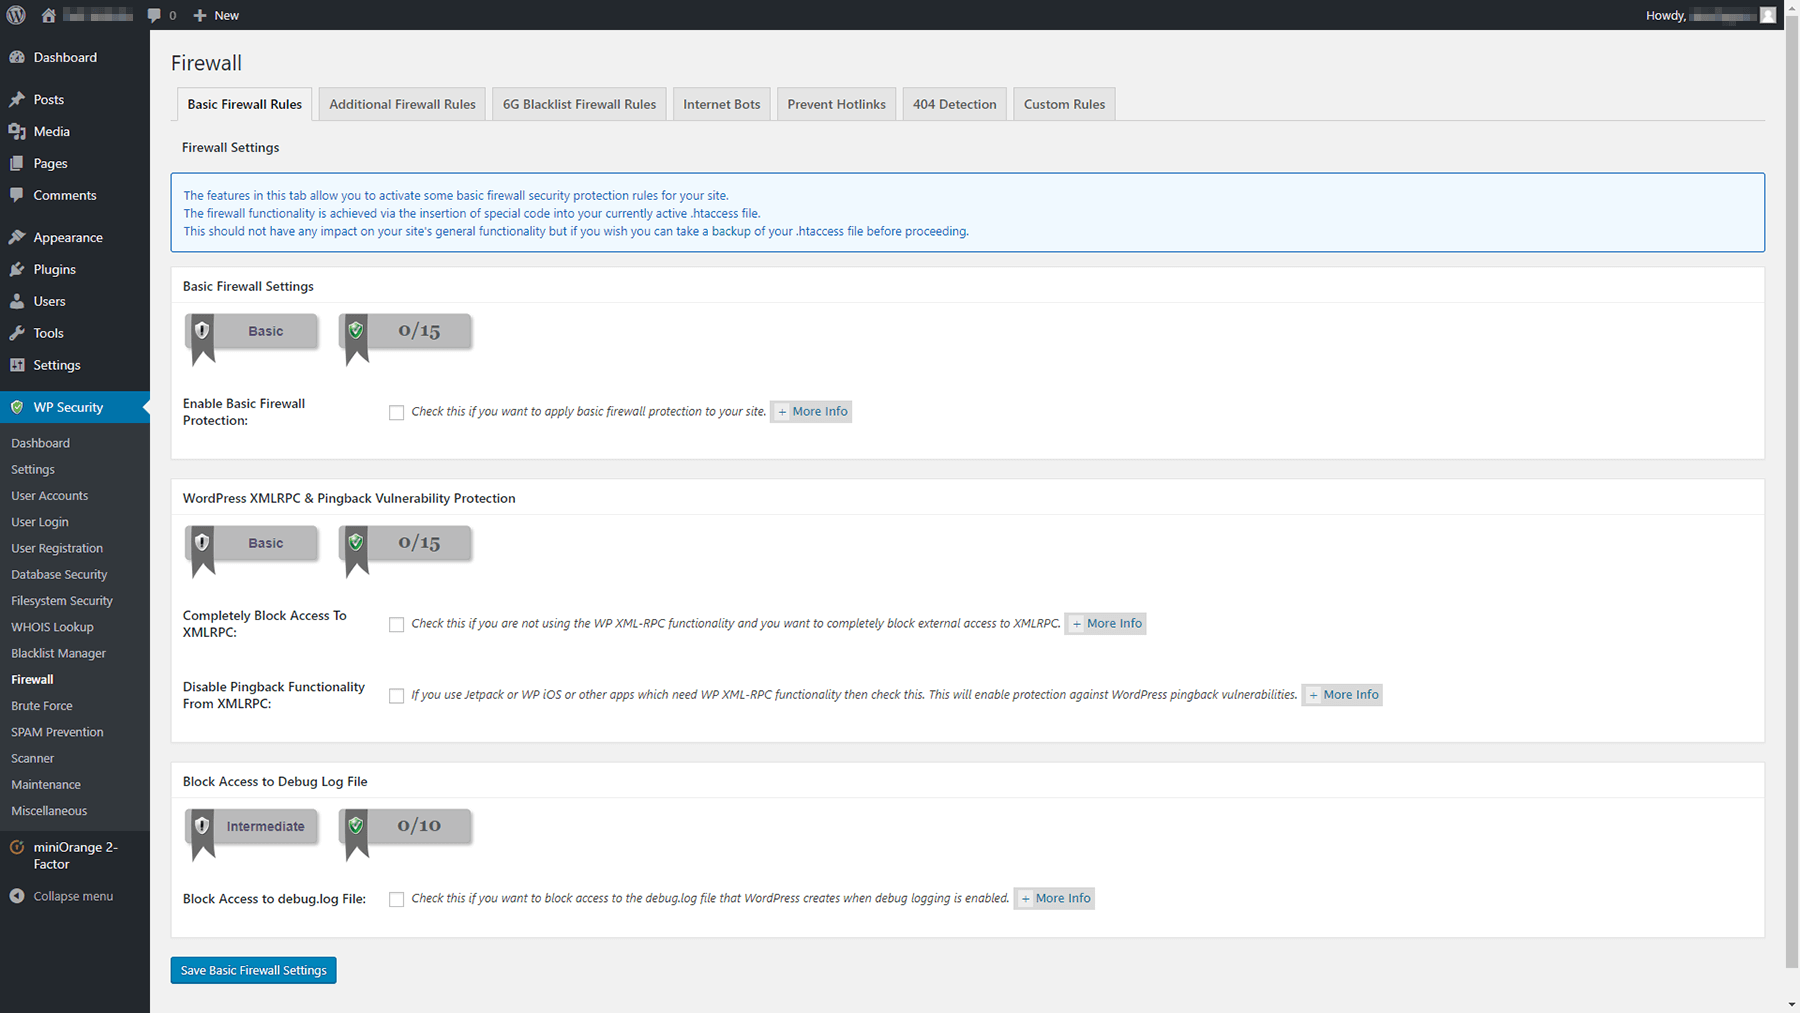
You can also configure the plugin to let you know when someone gets locked out from the login page, and block IP addresses altogether. All In One WP Security & Firewall also includes a comprehensive firewall, which you can configure from the WP Security > Firewall tab:
As soon as you activate the plugin, your first move should be to take a look at its documentation. There are a lot of settings you’ll need to learn how to use, but a quick crash course should tell you all you need to know in order to secure your website.
Last but not least Kinsta has some great insights for locking down your site, check it out if you need more tips on WordPress security.
Conclusion
WordPress security is something you want to be proactive about. A little effort spent safeguarding your website from the beginning will save you a lot of headaches down the road. If you’re lucky, you’ll never have to deal with the fallout of unwanted intrusions to your website, and you’ll be able to focus on improving it instead.
The good news is that there are a lot of easy ways to secure your website. Once again, here are three of our favorites:
- Use 2FA on your login page.
- Whitelist your team members’ IP addresses.
- Use a comprehensive WordPress security plugin.
Do you have any questions about how to protect your WordPress website? Ask away in the comments section below!