Images play a huge role in your website’s overall appearance. This means you have to pay close attention to the graphics you choose. Moreover, your choice of file formats can impact your site’s performance, which makes your approach to images that much more important.
Since you’re using WordPress, fortunately, you have several advantages when it comes to using images effectively. For example, the platform offers you many tools to optimize your images’ file sizes, as well as built-in resizing and cropping features. It isn’t hard to add images to your site that look compelling, while also not slowing your pages down unduly.
In this article, we’re going to walk you through five tips to help you use images more effectively in WordPress. We’ll explain why each is important, and discuss how to put it into action. Let’s get to work!
1. Avoid Using Free Stock Images
As you probably know, you can’t just use any image you find online on your website. If you want to display an image on one of your pages, it needs to be something you created, photographed, screenshotted, or have express permission to use.
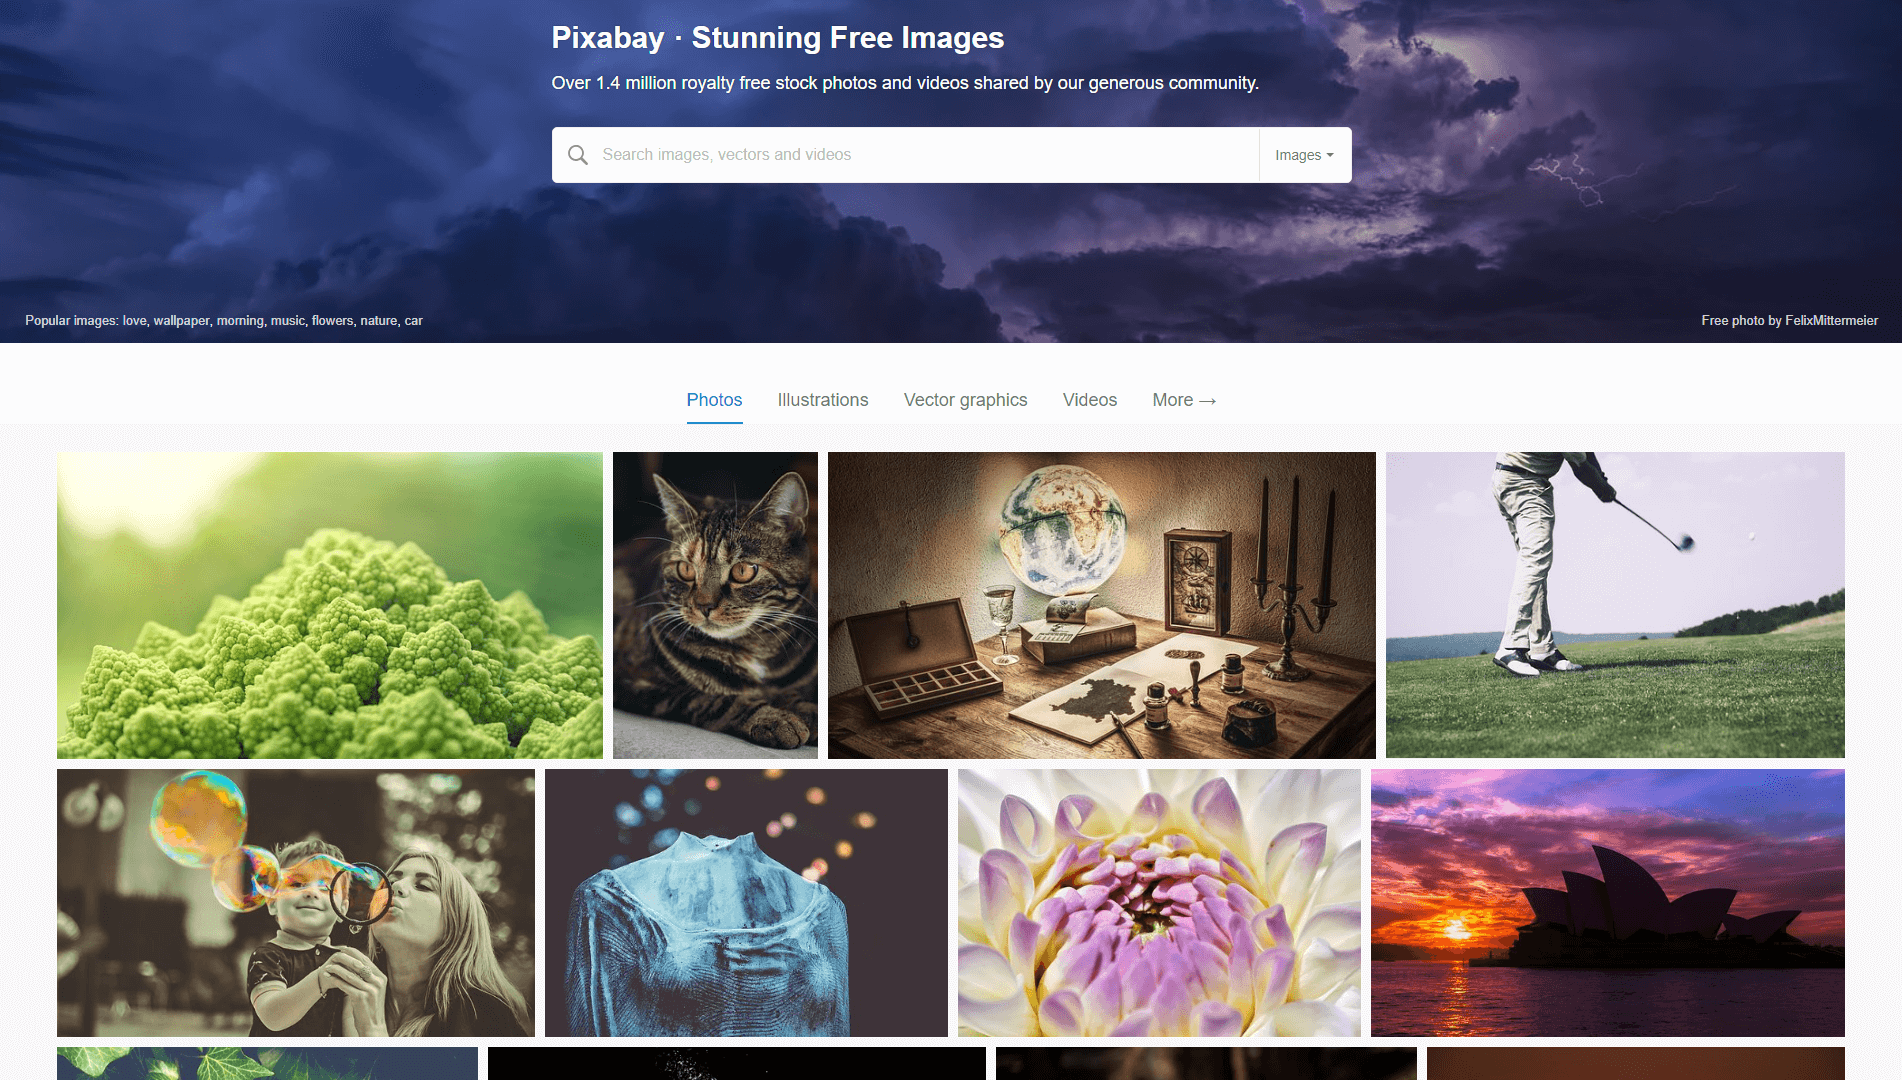
These restrictions force a lot of people into using free stock images. This is a catch-all term for the graphics you can use for no cost, due to the way they’re licensed. The problem is that there are billions of websites online, and not as many free stock images to go around. This means that a lot of sites re-use the same popular options, which can make them look unprofessional or bland.
Another problem is that free stock images tend to be highly generic. You can see an example of these kinds of photos at the beginning of this section. When you’re using images on your site, they should always be relevant in some way to your content, so that they support that content and provide context. This is hard to achieve with free graphics.
In most cases, you’ll want to use one or several of the following approaches instead of resorting to stock imagery:
- Create your own graphics using simple online tools.
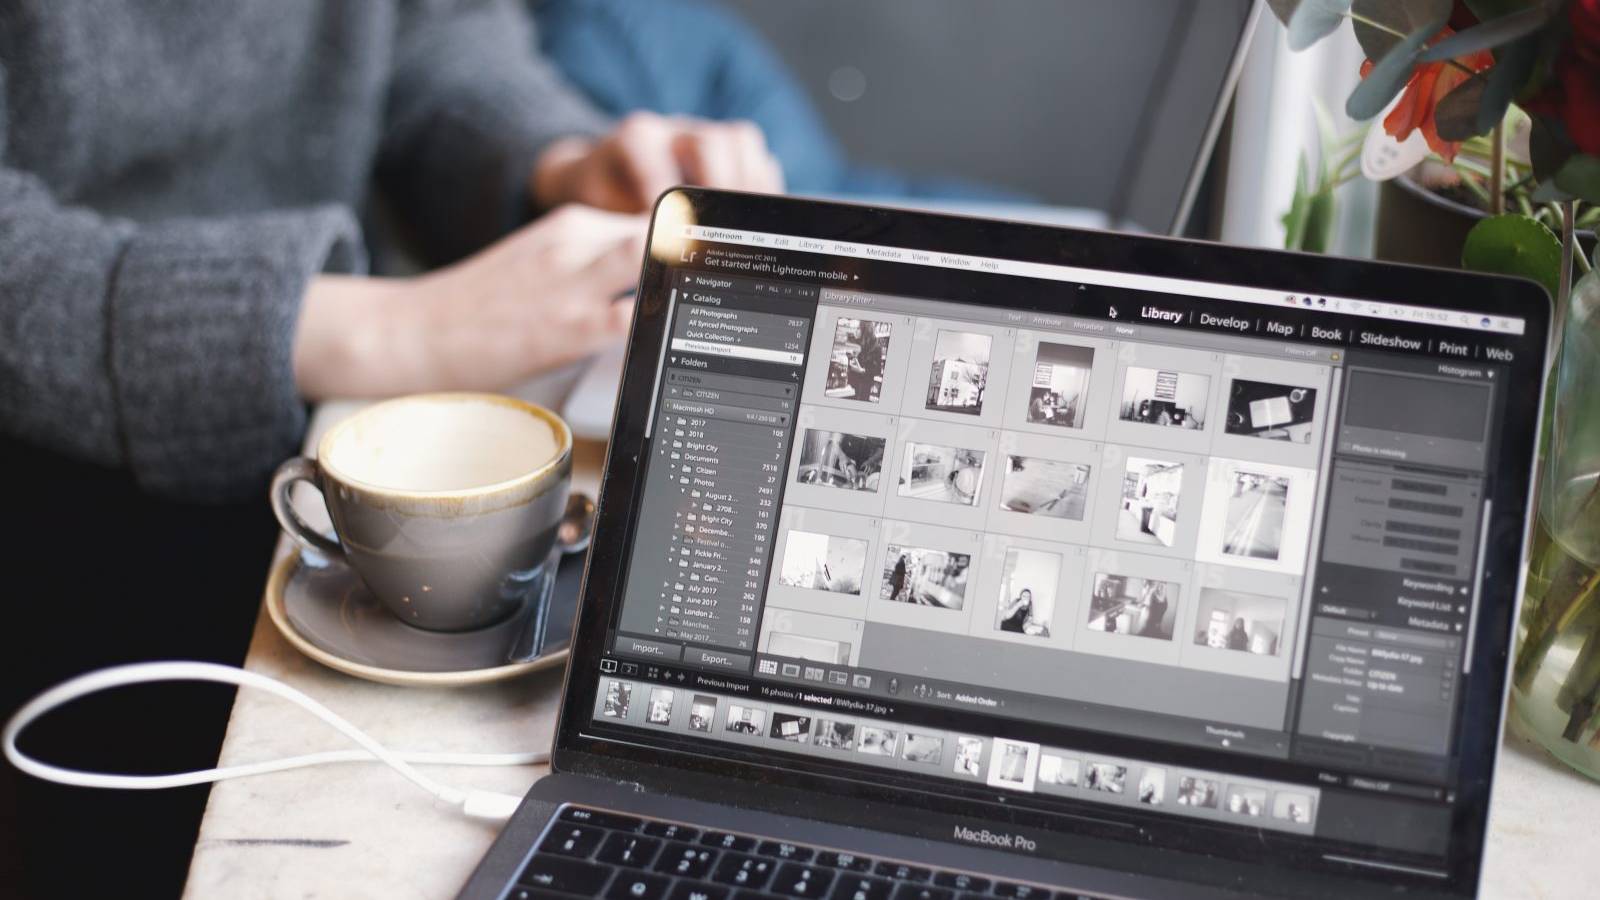
- Use your own screenshots and photographs, as long as they’re relevant to your website’s content.
- Include other types of visual aids and media, such as lists, tables, and infographics.
Of course, all of these techniques involve some extra work. With that in mind, if you really have no choice but to use free stock images, we recommend that you look for the least generic options you can find, and make sure they’re directly related to the text of your page or post.
Even then, you might want to play around a bit with these images. For example, you can crop photos to highlight specific sections, or use filters to give them an entirely new look. Just make sure that the images’ permissions allow you to make these types of alterations.
2. Use Graphics That Share a Similar Style Throughout Your Blog
One of the most common mistakes people make when designing their websites is using different styles throughout each page. For example, you usually won’t want to switch color schemes or change the fonts you use from page to page. These types of inconsistencies can make your website look like it was put together in a hurry, or without much care.
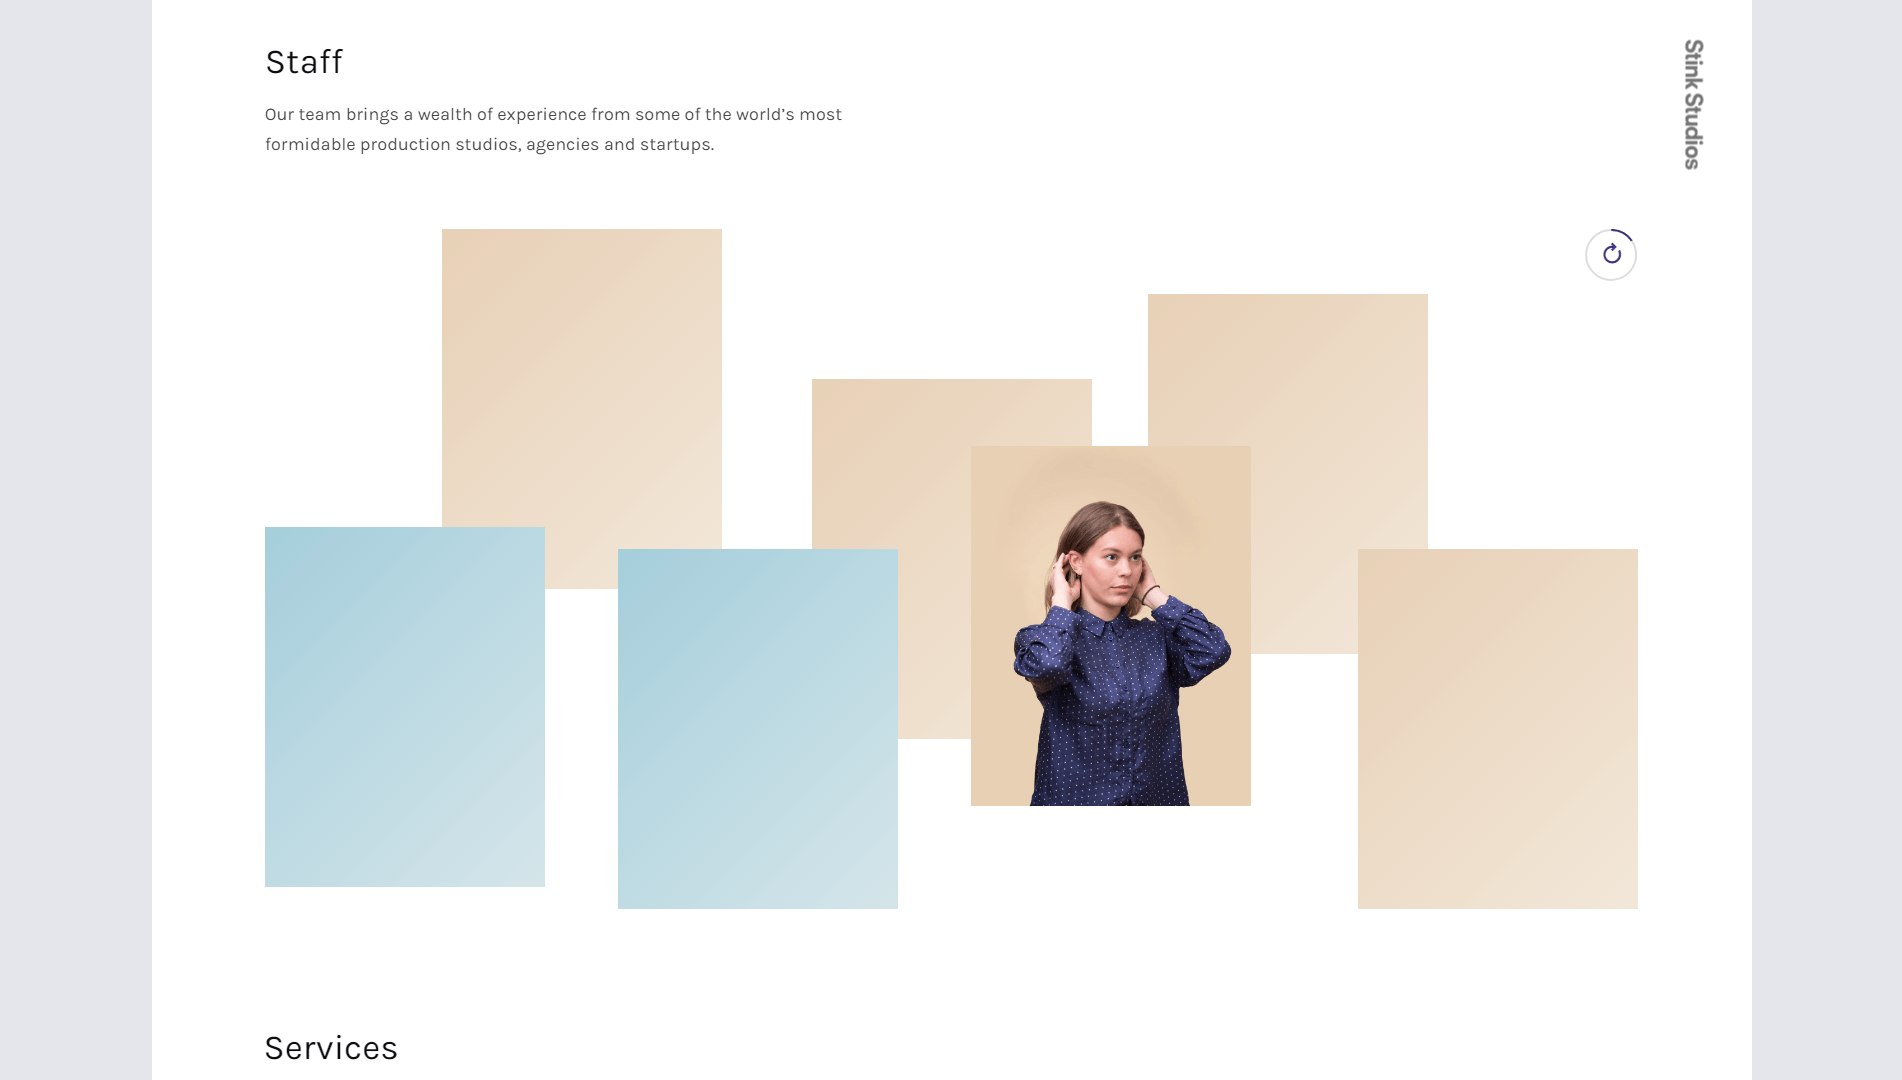
The same advice applies when it comes to images. Imagine, for example, that your homepage uses a number of images in pastel colors:
It would then be jarring if you switched to handmade drawings on another page (without a specific reason to do so):
Your website’s imagery should maintain a consistent style that’s easy for your visitors to recognize and become familiar with. After all, images are an essential element of your visual brand, alongside the colors you use, your fonts, and so on.
Here are a few tips to help ensure that you choose the right images:
- Try to use images that share a similar color palette.
- Look for graphics that deal with similar themes, such as technology, vintage items, or whatever subject your website focuses on.
- Consider using specific filters for all your images, so they share a unique visual style.
When people visit your website and see the images you use, they should walk away with the feeling that each one was chosen purposefully. You can play with this ‘rule’ a bit if you think a specific image or diversion from your overall style will benefit your site. Otherwise, try to always stick with a single style when it comes to visual media.
3. Give Scalable Vector Graphics (SVGs) a Try
SVGs are a type of image format that doesn’t get a lot of attention. In most cases, people rely on formats they’re more familiar with, such as PNGs and JPEGs. Both of those are excellent options for online images, but they do have their downsides.
For example, the more high-quality an image is, the more it will ‘weigh’. This can negatively affect your loading times, which matters because slow pages tend to scare visitors away. Also, you need to make sure the images you choose look good on mobile devices, which can be difficult when you’re using PNGs or JPEGs.
When it comes to scalability, SVGs win the image race hands down. Since this is a vector-based image format, SVGs can scale to any resolution you want at perfect quality. Even better, they tend to be very lightweight (which means better page speeds), and you can animate them using CSS and JavaScript.
The only downside to SVGs is that the format isn’t great when it comes to displaying complex images with tons of details (such as photographs). However, it is perfect for logos, icons, and similar design elements.
In addition, WordPress doesn’t enable you to upload SVGs to your site by default. You’ll need to add this functionality with a plugin, such as SVG Support:

All this plugin does is add SVG files to the list of formats WordPress enables you to upload to its media library. You simply need to install and activate the plugin, and that’s it! You can upload your first SVGs right away, and add them to your pages and posts.
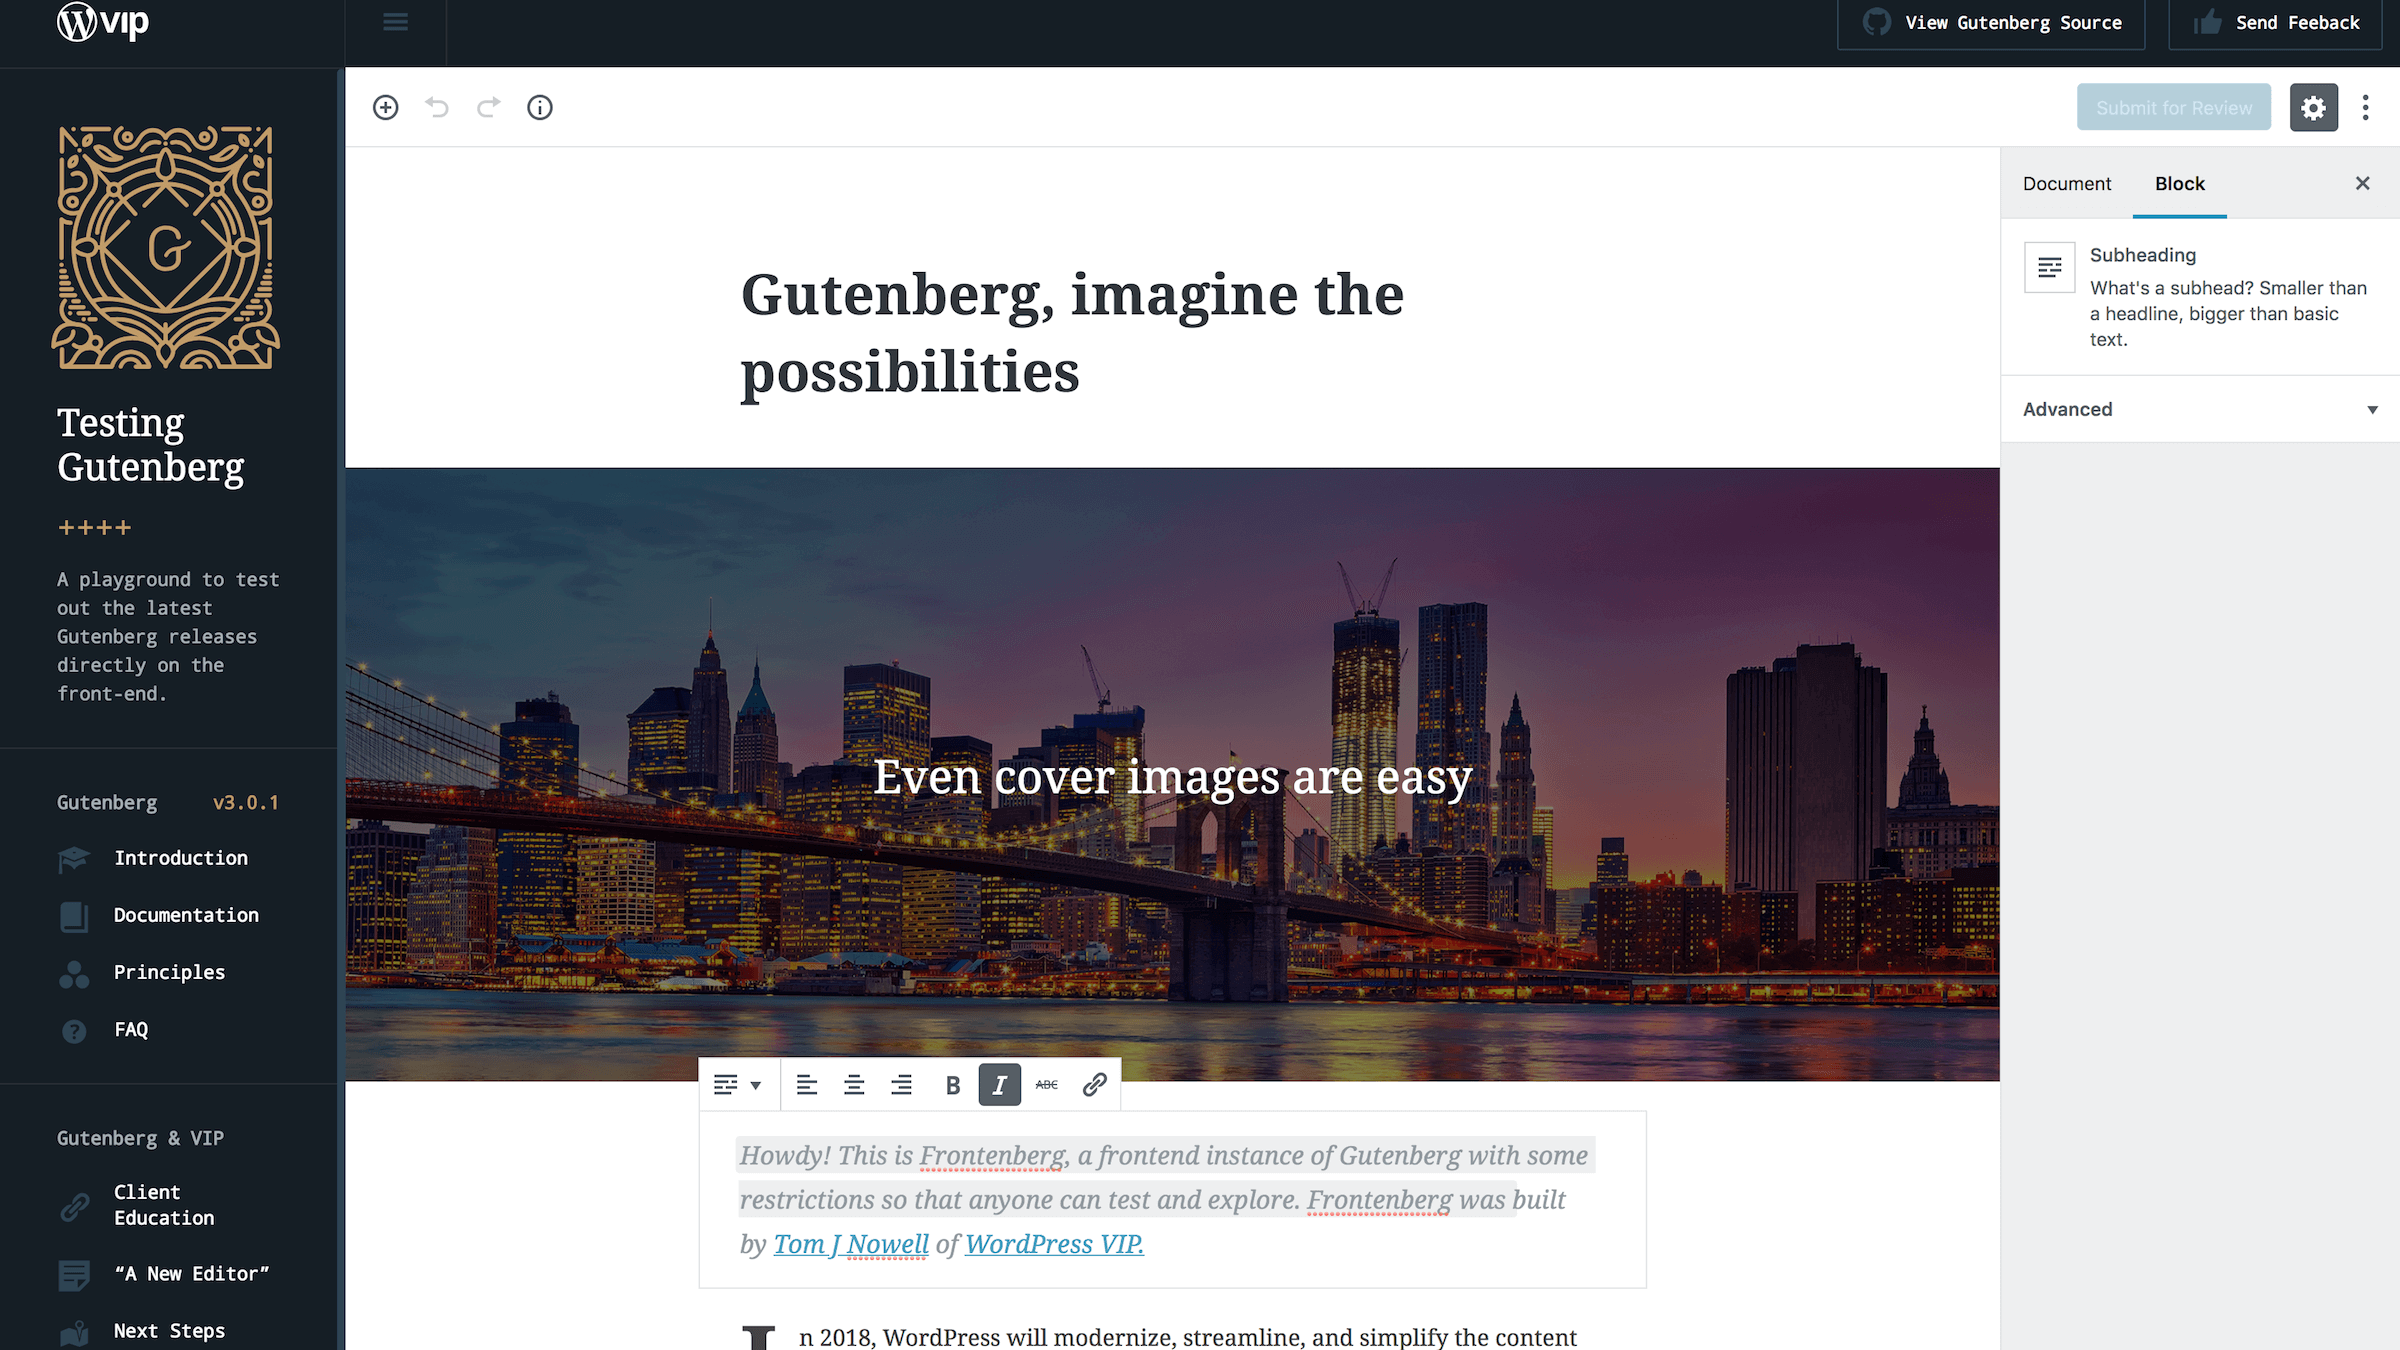
4. Set Standard Sizes for Your Blog Post Images
One of the easiest ways to make your blog posts look more coherent and professional is to set a standard resolution for all the images you use within them. For example, the images you see in our posts have resolutions of 1200 x 676 (with a few deliberate exceptions). That’s large enough that the images can scale up on bigger screens without pixelating, but they’re still clear on smaller devices.
Plus, blog posts look far better when you use images that match your paragraphs’ widths precisely. Here’s a quick example:
On the other hand, this is what it looks like when you use an image that’s far too small to cover the entire width of the text column:
This image looks out of place. Not taking care with your image widths can make your posts look unprofessional. On your own website, you’ll want to experiment with multiple resolutions and sizes until you find a format that looks good across all types of devices.
In addition, remember that you can resize images within WordPress if needed. To do this, click on any image on a post or page and choose the Edit option. Then, look for the Size setting and choose Custom Size:
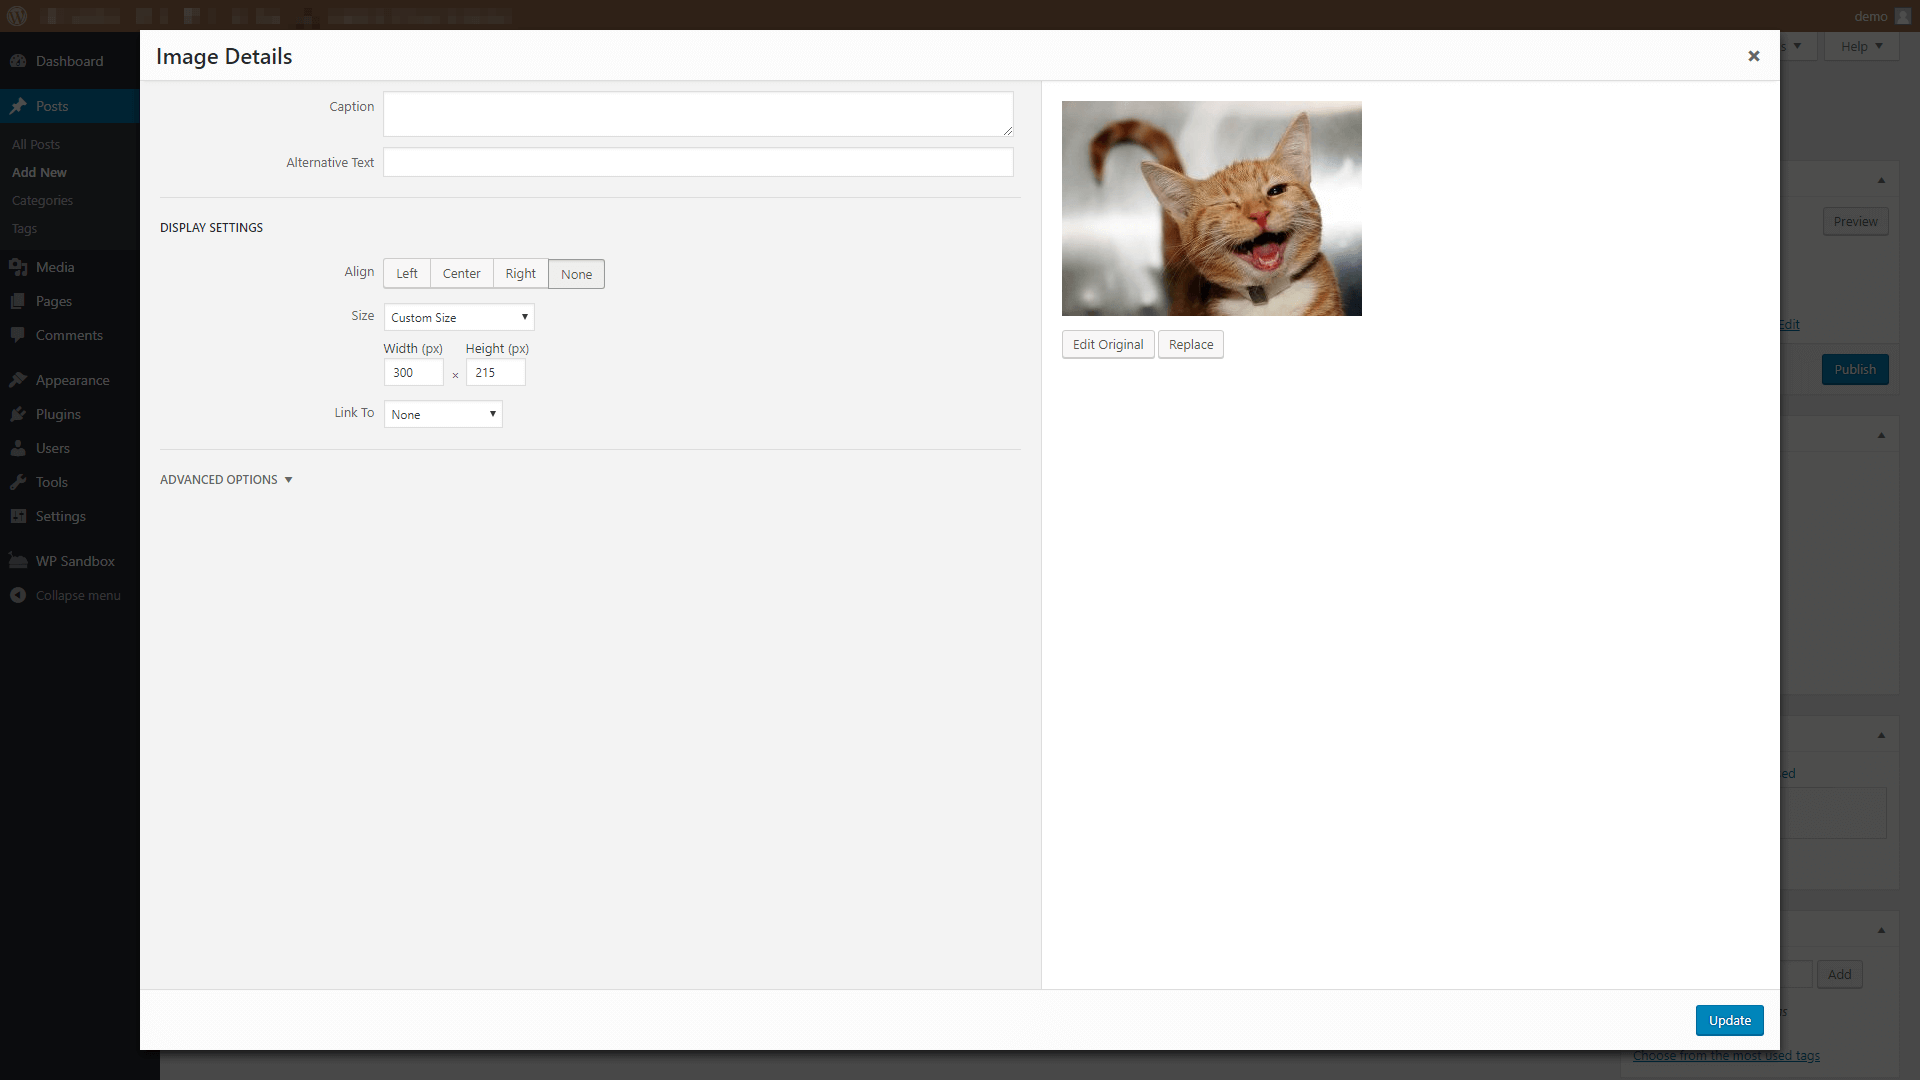
This will enable you to scale your image to any size you want (within reason).
In our experience, WordPress is pretty reliable when it comes to resizing images without impacting their quality. However, you can also do this using a graphic design application (such as Photoshop), if you feel more comfortable with that approach.
5. Optimize Your Images for Better Performance
In general, you’ll want to use the most high-quality images you can find on your website. After all, no one wants to see blurry or pixelated photographs. However, these high-quality images have one massive downside – they tend to weigh a lot (i.e. the file sizes are usually quite large).
The more images you use on a page, the more data your visitors have to load when they access it. This means loading that page will take more time, and as we discussed earlier, most people don’t like waiting long to view your site. This can also become an issue if you use fewer images, but they’re very weighty.
Fortunately, you don’t have to say goodbye to your website’s images in order to keep loading times lean. Instead, you can compress or optimize those images, so they don’t take as long to load. Even better, you can generally do this without compromising their quality.
There are a lot of tools you can use to optimize images on your website. However, if you’re an Uncode user, you can take advantage of our theme’s built-in ‘adaptive images‘ feature:
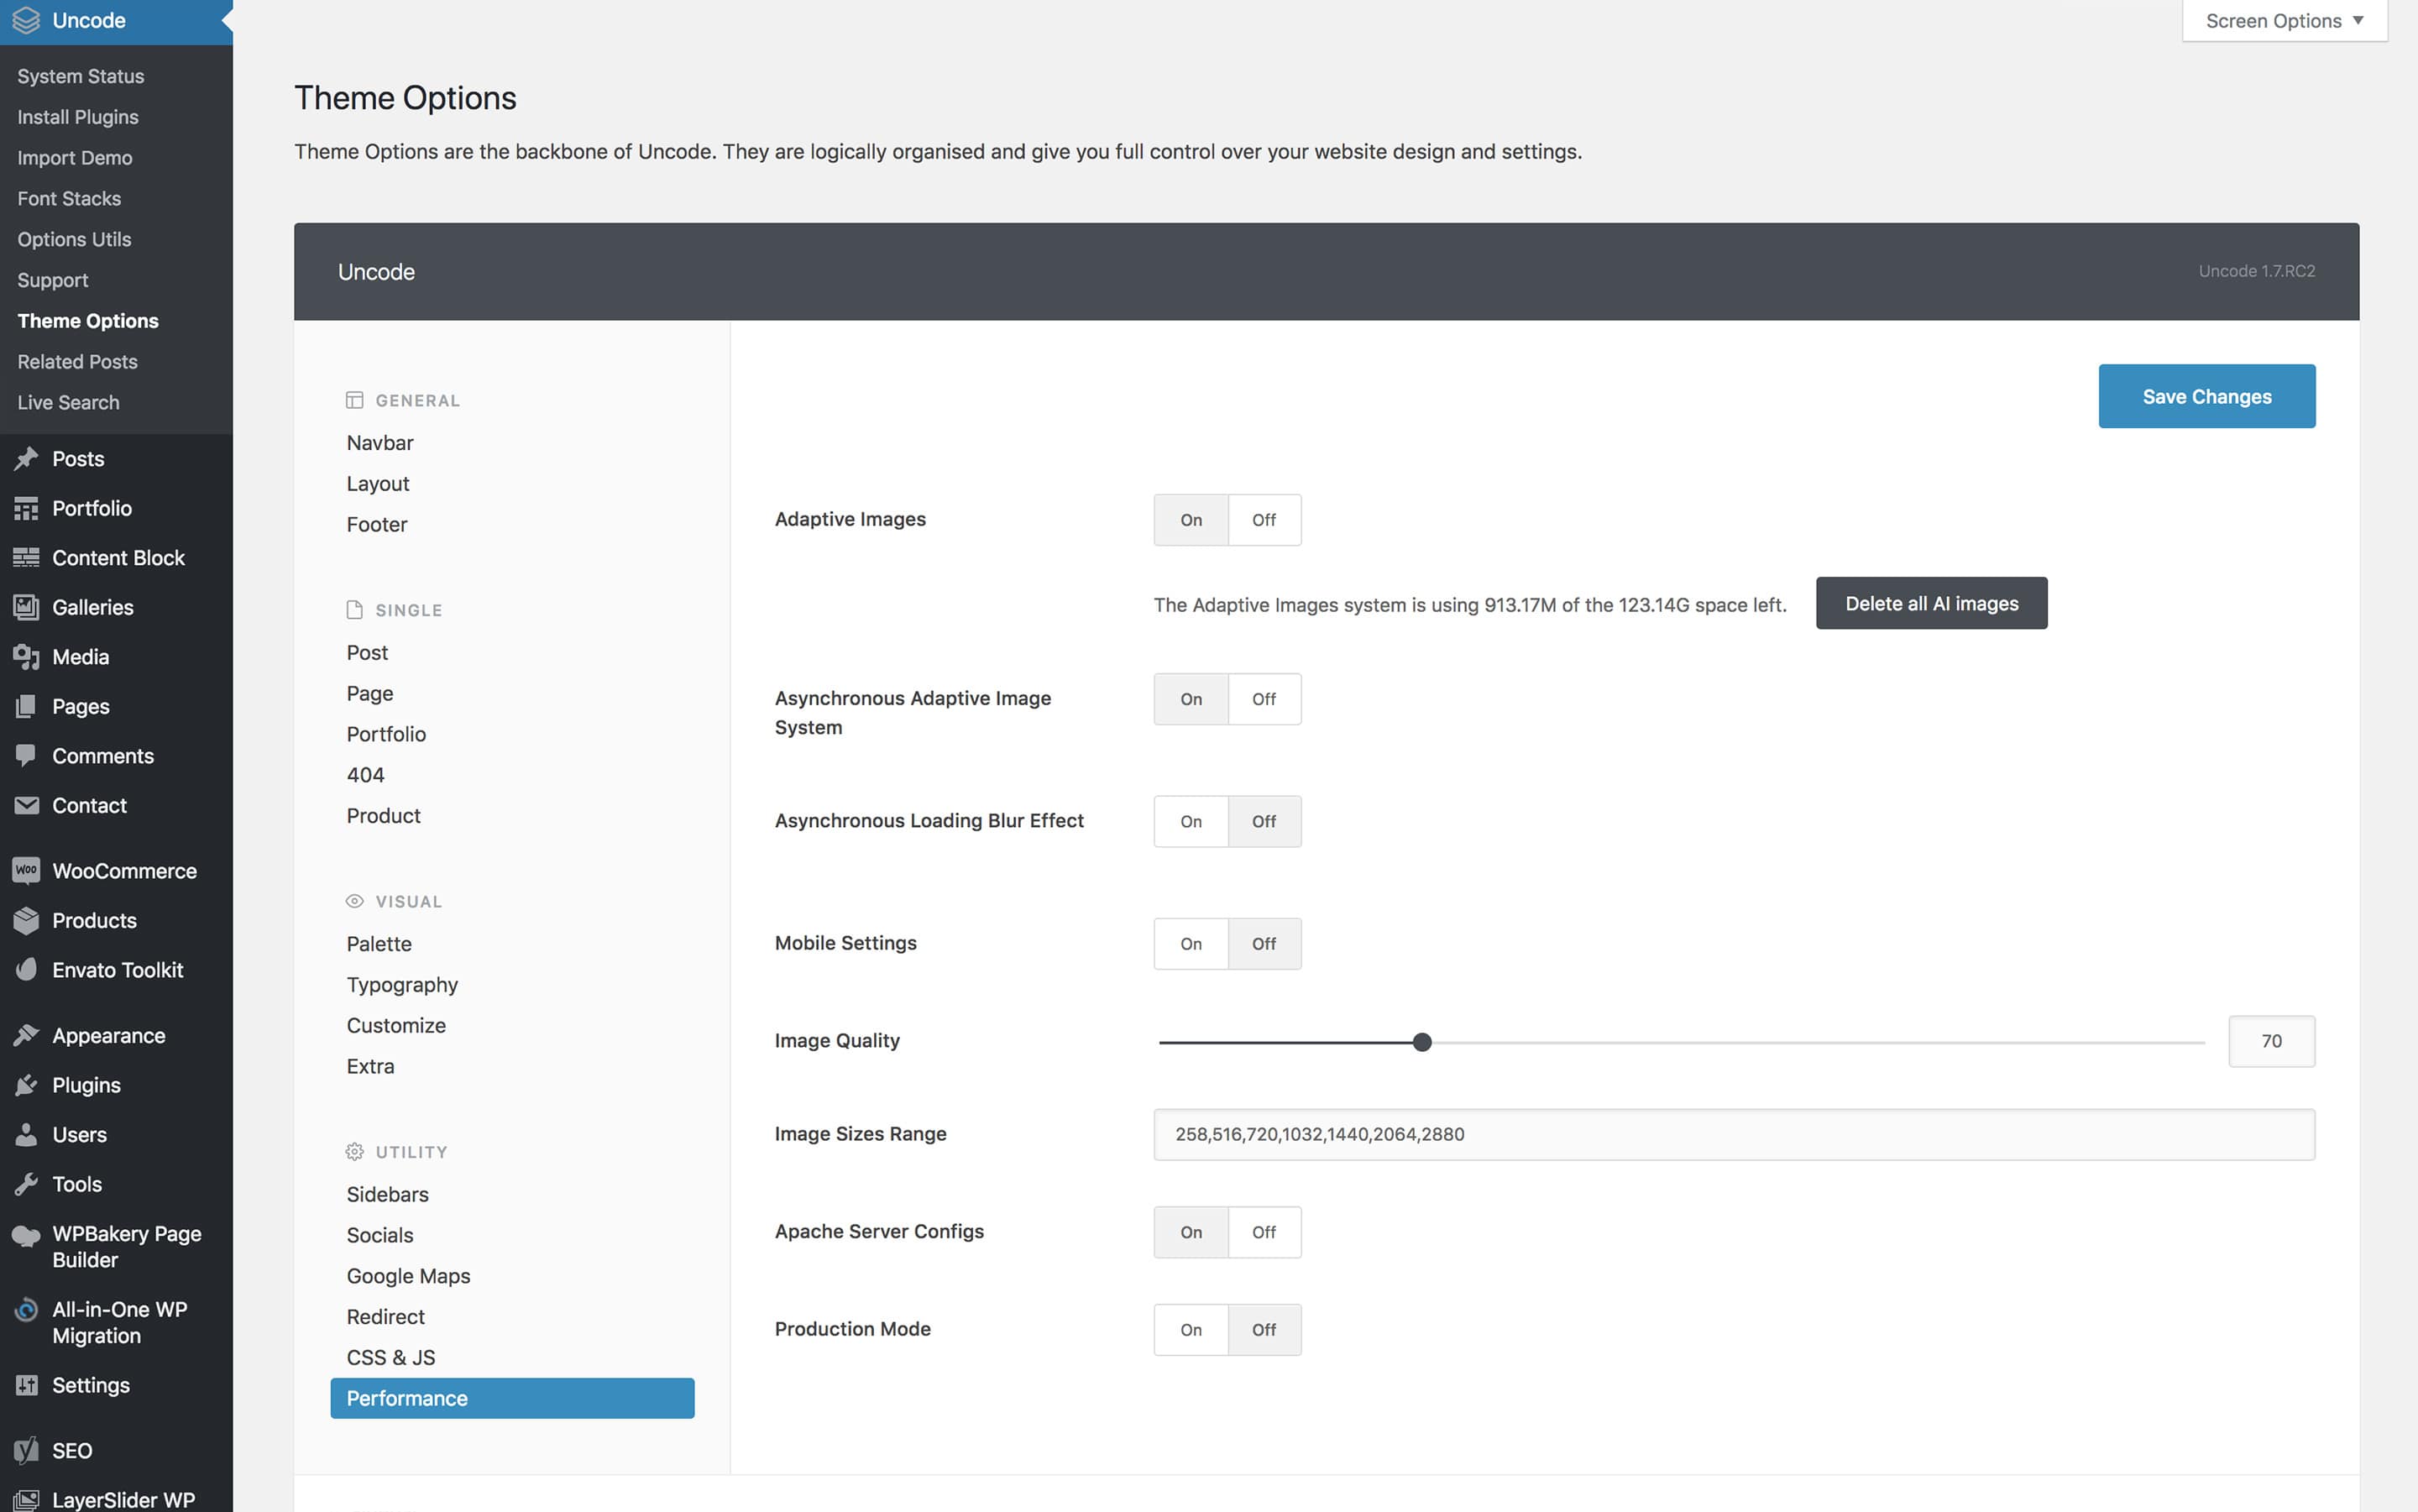
What this does is enable you to upload your images at full quality. Then, the feature automatically creates different copies of those images at multiple resolutions. When someone visits your website, Uncode will look serve the optimal version of your image based on their device and screen size. This is an excellent way to cut down on loading times and improve the user experience.
Conclusion
Images are one of your website’s most important elements. Chances are you’ll use several images on each page of your site, and they all have to be of the utmost quality if you want to impress your visitors. However, using images effectively requires more than simply choosing the prettiest graphics.
Here are five quick tips to help you use images well on your WordPress site:
- Avoid using free stock images when possible.
- Use images of a similar style throughout your website.
- Give SVGs a try.
- Set standard sizes for your blog post images.
- Optimize your images for better performance.
Do you have any questions about how to use images to improve your WordPress website? Let’s talk about them in the comments section below!
Image credit: Pixabay.