
Creating a blog can seem like an intimidating prospect, particularly if it’s your first time. You might wonder what you should write about, and whether you’ll be able to stand out from the crowd instead of blending into the vast online sea of other blogs.
Fortunately, if you’ve chosen WordPress as your platform, you’re off to a great start. WordPress makes getting your blog off the ground a relatively simple task, and provides plenty of useful tools to help along the way. With a little effort, you can build your site and start creating content in no time.
In this article, we’ll go through the process of starting your first WordPress blog in six simple steps. Let’s begin with the basics!
Step 1: Decide on Your Blog’s Focus
When you first start a blog, you may use it to write about whatever takes your fancy. This is perfectly fine if you just want to express yourself, or write for an audience primarily of friends and family. However, if you’d like to grow your readership and reach as many people as possible, you’ll need to choose a specific focus for your blog.
In other words, it’s a smart idea to decide on a particular subject, industry, or niche to build your blog around. This may seem constraining at first, but it will pay off in the long run. With so many other bloggers vying for attention, you’re better off trying to attract a group of dedicated readers who are invested in your topic, rather than attempting to speak to everyone. Focusing your blog will communicate to readers why you’re different and worth listening to, and it also helps you rank higher in search engines.
To figure out what topic you’d like to build your blog around, start by brainstorming a list of options. Consider the subjects you’re interested in (and have experience with), as well as those you think you’ll be able to write about consistently. Once you have a handful of topics that meet these criteria, carry out some research on each one to find out how much competition there is. When in doubt, go with the focus that lets you occupy an overlooked niche or supply an under-served demand.
Step 2: Pick the Perfect Domain Name
Your domain name is your blog’s unique online address, and appears in the URL that directs visitors to your site (for example, wordpress.org). It’s important to choose your domain name carefully, because it will identify your blog to both visitors and search engines. A strong domain name makes it easier for people to find your site, and can even help with your branding efforts.
Just as in the last step, you’ll want to brainstorm a list of potential domain names for your blog. Write down every name you can think of that might work. Then narrow down your list and tweak your favorites using the following criteria:
- Make your domain name memorable. A name that’s catchy, unique, and tells potential readers what to expect will grab their attention, and help you stand out.
- Keep it short and simple. If your domain name is brief and easy to spell, visitors are more likely to remember it.
- Consider your extension carefully. Unless you have a good reason not to, we recommend sticking with .com since it’s the most widely used option. However, if you want there are many other niche-specific extensions you can use, all at different price points.
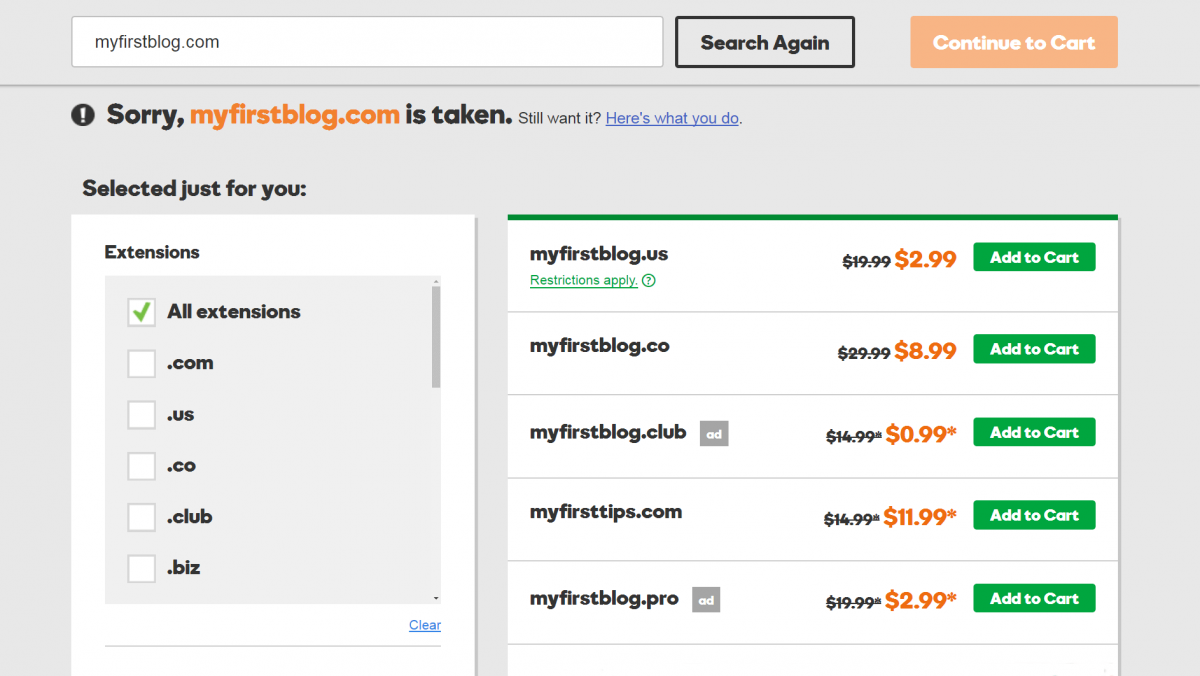
Once you’ve settled on one or more domain names that fulfill these conditions, it’s time to see whether they’re available. Any domain registrar will have a search function where you can simply type in the name and see whether it’s been taken. If the domain name you want is already in use, try tweaking it slightly.
Once you’re happy with your domain, you can purchase it from a suitable registrar or simply add it when you sign up for hosting in the next step.
Step 3: Select a Hosting Provider and Install WordPress
Your web host provides server space for your website. Unless you have your own private server, you’ll need a hosting provider to get your site online. The host you choose will have a significant impact on your site’s performance and security, so it’s crucial to make an informed decision.
When researching web hosts, use the following criteria to evaluate each one:
- Reliability: Your host should have a proven track record for performance, speed, and uptime.
- Security: Solid hosts provide security features to keep hackers and spammers away from your site.
- Scalability: If you choose a host with several tiers or types of plans, you’ll be able to upgrade easily when the need arises.
- Reputation: Look for reviews, ratings, and other indications that the host is trustworthy.
- Support: Hosting providers should offer 24/7 dedicated support, so you can get help when you need it.
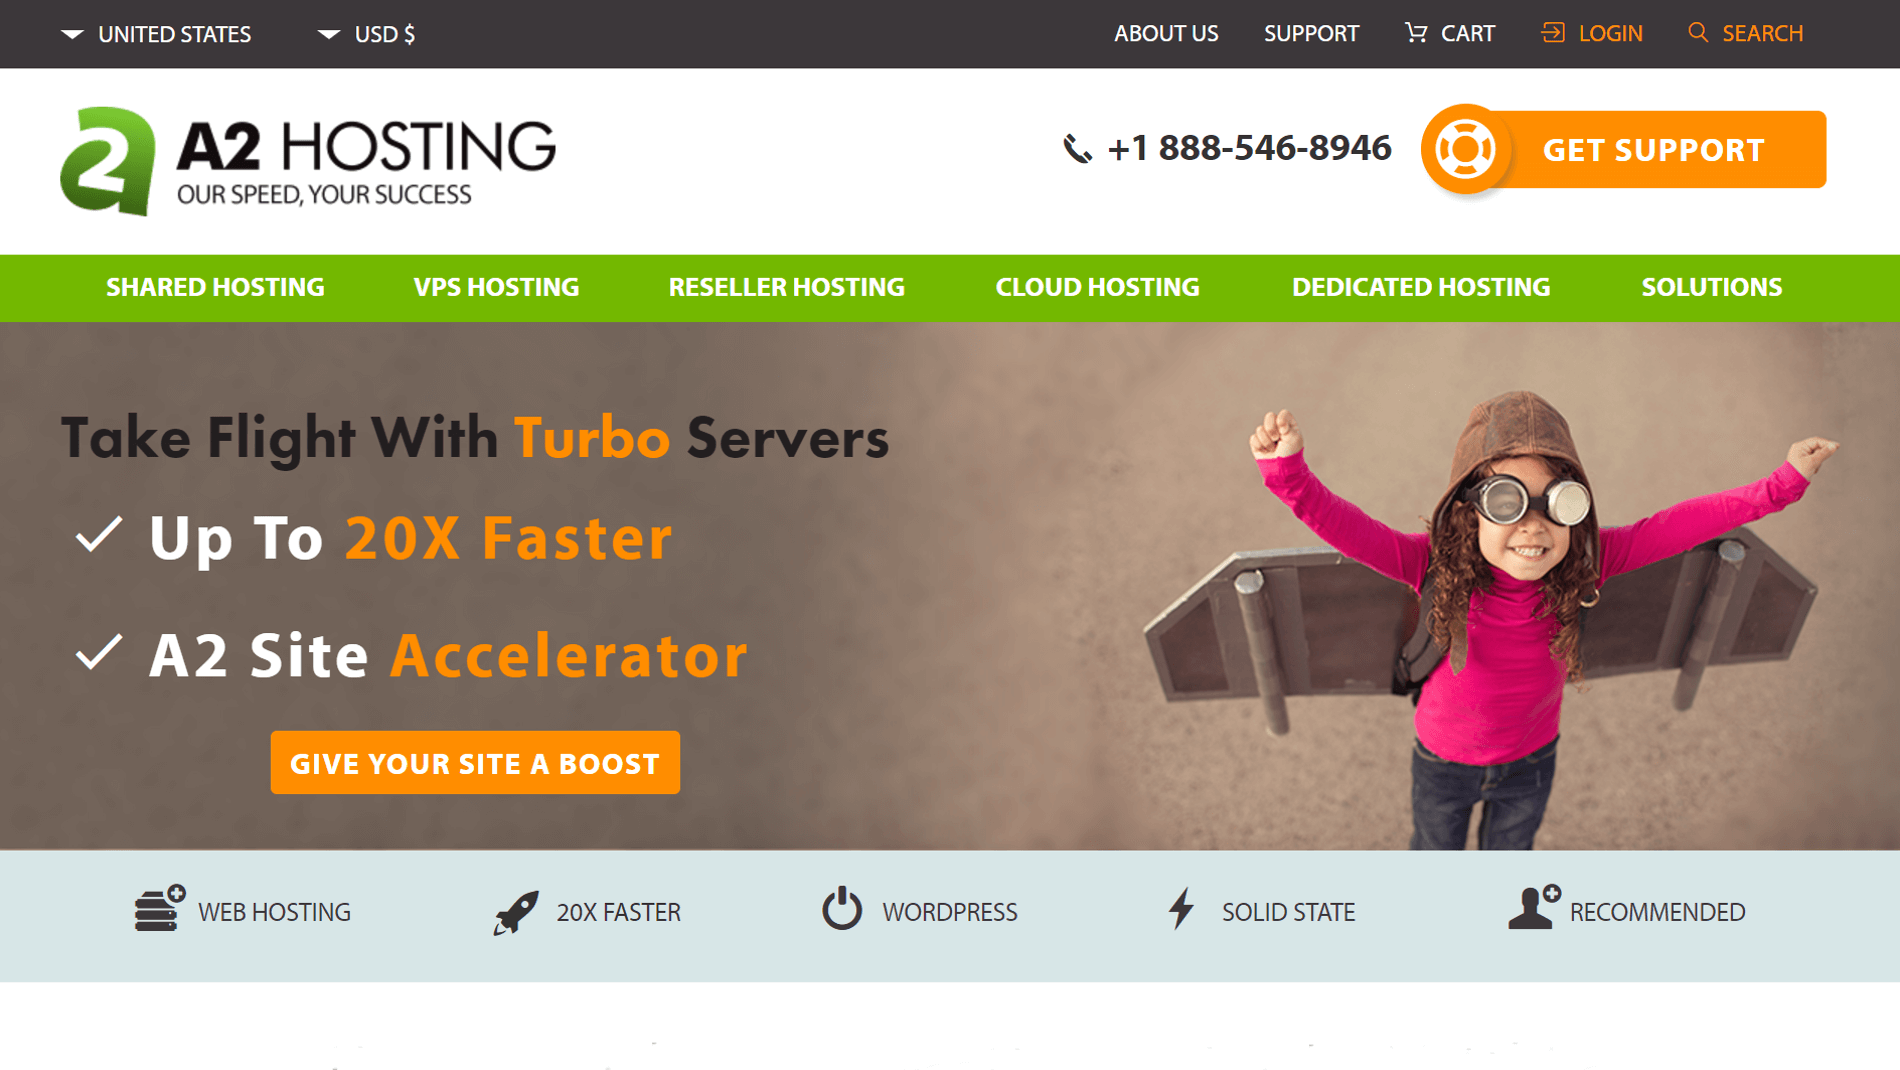
Fortunately, you can find plenty of useful online roundups that will point you towards some of the best hosting options. WordPress itself offers a list of official recommendations, and so do we. If you’re still not sure which host to go with, we suggest giving A2 Hosting a try. It’s an inexpensive, beginner-friendly option that’s also highly scalable for advanced users.
Once you’ve chosen your host, you simply need to install WordPress using the domain name you chose earlier. Most providers will give you an easy way to perform the install through your hosting account.
Step 4: Choose a Theme and Personalize Your Site

Once you have your new WordPress site set up, you’ll want to customize its appearance to suit your needs and tastes. The simplest and most effective way to do this is to find the right theme. A WordPress theme essentially controls the look of your site, and often includes an array of options you can use to design its layout and appearance.
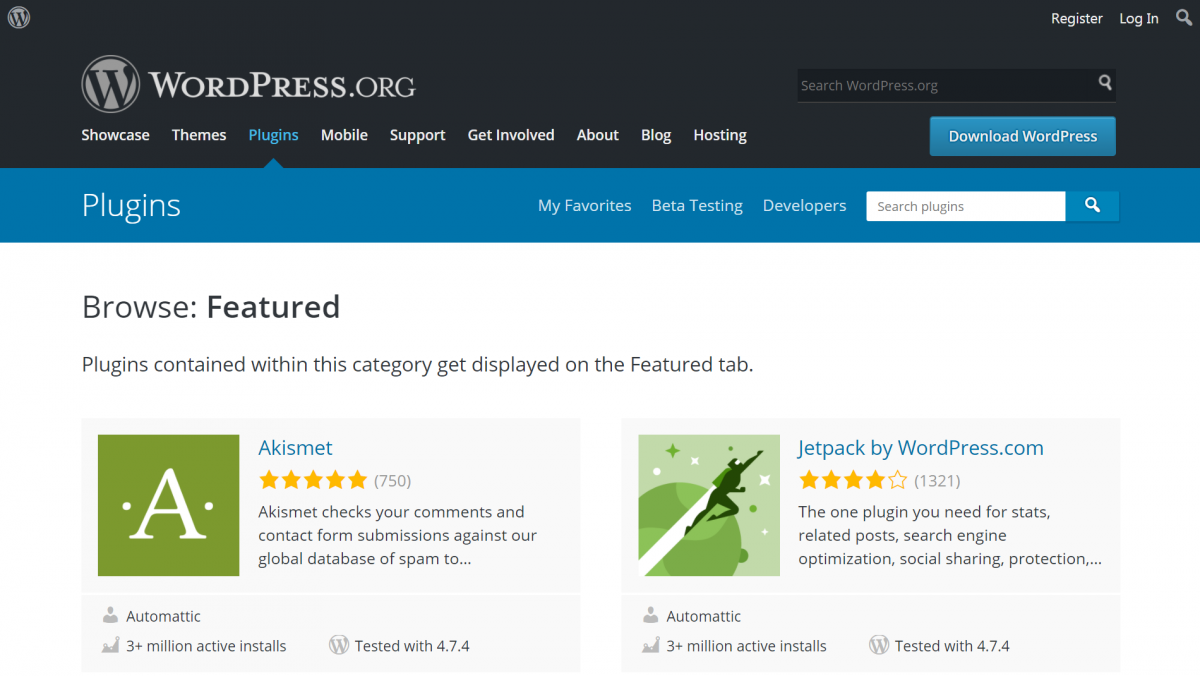
WordPress core comes bundled with a couple of themes, but there are also thousands of other choices readily available online. Many are completely free, although you’ll also find premium themes that offer additional features and support for a modest fee. The WordPress.org Theme Directory is your best bet for free themes, while ThemeForest is an excellent resource for premium options.
If you want, you can look for a theme that’s specific to blogging or a particular niche. Those themes can be limiting, however, so it’s often smart to opt for a well-designed, general-purpose theme that covers all the necessary bases. Our own Uncode theme is a perfect example, and is a solid choice for any blogging website for several reasons:
- Uncode offers plenty of customization options, so you can design your site to fit your vision.
- You can make changes through a visual drag-and-drop builder, which is more intuitive than the standard interface.
- There’s plenty of demo content to get you started.
- The theme is flexible, so you can personalize your blog’s look.
- Your site will perform well and will be fully responsive on mobile devices.
Our online documentation makes getting started with Uncode a piece of cake. With the right theme and a little effort, you’ll find you can build a site that’s both compelling and visually unique.
Step 5: Add Additional Functionality Using Plugins
Just as with themes, WordPress plugins are add-ons you can download to your site. While themes affect its appearance, however, plugins extend what your site can do. There is a plugin out there that can add just about anything to your site, whether that’s an online store, user forums, or contact forms.
It’s usually simple to find a free plugin that does what you need, although there are premium options as well if you want something more advanced. However, because there are so many plugins out there – and because a poorly-designed add-on can hurt your site – it’s important to evaluate each one carefully.
Here are a few suggestions for choosing a reliable plugin:
- Check out the user reviews and ratings, to see if other people have had issues with it.
- Take a look at how many people use the plugin. Popularity alone doesn’t imply quality, but it’s definitely a good sign.
- Pay attention to how recently the plugin was updated. Older plugins that haven’t been touched in months or years may not play well with the current version of WordPress.
Fortunately, the WordPress.org Plugin Directory makes all of this information (and more) readily available. It should be your first stop when you’re shopping for a new plugin, although there are plenty of reputable alternatives (such as CodeCanyon for premium plugins).
Finally, there are some plugins you’ll want to install as a matter of course. For example, Yoast SEO, Wordfence Security, Contact Form 7, and UpdraftPlus are all stellar plugins that can help with Search Engine Optimization (SEO), site security, visitor engagement, and backups respectively. What’s more, they’re completely free!
Step 6: Begin Writing Content!

Now that your blog is all set up, it’s time to start adding content. Quality blog posts are your best way to hook new readers and keep them coming back for more. No matter how awesome your site looks or how many features it has, you won’t get far if you can’t consistently provide visitors with something new and interesting to check out.
What you write about will of course depend on your interests, niche, and audience. However, there are a few general tips you can keep in mind to start your blog off on the right foot:
- Know your audience. Understand who your core audience is and what their needs are, then write posts they’ll find worthwhile.
- Write long-form content when possible. Not every blog post has to be in-depth, but research has shown that reader engagement is generally higher when you post longer content.
- Keep a consistent schedule. The best way to keep readers engaged is to offer new content on a regular basis. Decide how many posts you want to publish each week or month, and then stick to that schedule.
- Use SEO strategies. SEO is the process of tweaking your keywords, titles, and other elements to help your posts rank higher in search engines. This is a topic worthy of its own article, but there’s plenty of advice online to help you out.
The number-one guideline to remember is this: always focus on quality over quantity. Even if you can only write one blog post per month, you can still establish a loyal following that is eager to hear what you have to say. Also, don’t forget to have fun!
Conclusion
Creating a blog that people want to read and share takes some work, but not as much as you might expect. WordPress makes your job easier by providing a solid platform on which to build your website. Plus, when you use WordPress you get access to tons of useful themes and plugins that will help design your blog and take it to the next level. Before you know it, you’ll be through the initial setup and on to the fun part – writing your posts!
To get started, simply follow these six steps to create your first blog in WordPress:
- Decide on your blog’s focus.
- Pick the perfect domain name.
- Select a hosting provider and install WordPress.
- Choose a theme (such as Uncode) and personalize your site.
- Add extra features using plugins.
- Begin writing content.
Do you have any questions about how to build an awesome WordPress blog? Ask away in the comments section below!